

What is an Image Placeholder Service?
As web developers and potentially designers, we might need to start building out a project before having on the content.
You’ve likely heard of Lorem Ipsum which is basically placeholder text, a bunch of non-sensical copy (or text) that allows you to fill in content to see how it would look without having that actual content.
The similar situation applies to images, where you might want to show images, but you don’t have the actual images yet.
This is where tools like Lorem Picsum and placeholder.com came in to give you a way to structure a URL to return an image at the size you need for your placeholder.
The service behind this dynamically takes the parameters of the URL you define and returns an image based on those parameters, which is exactly what we’re going to build!
Where do Cloudinary and Netlify come in?
Well starting with Cloudinary, we need a way to deliver an image dynamically. While we could likely generate this image manually using tools, we can take advantage of Cloudinary’s existing Media API as well as have the image itself delivered from Cloudinary, further taking advantage of its CDN and high performance delivery.
As far as Netlify goes, we need a way to process our request, where we’ll take our incoming request, figure out the parameters, and use them to pass to Cloudinary. To do this, we’ll use Netlify Functions, which is an easy way to create a serverless API, and build out our service.
What are we going to build?
We’re going to create a custom image placeholder service similar to placehold.it or picsum.photos so that when someone visits a URL with their custom defined parameters, we return an dynamically generated image from Cloudinary.
To do this, we’re going to create a Netlify Serverless function that takes those parameters and uses them to generate the Cloudinary URL.
Bonus: to make the URL nice and short, rather than using the full Netlify Function endpoint, we’ll create a redirect so that someone can easily use our placeholder service API.
Disclaimer: I work for Cloudinary as a Developer Experience Engineer.
Step 0: Starting a new npm project from scratch
We’re going to start building this project from scratch and later on we’ll need to use npm in order to install our Cloudinary library.
That means we should scaffold our project to prepare for that step.
Create a new directory and inside that directory run:
npm initAt this point npm will prompt you for some questions, including the project name, and the author, where you can walk through these questions or keep hitting Enter until you reach the end.
Once finished you should now see a package.json file inside of your project.
Next we should add a .gitignore file as if we check this into Git, we don’t want to check in all of our node modules, resulting in a huge repository.
To do this we can first initialize our Git repository with:
git initThen create a new file called .gitignore and inside add:
node_modulesAnd now we’re ready to start building our function!
Step 1: Creating a new Netlify Function
To get started, we need our base Netlify Function which we’ll use to process our URL, to pull out the parameters, and use them to build our Cloudinary image.
To do this we need to set up a few things:
- Netlify configuration file
- Functions directory
- Function file
First in the root of the project, let’s create our Netlify configuration file at netlify.toml. This will allow us test our function locally and to later deploy our function to Netlify.
Inside netlify.toml add:
[build]
  functions = "functions"
All we’re doing here is telling Netlify where our functions directory is at, which speaking of, let’s next create a new folder called functions.
Inside functions let’s create our function file called placeholder.js.
Inside functions/placeholder.js add:
exports.handler = (event, context) => {
  return {
    statusCode: 200,
    body: JSON.stringify({ status: 'Ok' })
  }
};
In the above, we’re creating a new async function handler that does one thing, it returns a successful status.
At this point, we’re done with the “base” of our function, next we’ll learn how to test it.
Step 2: Testing Netlify Functions locally with the Netlify CLI
In order to test our work out locally, we need to be able to run a local development server. We’ll do this by using the Netlify CLI.
To start, you can install the Netlify CLI globally with:
npm install netlify-cli -gIf you run the following you can verify that it worked and see all the options the tool has:
netlify -hBut we’re more interested in testing our function.
So let’s start by running:
netlify devAt this point Netlify will spin up a new development server. It will even try to open up a new page in your browser, but we don’t have a web app running, so it will say Not Found.
What we want to do is test that our function is working.
Functions are available in the following pattern in a Netlify request:
<Hostname>/.netlify/functions/<Function or File name>With this in mind, our function with the default settings will now be available to see at:
http://localhost:8888/.netlify/functions/placeholder
If you open that up in the browser, we should see our status of “ok”!

Step 3: Deconstructing the placeholder endpoint to determine image properties
Now that our function is working, we ultimately want to define parameters using our URL that we will then be able to inspect and use inside of our serverless function.
For instance, let’s use the following as our example:
https://image.com/300/400/ff0000In this URL, we’re defining the following parameters:
300: width400: heightff0000: background color (red)
Tip: you can define the parameters in whatever order or variation you’d like!
Eventually we’ll learn how to set up a redirect to work from our base URL like that, but for now, this will look like the following when hitting our Netlify Function endpoint directly:
http://localhost:8888/.netlify/functions/placeholder/300/400/ff0000So here’s what we’re going to do:
- Inspect the request’s
pathvia theeventargument passed to the function - Break the
pathapart and grab our parameters
Then later we’ll use those parameters for Cloudinary, but for now, let’s start off by inspecting the URL.
At the top of the handler function add:
const { path } = event;The event argument includes a bunch of details about the request, including the path.
If we go to the endpoint above in our browser, our path should look like:
/.netlify/functions/placeholder/300/400/ff0000Tip: add
console.log('path', path)to see the result in your terminal whenever you make the request.
Now we don’t need that entire path, we only need the parameters, so let’s start by stripping the front away.
Under the path let’s add:
const paramsPath = path.replace('/.netlify/functions/placeholder', '');We’re removing the function location part of the path by using replace and simply replacing it with nothing (an empty string).
At this point, our paramsPath value should look like:
/300/400/ff0000Next we can grab our parameters and also do a little bit of future proofing to avoid any issues with our API.
Under paramsPath add:
const [width, height, background] = paramsPath.split('/').filter(param => !!param);Here’s what’s happening:
- Starting on the right side, we’re using the split function to take our path string and breaking it apart into an array, using the
/character as a delimiter - We then use the filter method to make sure that all of our parameters actually exist (see the note below as to why)
- The resulting value will be an array with all of our parameters, such as
['300', '400', 'ff0000']so we can use destructuring to easily define each segment based on the order they’re given
Note: when splitting a value like
/my/paramsby the/character, the returning value will see that first/and consider there to be a value in front of it, meaning, our array would come out as['', '300', ...], which is why we use the filter method to remove any non-parameter values
This gives us our width, height, and background (color). Feel free to add more parameters, but we’ll use these 3 basic ones to create our placeholders.
Tip: learn more about destructuring and how it works with arrays with Destructuring Assignment – JavaScript Fundamentals – Jelly Drop
Next we’ll set up and install Cloudinary so we can pass these parameters in dynamically to generate a URL.
Step 4: Installing and configuring the Cloudinary Node SDK
In order to use Cloudinary, we first need to install the SDK.
First, install the package with npm:
npm install cloudinary --saveOnce installed, we can import it into our project:
const cloudinary = require('cloudinary').v2;We add the .v2 at the end to make sure we’re importing v2 of the library.
Then we need to configure Cloudinary to use our cloud name.
Under the import statement but above the handler, add:
cloudinary.config({
  cloud_name: '<Your Cloud Name>'
});
You’ll want to make sure you use your personal cloud name here.
You can find this by heading to cloudinary.com and navigating to your dashboard, where you should see the Cloud Name at the top to copy.
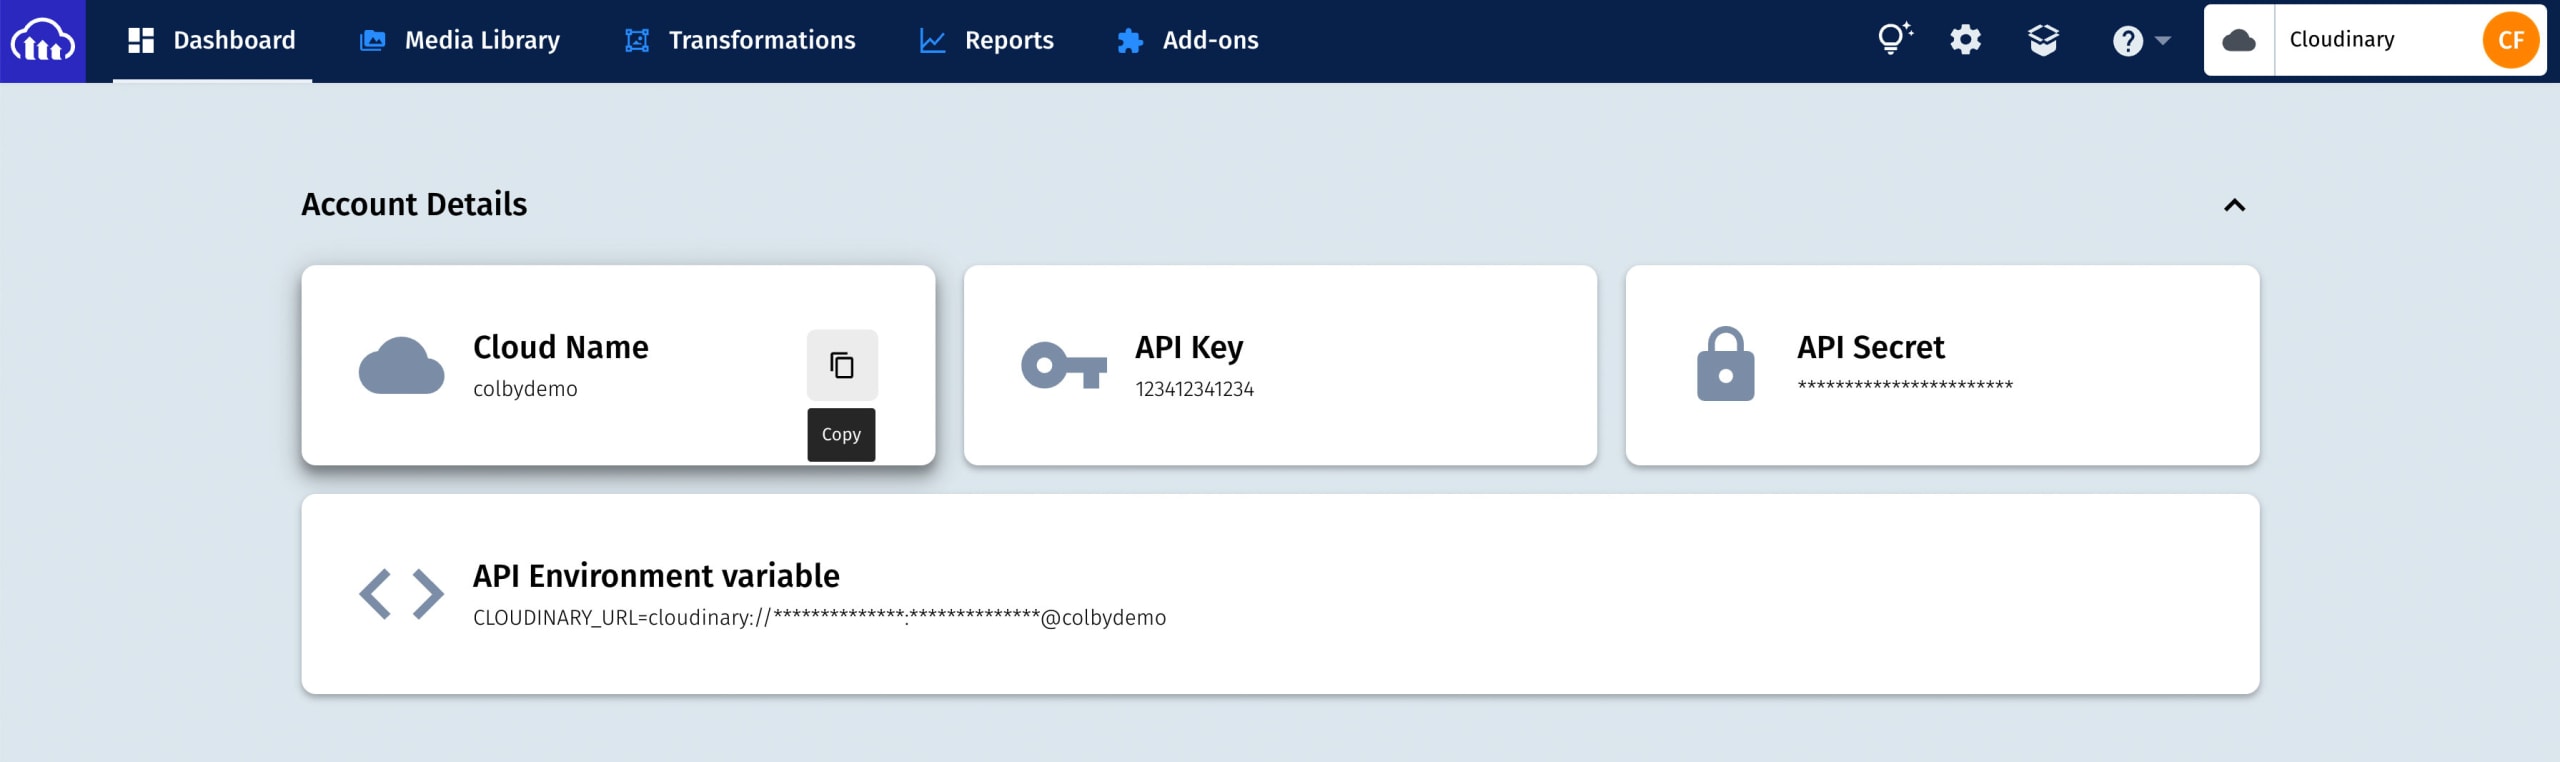
But now we’re ready to start generating our URLs!
Step 5: Building a new Cloudinary image URL and returning it on request
Part of the beauty of Cloudinary is we can programmatically generate every aspect of our images (and even a lot with videos!), which is exactly what we’ll do to generate our placeholder image.
The base API we’re going to use is cloudinary.url where we pass in the public ID of the image we want to use and it returns our URL.
const url = cloudinary.url('<Your Public ID>');The tricky thing here is we don’t really need an image, we’re going to generate everything programmatically, so what we’ll do instead is upload a 1×1 white pixel (or any color) which will just give us a base image to work from.
Feel free to download my example using this link:
Tip: To follow along, it can literally be any image, you just need a valid public ID in your Cloudinary account.
But take this image and upload it to your Cloudinary account.
Now we can use this to generate our image.
Using that same cloudinary.url snippet, under our parameters, add:
const url = cloudinary.url('white');Note: again make sure to use your Public ID if you’re not using
whitelike I did.
The goal is to now transform this, but let’s set up our endpoint so we can test this out and see it work in practice.
Let’s take our url and return it in our function. Update the return block to:
return {
  statusCode: 302,
  headers: {
    Location: url
  }
}
We’re telling Netlify that we want to create a 302 redirect, which points our original URL to a new URL, and that new location is our Cloudinary URL.
Let’s test this in our browser by visiting that original endpoint:
http://localhost:8888/.netlify/functions/placeholder/300/400/ff0000
And when we do, we get our redirect.
Now of course, we only see a white pixel because we’re not currently transforming the image given our parameters, so now let’s add those.
First, let’s add a width and height to our image:
const url = cloudinary.url('white', {
  width,
  height,
});
This will give us a large white image the size of our parameters (in the example above 300×400).
Now let’s color it.
To do this, we’re going to use the Colorize feature which let’s us programmatically change a picture given the color we pass in including more advanced features than we’ll use today.
But for our purposes, we want to tell Cloudinary to use the Colorize effect and use the background parameter:
const url = cloudinary.url('white', {
  width,
  height,
  effect: 'colorize',
  color: `#${background}`
});
You’ll also notice we’re creating our color value with a # in front. We’re doing this so we can avoid using the # in the URL which can cause issues, so instead, we can create a friendlier API, only requiring the 6 digit hex value, and append the # up front.
But now if we try to load our endpoint again, we should see our new colorized image!
Step 6: Creating a shorter placeholder URL API with Netlify redirects
Given we have access to Netlify infrastructure at this point, we can additionally take advantage of their redirect capabilities to shorten our placeholder API.
So instead of using:
http://localhost:8888/.netlify/functions/placeholder/300/400/ff0000
Or:
https://myimage.com/.netlify/functions/placeholder/300/400/ff0000
We can set up a redirect so that our API can be:
https://myimage.com/300/400/ff0000
The nice part this is pretty easy.
Open your netlify.toml file and at the bottom add:
[[redirects]]
  from = "/*"
  to = "/.netlify/functions/placeholder/:splat"
  status = 200
  force = false
We’re saying we want to direct all traffic to our function endpoint and pass along any value that comes after the first / (/300/400/...) as :splat which basically just shoves it at the end for us.
Tip: here we’re using
/*which means ALL traffic will come through here. You could alternatively specify a starting path to only be directed such as/placeholder/*or/p/*which would work the same way but require that first part of the URL path such as/placeholder/300/400/ff0000.
If we restart our local development server, we should now be able to test this out by going to:
http://localhost:8888/300/400/ff0000
Where we should get the exact same results as our other endpoint!
What else can we do?
Add text overlays
Given we now have access to the Cloudinary API, we can really do whatever we want with the image, including, adding text overlays.
Like placeholder.com (example: https://via.placeholder.com/150) we can add the dimensions or whatever text we want right on top using overlays.
Learn about how you can overlays including text and image-based overlays at How to Generate Personalized Social Media Cards for Landing Pages with Next.js & Cloudinary.
Add more parameters and transformations
Again, we now have access to Cloudinary, so we can do a ton of cool things.
Maybe we want to include real photos in our response and maybe we want to add filters to those photos. Maybe we want to allow people to crop the images to be circles or use AI to create thumbnails of people’s faces.
We open the door to a ton of options for how we expose the API to our users.
Try Netlify On-Demand Builders
Netlify has more options than just the plain serverless function we created, they have On-Demand builders which let’s you run a function once per deployment and have that result cached.
Now given we’re returning a URL and a redirect, we’re not really saving that much, but you could consider downloading the resulting Cloudinary image and returning it as raw image data, caching the entire function invocation, making it even quicker.