
Disclaimer: This post is sponsored by Clerk. Learn more about sponsored content.
What is Passwordless Authentication?
Passwordless authentication is giving the ability for someone to log into an account without a password.
This comes in a few forms:
- Social login (Google, Twitter, etc)
- Texts
The goal is to avoid storing passwords, both from a user and product perspective, relying on the security of your other accounts.
The tricky thing about providing passwordless authentication is being able to manage all of the moving parts, from the authentication itself, but delivering emails and making sure they match up, which is where Clerk comes in.
What is Clerk?
Clerk is an authentication and user management solution built for developers.
It come stocked with integrations and SDKs for all the popular frameworks (like Next.js) that make getting up and running a smooth process.
This allows us to provide a complete solution for giving the opportunity for people to log into our application, having control over how they log in, and management how users are interfacing with our systems.
What are we going to build?
We’re going to add login that doesn’t require passwords to a Next.js auth using the Clerk Next.js SDK.
We’ll start off with a demo starter that will give us a fake TV show tracker app, that will serve as our example for how we can add auth and prevent unauthenticated people from visiting certain pages.
Step 0: Creating a new Next.js app from a demo starter
We’re going to start off with a new Next.js app using a starter that includes some simple UI that we’ll use.
In particular, we’re going to use this starter that will set you up with a demo TV tracker app that includes some static data from the TV Maze API.
Inside of your terminal, run:
yarn create next-app -e https://github.com/colbyfayock/demo-dashboard-starter my-tv-tracker
# or
npx create-next-app -e https://github.com/colbyfayock/demo-dashboard-starter my-tv-tracker
Note: feel free to use a different value than
my-tv-trackeras your project name!
Once installation has finished, you can navigate to that directory.
cd my-tv-trackerThen you can start your local development server with:
yarn dev
# or
npm run dev
And once you visit it in your browser at http://localhost:3000, we should see our new application!
Step 1: Setting up a new Clerk app for authentication
Getting started with Clerk, the first thing we’ll need is a Clerk account, so head over to clerk.dev where you can sign up for free.
Once inside, you’ll be prompted to create a new application.
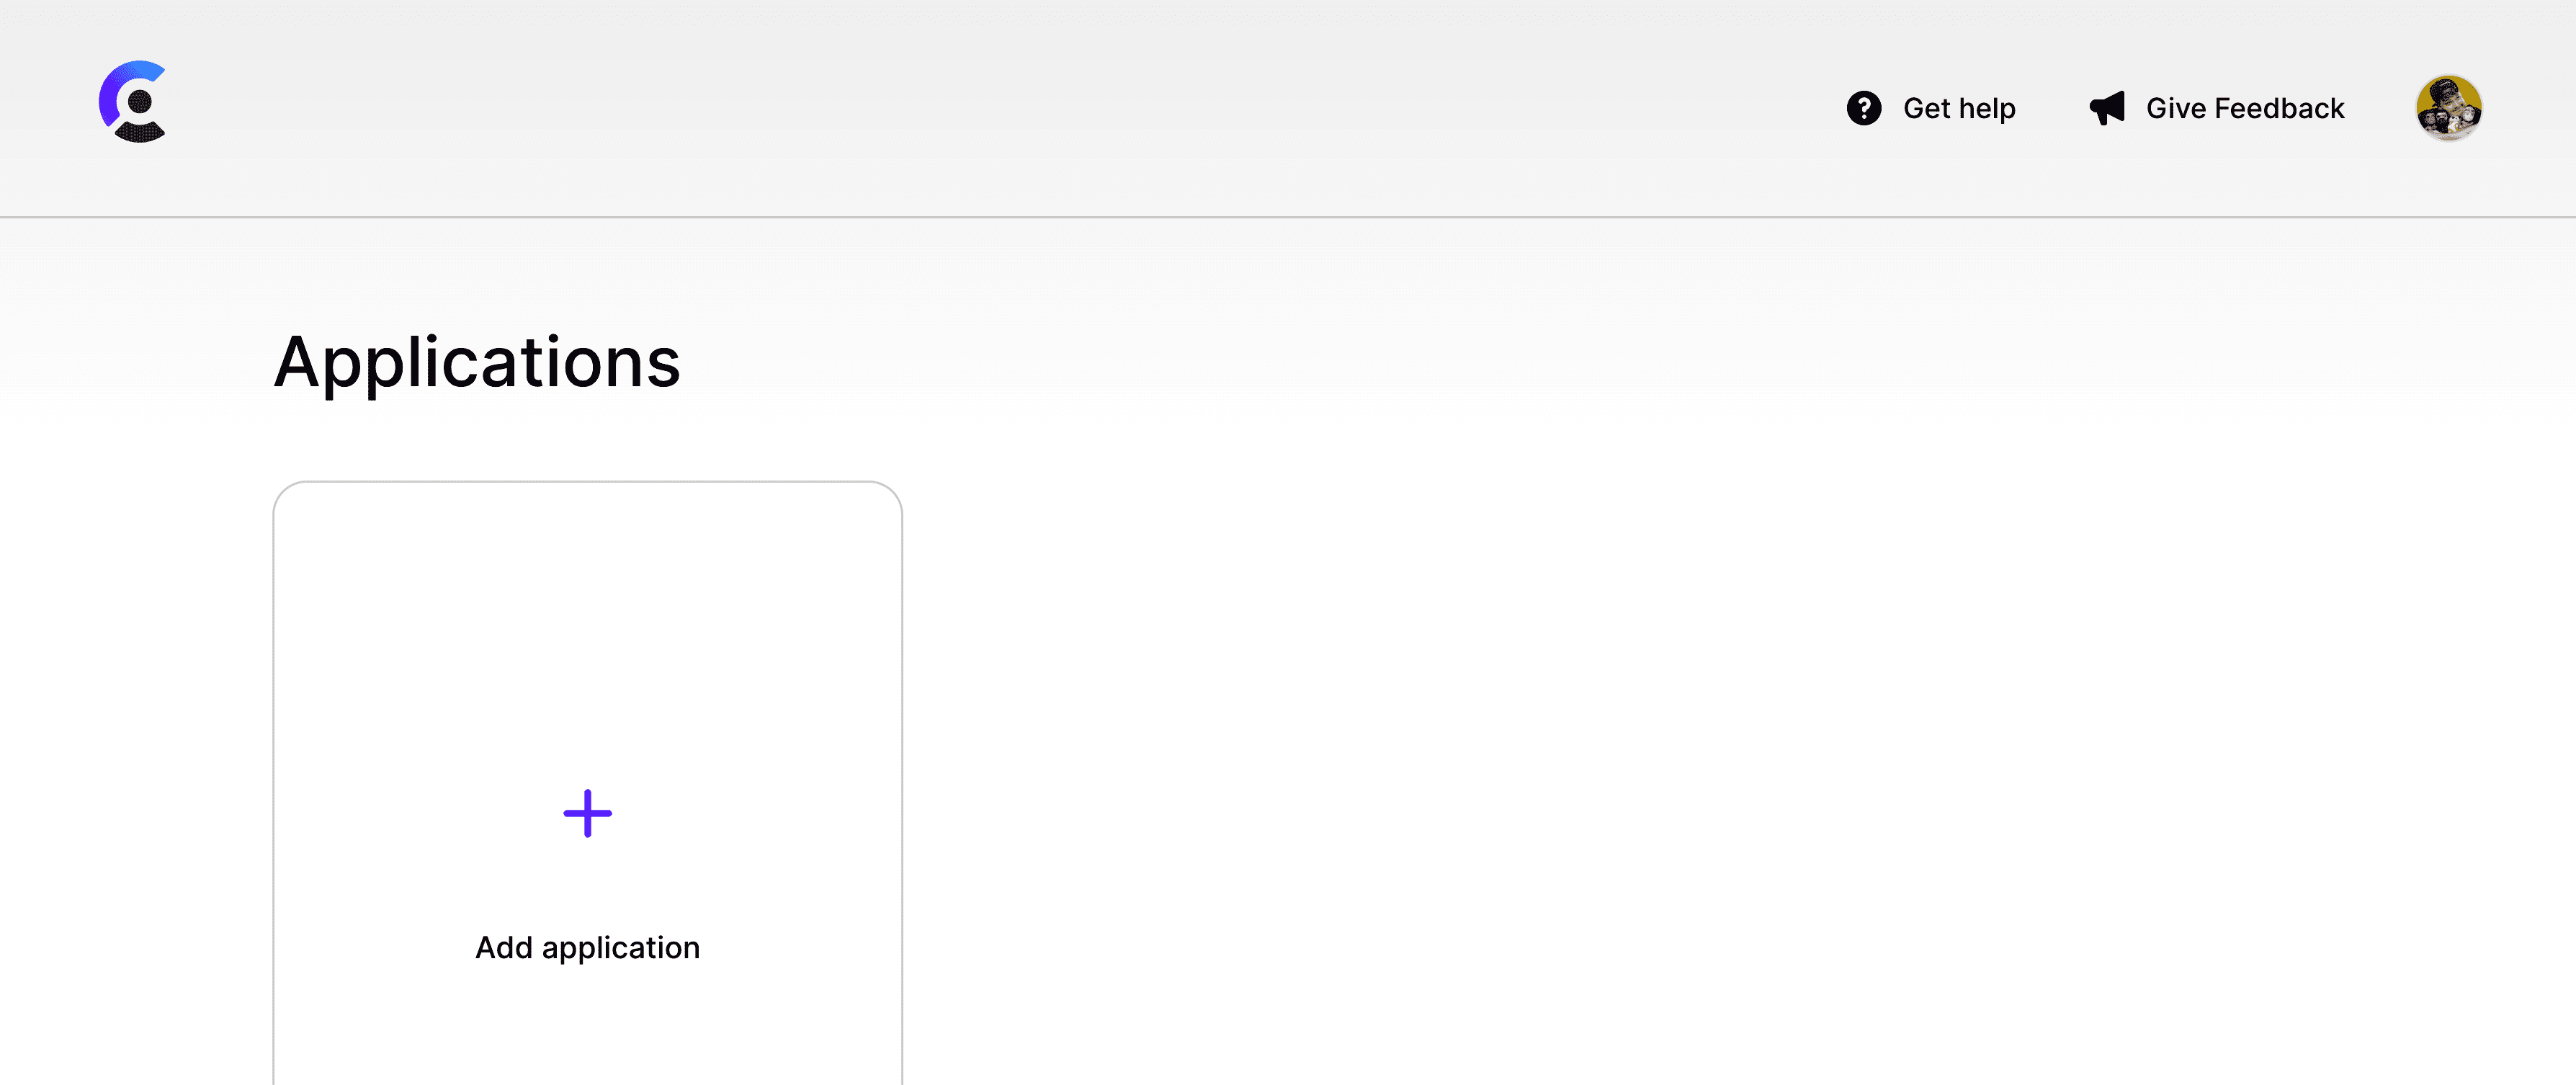
Click Add application where Clerk will give you the ability to configure your application:
Starting with the application name, this can be whatever you’d like, I’m going to use “My TV Tracker”.
The rest is telling Clerk how we want our authentication set up:
- Identifiers: I’m going to include only email, but using a phone number is another handy passwordless way to allow login
- Authentication Strategy: Passwordless of course!
- Social Login: we have a ton of options for allowing visitors to log in with their existing accounts, but I’m going to select only Google and Twitter
- Web3 Authentication: we’re not going to cover any of this for our walkthrough, but it’s another option if that’s something you’re interested in!
Tip: click “Show More” under Social Login to see a ton of other services that are available!

Once you’re happy with your configuration, click Finish at the bottom of the page where you’ll be redirect right to your new application dashboard!
Step 2: Installing and configuring the Clerk Next.js SDK
Now that our Clerk app is ready to go, we can get started in the code.
First off, let’s install the Clerk SDK.
Inside of your terminal run:
yarn add @clerk/nextjs
# or
npm install @clerk/nextjs
Next, we want to configure our environment variables so that Next.js can communicate with our Clerk app.
Inside of your Clerk dashboard, navigate in the left sidebar to API Keys.

Once there, we can see all of the API keys available to us for clerk, including:
- Frontend
- Backend
- JWT Verification
We’re going to use all of these.
In the root of your Next.js project, create a new file called .env.local and inside add:
NEXT_PUBLIC_CLERK_FRONTEND_API="<Your Frontend Key>"
CLERK_API_KEY="<Your Backend API Key>"
CLERK_JWT_KEY="<Your JWT Key>"
Make sure to replace all of those values with your keys from your API Keys dashboard.
Now that our environment is set up, we want to connect Clerk to our app.
To do this, we’re going to wrap the entire application with the ClerkProvider which allows Clerk to communicate throughout the entire component tree.
Inside src/pages/_app.js first import the provider:
import { ClerkProvider } from '@clerk/nextjs';Then replace the MyApp return statement with:
return (
  <ClerkProvider>
    <Component {...pageProps} />
  </ClerkProvider>
);
Now at this point, if you reload the app in your browser, you’ll notice that nothing has changed.
If you open up your network requests, you’ll see Clerk making requests, but it isn’t impacting the app yet.
So far we’ve only set Clerk up to be able to communicate with our app, but next, we’ll start to protect page routes for only logged in users.
Step 3: Protecting page routes from unauthorized visitors with Clerk
When protecting routes in Clerk, we have a few options for how we proceed.
Clerk provides us with a few components SignedIn, SignedOut, and RedirectToSignIn which both allow us to wrap components with authentication and trigger a redirect in whatever case we want.
While we could theoretically add these components to each and every spot and page we want to protect, we can do this is a more scalable way by wrapping the entire application with these components.
Starting off, inside src/pages/_app.js let’s update our imports:
import { ClerkProvider, SignedIn, SignedOut, RedirectToSignIn } from '@clerk/nextjs';Then inside of our ClerkProvider, let’s update the component to:
<ClerkProvider>
  <SignedIn>
    <Component {...pageProps} />
  </SignedIn>
  <SignedOut>
    <RedirectToSignIn />
  </SignedOut>
</ClerkProvider>
Here we’re saying:
- If we’re signed in, show the Component as normal
- If we’re signed out, redirect to the sign in page
If you open up the browser and reload (or even before you reload) you’ll see that you’re redirect to a new page.
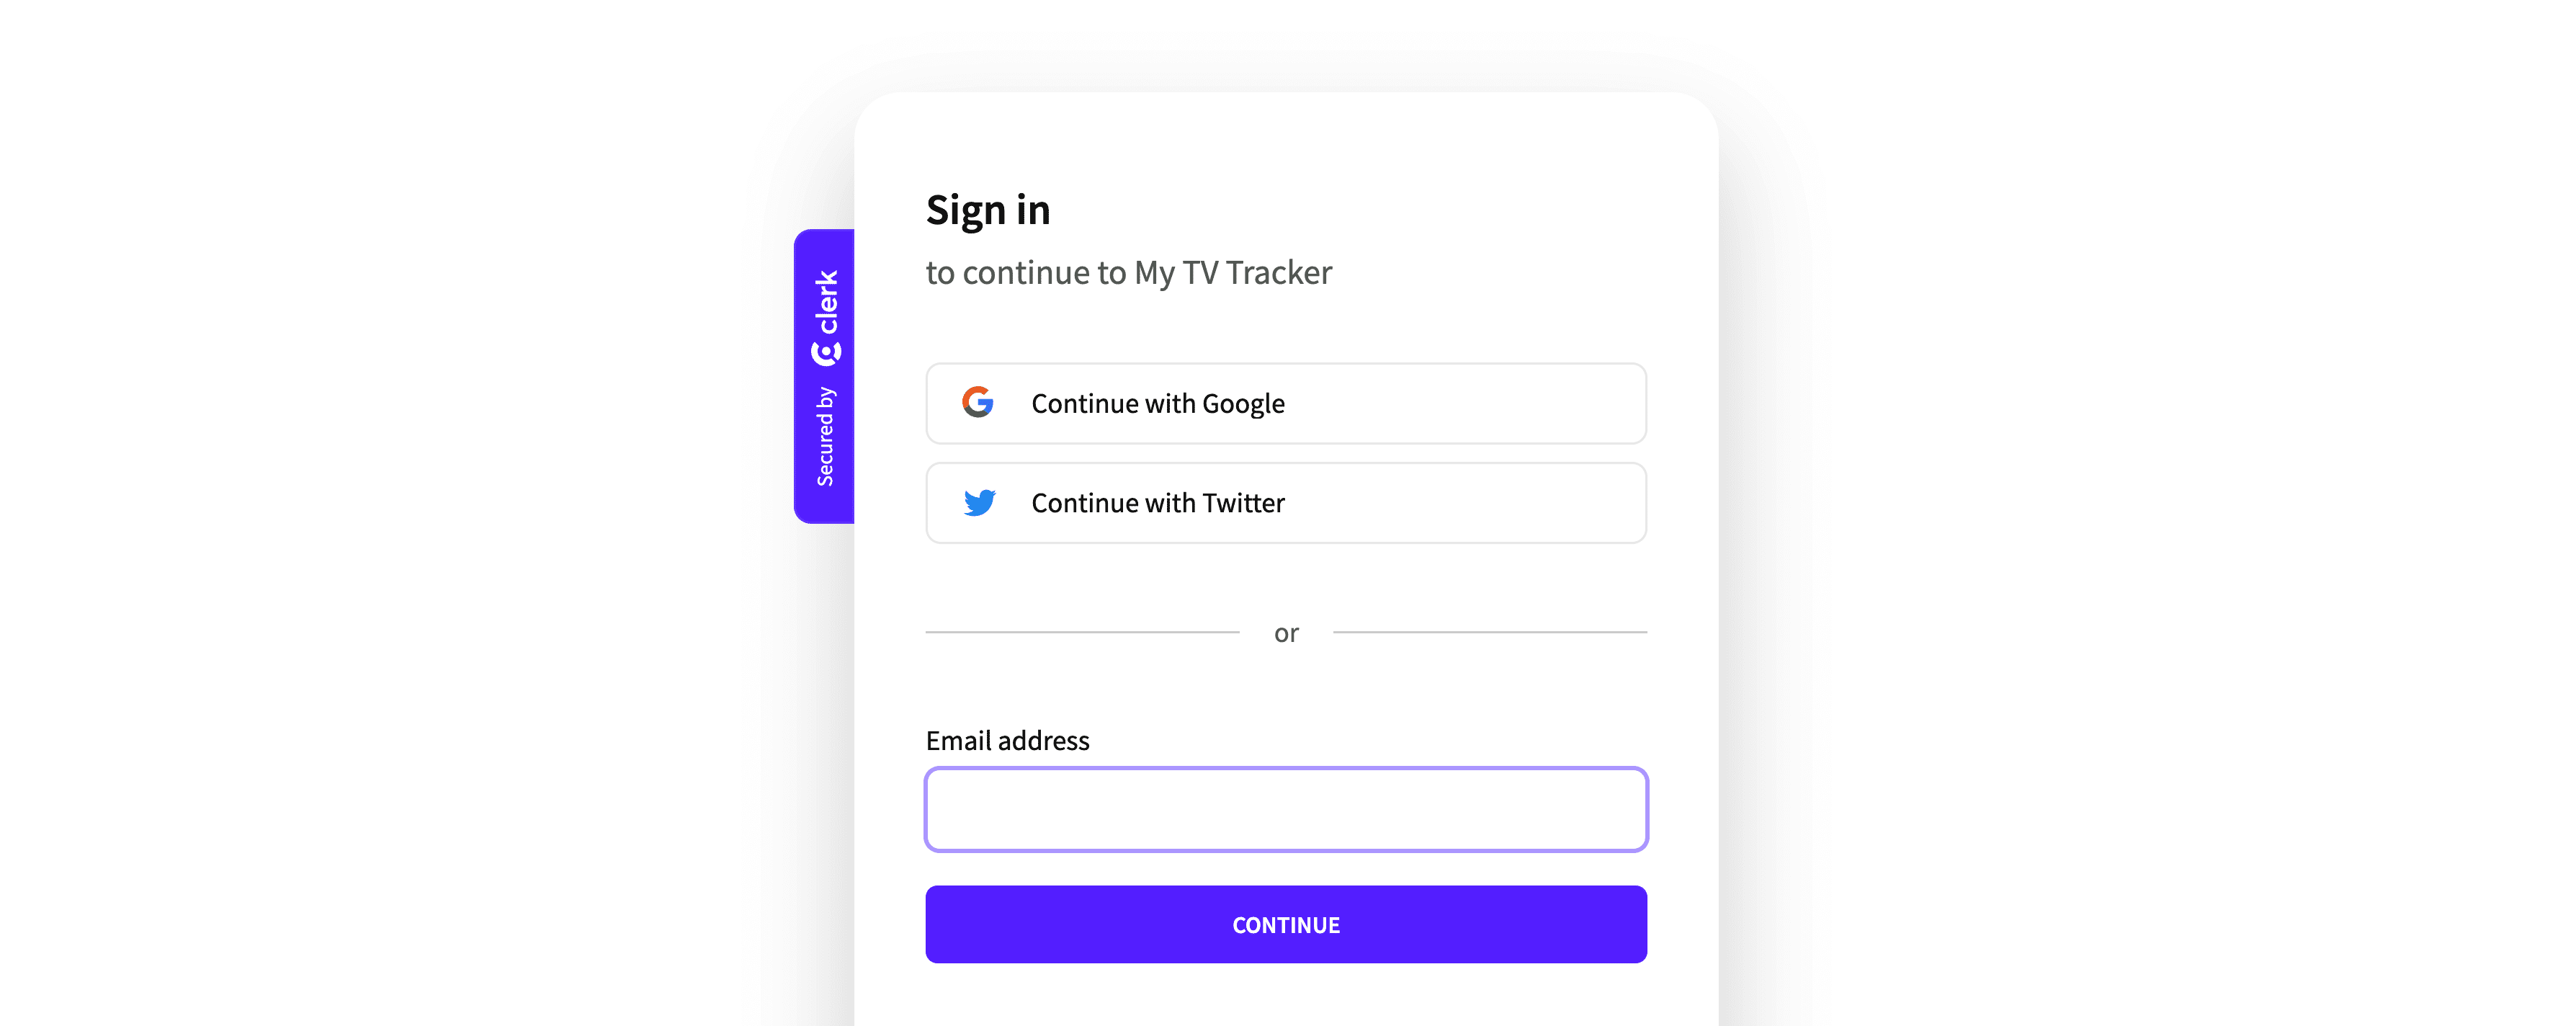
This is our login page!
We are now protecting all of our routes, so in order to see our app again, we need to log in.
At this point you’re logging in to your own app, so feel free to sign in with whatever passwordless mechanism you choose.
But once you do, you’ll be redirected back into the app. Success!
But what if we don’t want all pages protected, what if we want our homepage public?
We can track what pages we want public, compare it against the current route, and render our page Components without the authentication chain.
To start, we can use the Next.js useRouter hook to get our current path. Let’s start off by importing that inside of src/pages/_app.js:
import { useRouter } from 'next/router';Then at the top of the MyApp component, we can get our path with:
const { pathname } = useRouter();Now we want to compare this against the pages we want public. We can use an array to keep the list, using the includes method to check if the pathname is inlaced:
const isPublicRoute = ['/'].includes(pathname);Here we’re saying if the pathname is in the array, which currently is only the homepage, set isPublicRoute to true.
Next we can use this to dynamically render our components!
Update the ClerkProvider to:
<ClerkProvider>
  {isPublicRoute && (
    <Component {...pageProps} />
  )}
  {!isPublicRoute && (
    <>
      <SignedIn>
        <Component {...pageProps} />
      </SignedIn>
      <SignedOut>
        <RedirectToSignIn />
      </SignedOut>
    </>
  )}
</ClerkProvider>
Here we’re:
- Rendering the Component without auth if the route is public
- If it’s not public, go back to the same authentication check using the Clerk components as we did before
Now if you reload the page, you’ll see that we can see the homepage.
Technically, unless you figured out a way to log out, you’ll be able to still see any page, as Clerk still thinks we’re logged in.
But next we’ll add an account component which will allow us to Log Out, giving us the ability to test our public page logic.
Step 4: Adding a Clerk account widget for logged in users with UserButton
Along with the SignedIn, SignedOut, and RedirectToSignIn components, Clerk comes with a bunch of other components that help make working with Clerk easy.
One of those is the UserButton component, which gives users the ability to importantly log out, but also manage any aspects about their account they’d like.
Instead of working in _app.js, we’re going to set up this button in the Header so that this can follow around logged in users anywhere in the app.
Inside src/components/Header/Header.js add:
import { UserButton } from '@clerk/nextjs';Then inside of the headerLinks list, add another item:
<li>
  <UserButton />
</li>
If you’re still logged in, as soon as you reload the page, you should now see a little circle in the top right of the header, where once you click, you can see your account options.
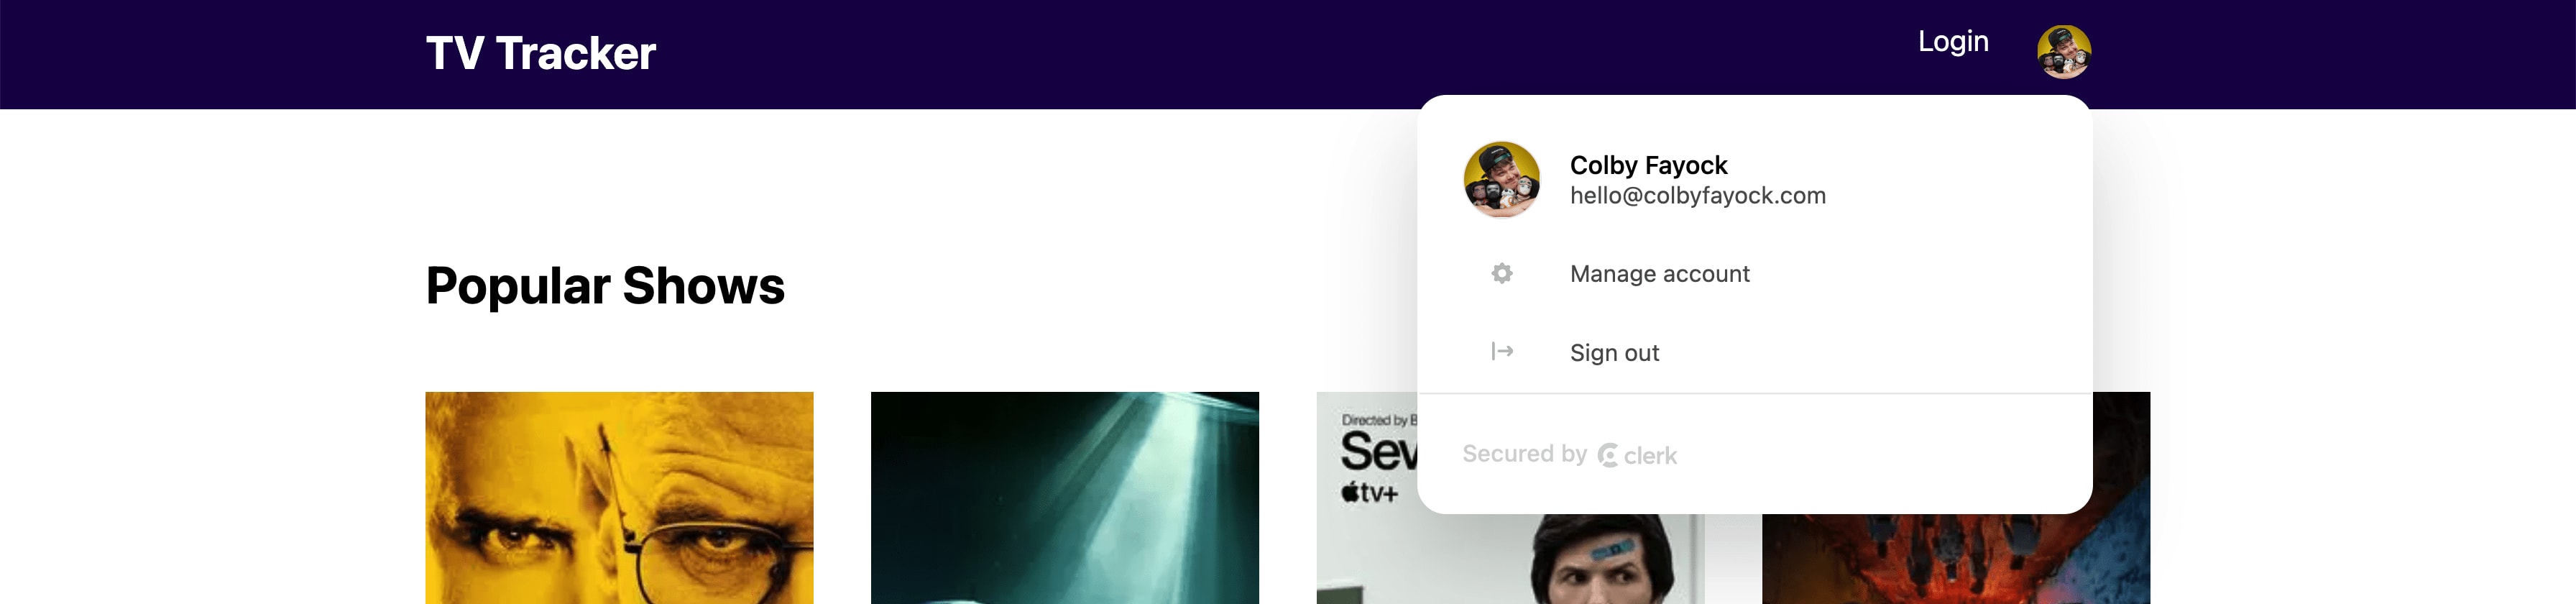
If we click Sign Out, we can see that we stay on the same page, but we no longer see our account.
Now rewinding back to our previous step, where we protected all routes, we never were able to fully test that out.
As we can see, we’re on the homepage which is public, so that’s working.
Also available inside of the Starter app is a page located at /dashboard. This should be protected because it’s not in our list.
http://localhost:3000/dashboard
If we try to go to that link while signed out, we can see that again, we get redirected to our login page!
Finally, we notice we’re showing both the login button and account button when we’re logged in. It probably doesn’t make sene to show the Login button if we’re already authenticated.
We can use the same SignedIn and SignedOut components, giving us an easy way to show and hide based on auth state.
At the top of src/components/Header/Header, update the Clerk import to:
import { SignedIn, SignedOut, UserButton } from '@clerk/nextjs';Next, replace the Login and UserButton list items with:
<SignedOut>
  <li>
    <Link href="/dashboard">
      <a>
        Login
      </a>
    </Link>
  </li>
</SignedOut>
<SignedIn>
  <li>
    <UserButton />
  </li>
</SignedIn>
Here we’re saying:
- Only show the Login button if we’re signed out
- Only show the User button if we’re signed in
Simple as that!
And if we reload either page in either authentication state, we’ll see that it now dynamically shows the right UI.
Tip: Because we’re protecting all routes by default, any new page you create will automatically be protected, but you can add new routes to the public route array to make it public!
Step 5: Requiring authentication for Next.js API routes with Clerk Middleware
Everything we’ve shown so far is happening within the React application lifecycle, but what if we wanted to also protect API routes that we create within our application?
We can install Clerk’s Middleware solution and check auth status within our routes to easily protect them.
Starting off, we want to set up our Middleware.
Next.js Middleware allows us to run code in the middle of our request chain before its completed to do things like rewriting or redirecting that request. Some uses cases could be modifying headers or setting cookies.
But Clerk uses this as a way to connect the authentication dots allowing us to easily tap in and check the auth status in our routes.
Starting off, we need to create our Middleware.
Inside of the src directory, create a new file called middleware.js.
Note:
middleware.jsshould be created in the same location yourpagesdirectory is located. If you’re following along, that should be insrcbut if yourpagesdirectory is at the root of your project, so shouldmiddleware.js.
At the top of src/middleware.js, first import NextResponse with:
import { NextResponse } from 'next/server';Then add a basic Middleware function with:
export function middleware(request) {
  return NextResponse.next();
}
If you refresh any of the pages or existing API routes (/api/hello) you shouldn’t notice anything different happening, but let’s add Clerk.
First we want to import withClerkMiddleware:
import { withClerkMiddleware } from '@clerk/nextjs/server';Then we’ll update our Middleware function definition wrapping it with the Clerk Middleware:
export default withClerkMiddleware((req) => {
  return NextResponse.next();
});
Now again, if you refreshing anything, nothing will appear different, but this let’s us “connect the dots” where we can now take advantage of the Clerk SDK in our API routes.
Let’s try this out with a new route.
Inside of src/pages/api create a new file stats.js.
Inside stats.js add:
export default function handler(req, res) {
  res.status(200).json({
    favorites: 16,
    tracking: 6,
    watched: 3
  });
}
All we’re doing here is creating a fake API endpoint that returns static data, the same data that you see inside of /dashboard.
Now if we try hitting that URL in our browser at http://localhost:3000/api/stats, we should simply see the data that we’re returning.
But we want this route to be protected right? And in an ideal world, we would want to get a User ID that we can then actually look up the stats for that user.
So to do this, we’re going to use the getAuth function from Clerk.
Let’s import it at the top of src/api/stats.js with:
import { getAuth } from '@clerk/nextjs/server';Then at the top of the handler function add:
const { userId } = getAuth(req);If we try console logging this value and requesting our stats API again, if we’re logged in, we should see our User ID!

If we’re not logged in, we’ll get a null, which means we can use this to check whether someone is logged in or not.
After we get the User ID and before we return the 200 status response add:
if ( !userId ) {
  res.status(401).json({ status: 'Unauthorized' });
  return;
}
When we refresh the stats API, if we’re still logged in, nothing will happen, but if we’re logged out (or if you try logging out), we should now see that we’ll get a 401 status instead of the stats response!
Now we’re not going to walk through using that ID to look up actual user data, nor is the app using actual user data, but this would be incredibly helpful for building dynamic apps where we need to associate data in a database with a user’s ID.
Tip: If you want to provide blanket authentication for your routes, you could alternatively try using a more advanced configuration: https://clerk.dev/docs/quickstarts/get-started-with-nextjs#using-middleware
What else can we do?
Given authentication has pretty broad use cases, we can extend this to whatever we want.
Build a comprehensive authentication solution for all routes
We covered using _app.js for protecting React routes and getAuth for API routes, but you could do all of this within a single Middleware file!
Check out Clerk’s Next.js Quickstart for an idea of how to do that.
Set up a database for application state
Now that we have a user ID associated with each user, we can store information about how they interact with our app, such as custom settings, user profiles, and anything else we need to build custom experiences.