

What is a Sitemap?
A sitemap is ususally an XML document that includes a comprehensive list of links to a website.
In addition to the links, it can include properties for each link including the last time it was modified and a priority for the page, which helps signal the importance of a page on a site.
Sitemaps are especially important in the context of search engines, where using tools like Search Console, you can allow Google to regularly crawl your site with the Sitemap being an entryway to all the links.
Without this discoverability and no other external links, it can be challenging to get your site indexed, which typically is a goal of content-driven sites.
What is an RSS Feed?
RSS feeds are similarly a list of links to a website, but are more focused on functionally acting as a feed of updates from your site, commonly used for blogs or news articles.
The feed wouldn’t include just any link, it would only include the links to that content feed, where a more popular use of RSS feeds were to subscribe to the feed of your favorite content site and regularly get updates in a centralized location.
RSS feed aggregation apps still exist, but aren’t as common, particularly with the long past sunset of Google Reader. That said, there are still many people who enjoy using RSS feeds for that purpose.
While not the traditional way to consume them, RSS feeds are a great mechanism for automating around content, where tools like Zapier have native integrations with RSS, which is great for triggering actions based on a content update.
What are we going to build?
We’re going to see how we can easily add a Sitemap and RSS Feed to a Next.js App Router site. We’ll even add a static route that returns a JSON response of site content which makes for an easy way to fetch content like an API request.
While the Sitemap is a built-in feature, the other feeds will take advantage of Next.js route handlers to list out our content.
Part 1: Creating a Sitemap in Next.js App Router
We have a few options for how we create a Sitemap, whether we manually write the Sitemap XML itself (not recommended) or use JavaScript to generate it dynamically.
Starting off, let’s create a dynamic Sitemap file.
Inside of your app directory, create a new file called sitemap.ts (or sitemap.js) and inside add:
import { MetadataRoute } from 'next';

export default function sitemap(): MetadataRoute.Sitemap {
  const links = [
    {
      url: 'https://yourwebsite.com', // Replace with your homepage
      lastModified: new Date(),
    },
  ]
  return links;
}
Here we’re creating a new Sitemap that includes a single link, our homepage, as well as a lastModified property with a value of the current datetime of the Sitemap being generated.
Tip: You can also pass in a
priorityandchangeFrequencyproperty to any links, but apparently Google ignores these values: https://developers.google.com/search/docs/crawling-indexing/sitemaps/build-sitemap
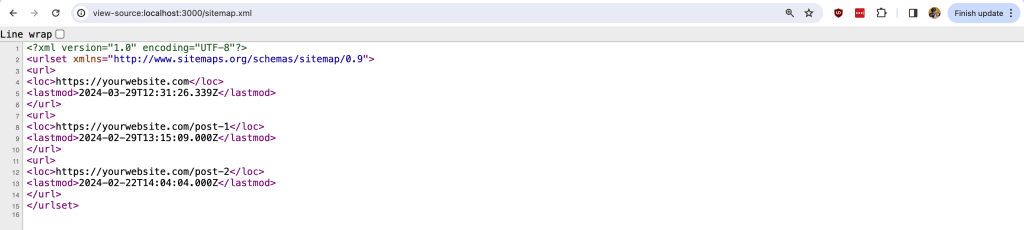
Now if you open up http://localhost:3000/sitemap.xml, or wherever your app is currently running, you should now see your Sitemap!

Tip: I’m using Chrome Extension XML Tree to get a more friendlier look for my Sitemap! If you don’t see structured XML like in the screenshot, try going to View Source, where you’ll see the raw XML.
Next, let’s add some dynamic content.
import { MetadataRoute } from 'next';
import { getPosts } from '@/lib/posts'

export default async function sitemap(): Promise<MetadataRoute.Sitemap>  {
  const links = [
    {
      url: 'https://yourwebsite.com', // Replace with your homepage
      lastModified: new Date(),
    },
  ]

  const posts = await getPosts();

  posts.forEach(post => {
    links.push({
      url: `https://yourwebsite.com/${post.slug}`,
      lastModified: post.lastModified
    });
  })

  return links;
}
Importantly, notice that we first updated the sitemap function to an async function.
But then we’re using a getPosts function to request all of the posts in our site. You would want to replace this with whatever data fetching method you have available to get your site’s posts.
We then loop through each post and push it into our array of links, including a URL dynamically constructed and the last modified date of the post itself, typically coming from a CMS or if using local files like markdown, could be the file’s last modified date.
Tip: Since the above is an example, be sure to update your link data so that the URL and date are properly formatted!
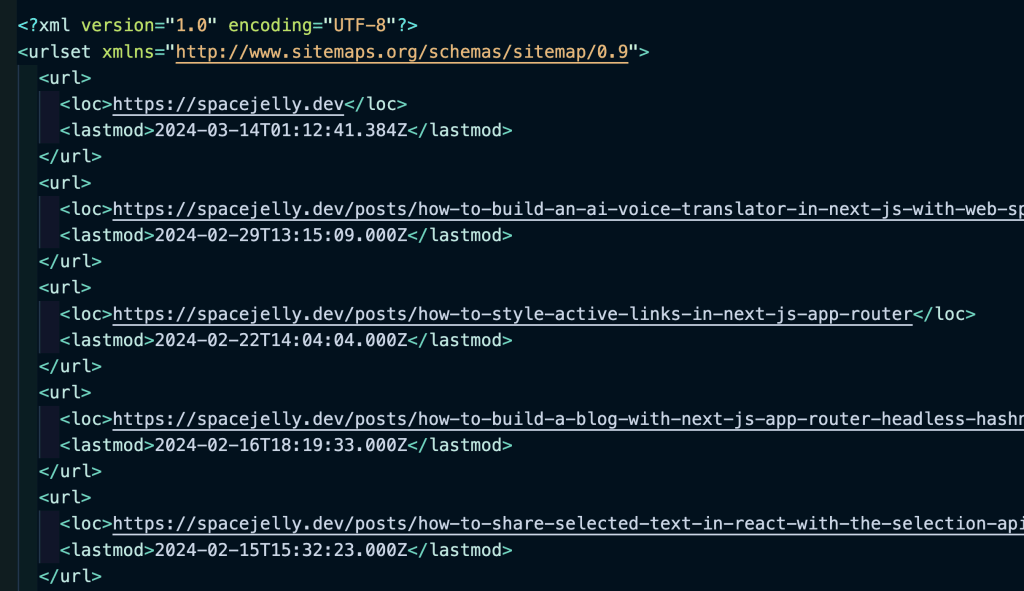
Now if we refresh, we should see our Sitemap load with some dynamic data!
From here, you can loop through all of your other dyanmic data or add static pages depending on how your project is set up, but importantly, make sure any page you want indexed is included in your Sitemap!
Part 2: Creating an RSS Feed with Route Handlers
To create an RSS feed, we’ll do something somewhat similar to a Sitemap, but we’ll need to do a little manual configuration.
We’ll use Next.js Route Handlers which allows us to create an endpoint which traditionally can be used like an API, but for our purpose, will act as a file that’s being returned in the request.
Inside of your app directory, create a folder called feed.xml and inside a file called route.ts (or route.js).
Then inside app/feed.xml/route.ts add:
export async function GET() {
  return new Response('<Feed>', {
    headers: {
      'Content-Type': 'application/atom+xml; charset=utf-8',
    },
  });
}
This sets up a base route at /feed.xml that is simply returning a string, but is also setting up the content type that will be XML.
If you try going to http://localhost:3000/feed.xml, you shouldn’t see much yet, but you can confirm the route works.

Now the tricky thing, is we don’t have an out-of-the-box mechanism for generating the XML for our feed, and we absolutely don’t want to write this by hand.
We can use the node-rss package, while a bit old, gives us an easy way to generate the feed for our project.
First install node-rss with:
npm install rssIf you’re using Typescript, also be sure to install the types:
npm install @types/rss -DImport it into the top of our app/feed.xml/route.ts file:
import RSS from 'rss';And then we can start configuring our feed!
Let’s start by creating a new feed instance:
const feed = new RSS({
  title: 'Your Website',
  description: 'A cool website that everyone should check out!',
  site_url: 'https://yourwebsite.com',
  feed_url: `https://yourwebsite.com/feed.xml`,
  copyright: `${new Date().getFullYear()} Your Website`,
  language: 'en',
  pubDate: new Date(),
});
This is basically the general information about your website, including a title, the URL for your website, and a few other details. Make sure to fill these out for your site! These might also be able to be pulled dynamically from your CMS, making it eaiser to manage.
With our new instance configured, we can update our Response to include that feed:
return new Response(feed.xml({ indent: true }), {
headers: {
'Content-Type': 'application/atom+xml; charset=utf-8',
},
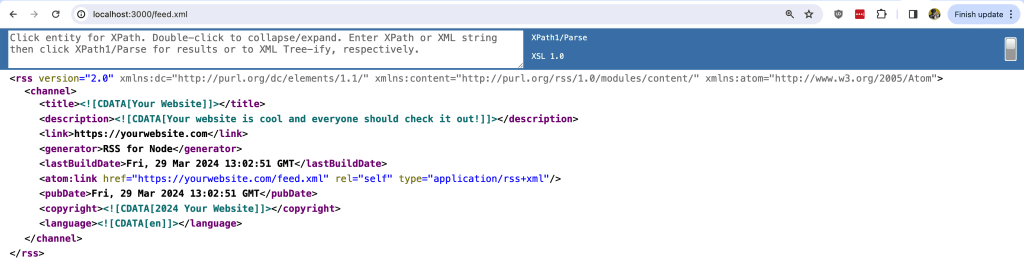
});We use the xml method and set indent to true for formatting purposes.
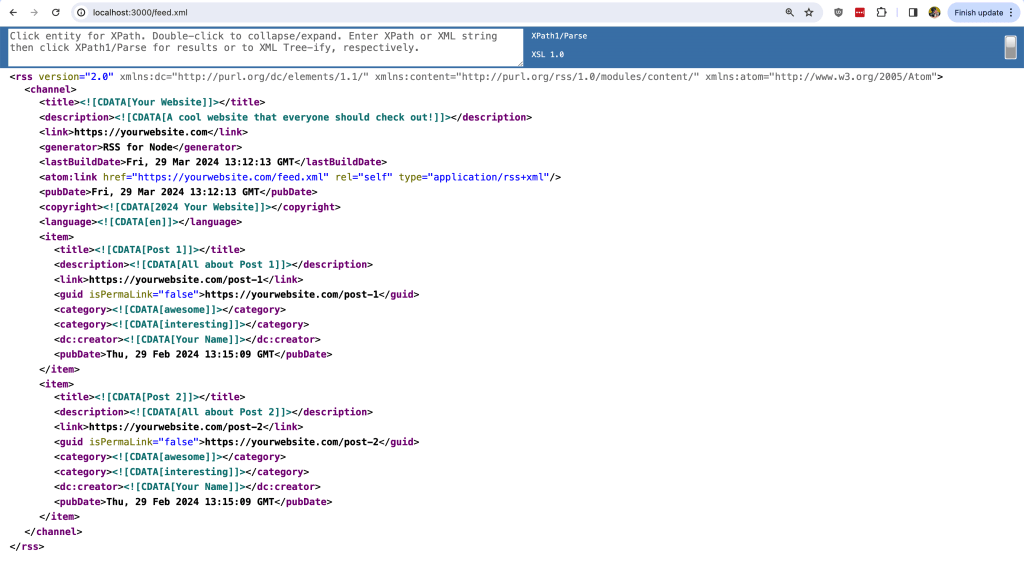
But if we now try to load our feed up in the browser, we should now see the basics of our feed start to come together!
But then we want to add the dynamic posts like we did for our Sitemap, so let’s now loop through and add a new item for each post.
After the feed instance, and before the response, add:
posts.map((post) => {
  feed.item({
    title: post.title,
    guid: `https://yourwebsite.com/${post.slug}`,
    url: `https://yourwebsite.com/${post.slug}`,
    date: post.date,
    description: post.excerpt,
    author: post.author.name,
    categories: post.categories || [],
  });
});
For each poset, we add a new feed item. Most of the details on here are important for the feed, so try to make sure you fill it out as you can. Properties like guid is typically what is used to determine if a new feed item has been added to an RSS Feed, making it important to be unique and updated properly.
Note: this is also assuming you’re importing and requesting your post data like we did with the Sitemap, but be sure to also update the properties being referenced to your content!
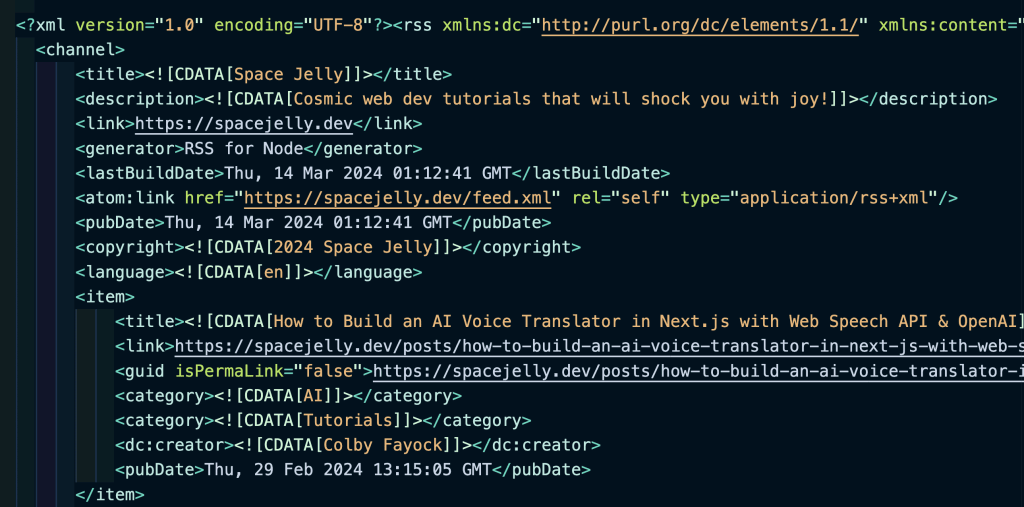
And now if we try to load this up in our browser, we should see our feed with post data!
Now, as far as other content, typically RSS Feeds are used for blog posts or articles, and while there’s nothing restricting you from adding other content, be sure to consider who will be using this RSS feed and whether or not they’ll want to get an update for a new random page on your site.
You also may want to limit how many posts you include in this feed, as with a lot of posts, this can get pretty large, so consider only requesting a certain amount of posts for each time the feed is generated.
But once you’re done, be sure to then add it to the head of your site!
You can do that by adding an alternate link tag when defining your site metadata, such as in your layout.tsx (or layout.jsx) file:
export const metadata: Metadata = {
  title: "Your Website",
  description: "A cool website that everyone should check out!",
  alternates: {
    types: {
      'application/rss+xml': 'https://yourwebsite.com/feed.xml',
    },
  }
};
Which will render:
<link rel="alternate" href="https://yourwebsite.com/feed.xml" type="application/rss+xml" title="Your Website" />You can also validate your feed using the W3C Feed Validation Service!
Part 3: Creating a custom JSON content feed with Route Handlers
In Part 2, we already did the hard part of figuring out custom route handlers, where here, we’ll take advantage of the same approach to great a JSON feed, without the complexity of RSS.
Now the thing is, we can just pass in our existing post data stringified “as is” into our response, as at this point, formatting the data or determining what data to include, is totally up to you!
So first, create a folder inside app called posts.json (or whatever you’d like) and inside a route.ts (or route.js) file.
Inside app/posts.json/route.ts add:
import { getPosts } from '@/lib/posts';
export async function GET() {
const posts = await getPosts();
return new Response(
JSON.stringify(posts),
{
headers: {
'Content-Type': 'application/json; charset=utf-8',
},
}
);
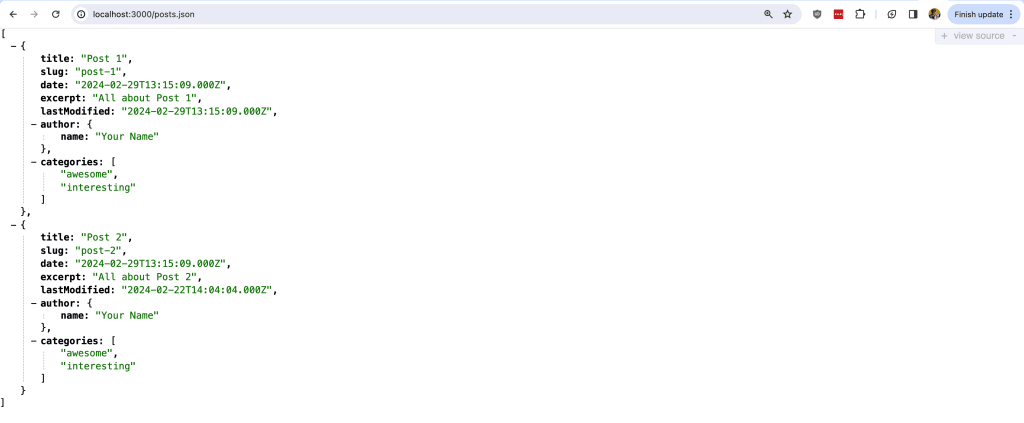
}As we can see, we pass the posts right through to JSON.stringify and our response! We then configure our Content-Type to make sure we’re responding with the right configuration.
And now if we open up http://localhost:3000/posts.json, we should see our new JSON feed!
Configuring Caching for Static Feeds
Now that your feeds are all configured, one consideration you’ll want to make is how you’re caching your feeds.
While we won’t go into those details in this post, you’ll want to figure out what strategy you want to take and how often you want it to refresh.
Learn more on the Next.js docs: https://nextjs.org/docs/app/building-your-application/data-fetching/fetching-caching-and-revalidating