
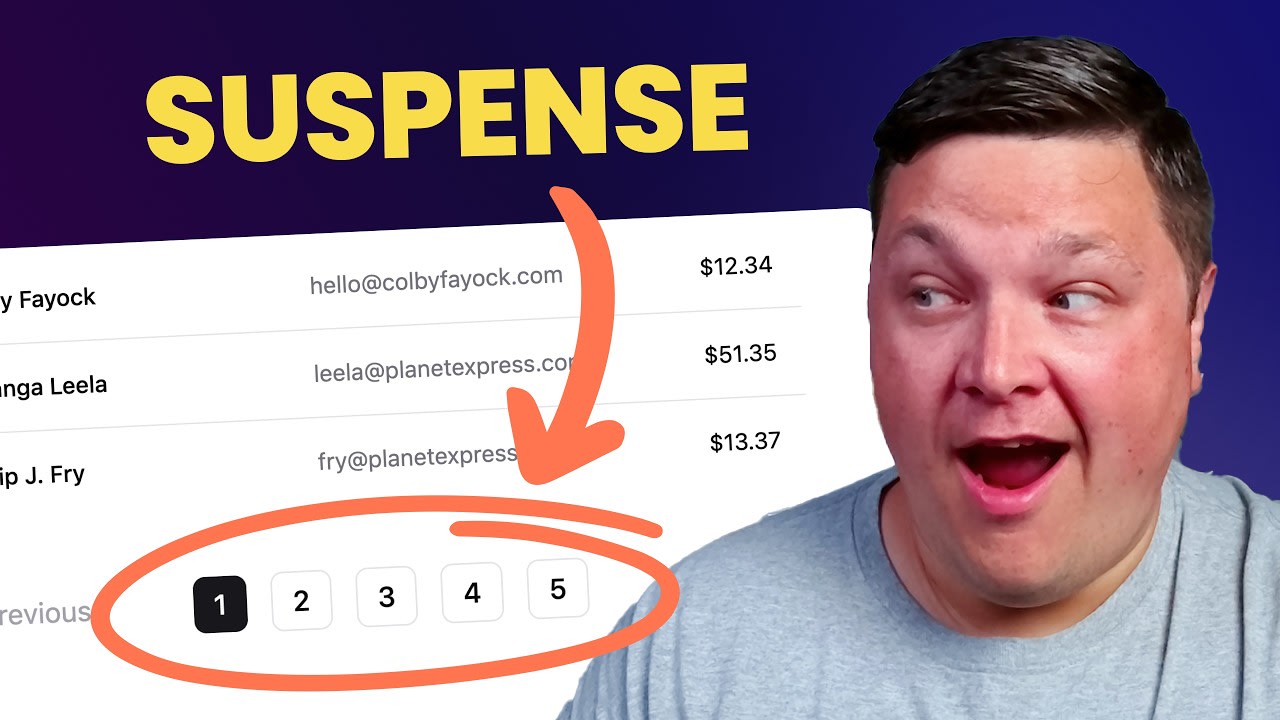
What are we going to build?
We’re going to add a pagination component to a React app that displays a previous, next, and numbered navigation system for different pages of data.
To do this, we’ll work through an example of using Drizzle ORM, but the React concepts should apply to any database solution.
Once we have the basic pagination set up, we’ll see how we can take it a step further and use Suspense to improve performance, to prevent the additional query from impacting our page load time.
Step 1: Querying for Data by Page with Drizzle ORM
Starting off, we’ll need to be able to query our data in a way that we can grab our data page by page.
In an example where I’m querying all of the data from a table:
const result = await db.select().from(Invoices);
I want to limit that query to the number of items I want to display on the page.
To do this, we can use the limit method and simply specify the number we want:
const result = await db.select().from(MyTable).limit(10);If we try to run our query, we should now see that we only get a maximum of 10 results.
Tip: It helps to have a lot of sample data when working through this, otherwise you won’t really be able to see the pagination work. You can even set a low limit to make it easier to paginate with less data.
Next, we want to be able to query the page of results that we want to obtain.
If we’re on Page 1, we want the first 10 results, but if we’re on Page 2, we want results 11-20.
To do this, we can use the offset method, where we’ll be specifying the amount of results we want to offset from 0.
In an example where I would want to grab the 2nd page of results, I would write my query as:
const result = await db.select().from(MyTable)
  .limit(10)
  .offset(10);
The results I want to receive are 0 + 10, where the first result I would get is 11 with a total of 10 results, giving me 11-20.
To further illustrate the example, page 3 would be an offset of 20 and page 4 would be an offset of 30.
Now taking this a step further, if I want to grab other pages, such as page 3, I’m not going to simply write 20, I want to multiply it by the actual page I’m on.
But if you multiply 10 by 3 (page 3), you would get an offset of 30, which would actually be the results of page 4.
To fix this, we want to simply subtract 1 from any page number when making our query:
const currentPage = 2;
const result = await db.select().from(MyTable)
  .limit(10)
  .offset(10 * (currentPage - 1));
So in this example where I’m on page 2, the offset will result in 10 * 1, giving me the page 2 results.
Before moving on, I like to store the number of results per page in a variable, rather than storing them individually in each method, just to more easily identify and keep them in sync.
const ITEMS_PER_PAGE = 10;
const currentPage = 2;
const result = await db.select().from(MyTable)
  .limit(ITEMS_PER_PAGE)
  .offset(ITEMS_PER_PAGE * (currentPage - 1));
And next, we’ll see how we can dynamically get the currentPage value using URL state so that we have a way to navigate through these results.
Step 2: Using Serverside URL State in Next.js
Traditional React apps run mostly in the client (browser), where you might think of storing the page number in state, but because we now have the ability to interface directly with a server in the React lifecycle, we can more easily use the URL to store our state, simplifying how we manage it and making it a bit more reliable.
To make this work, we’ll use query parameters and set a page value to the page number we’re on. We’ll use a server component for our page which will allow us to access this data.
Starting with an example where I want to navigate to a link such as:
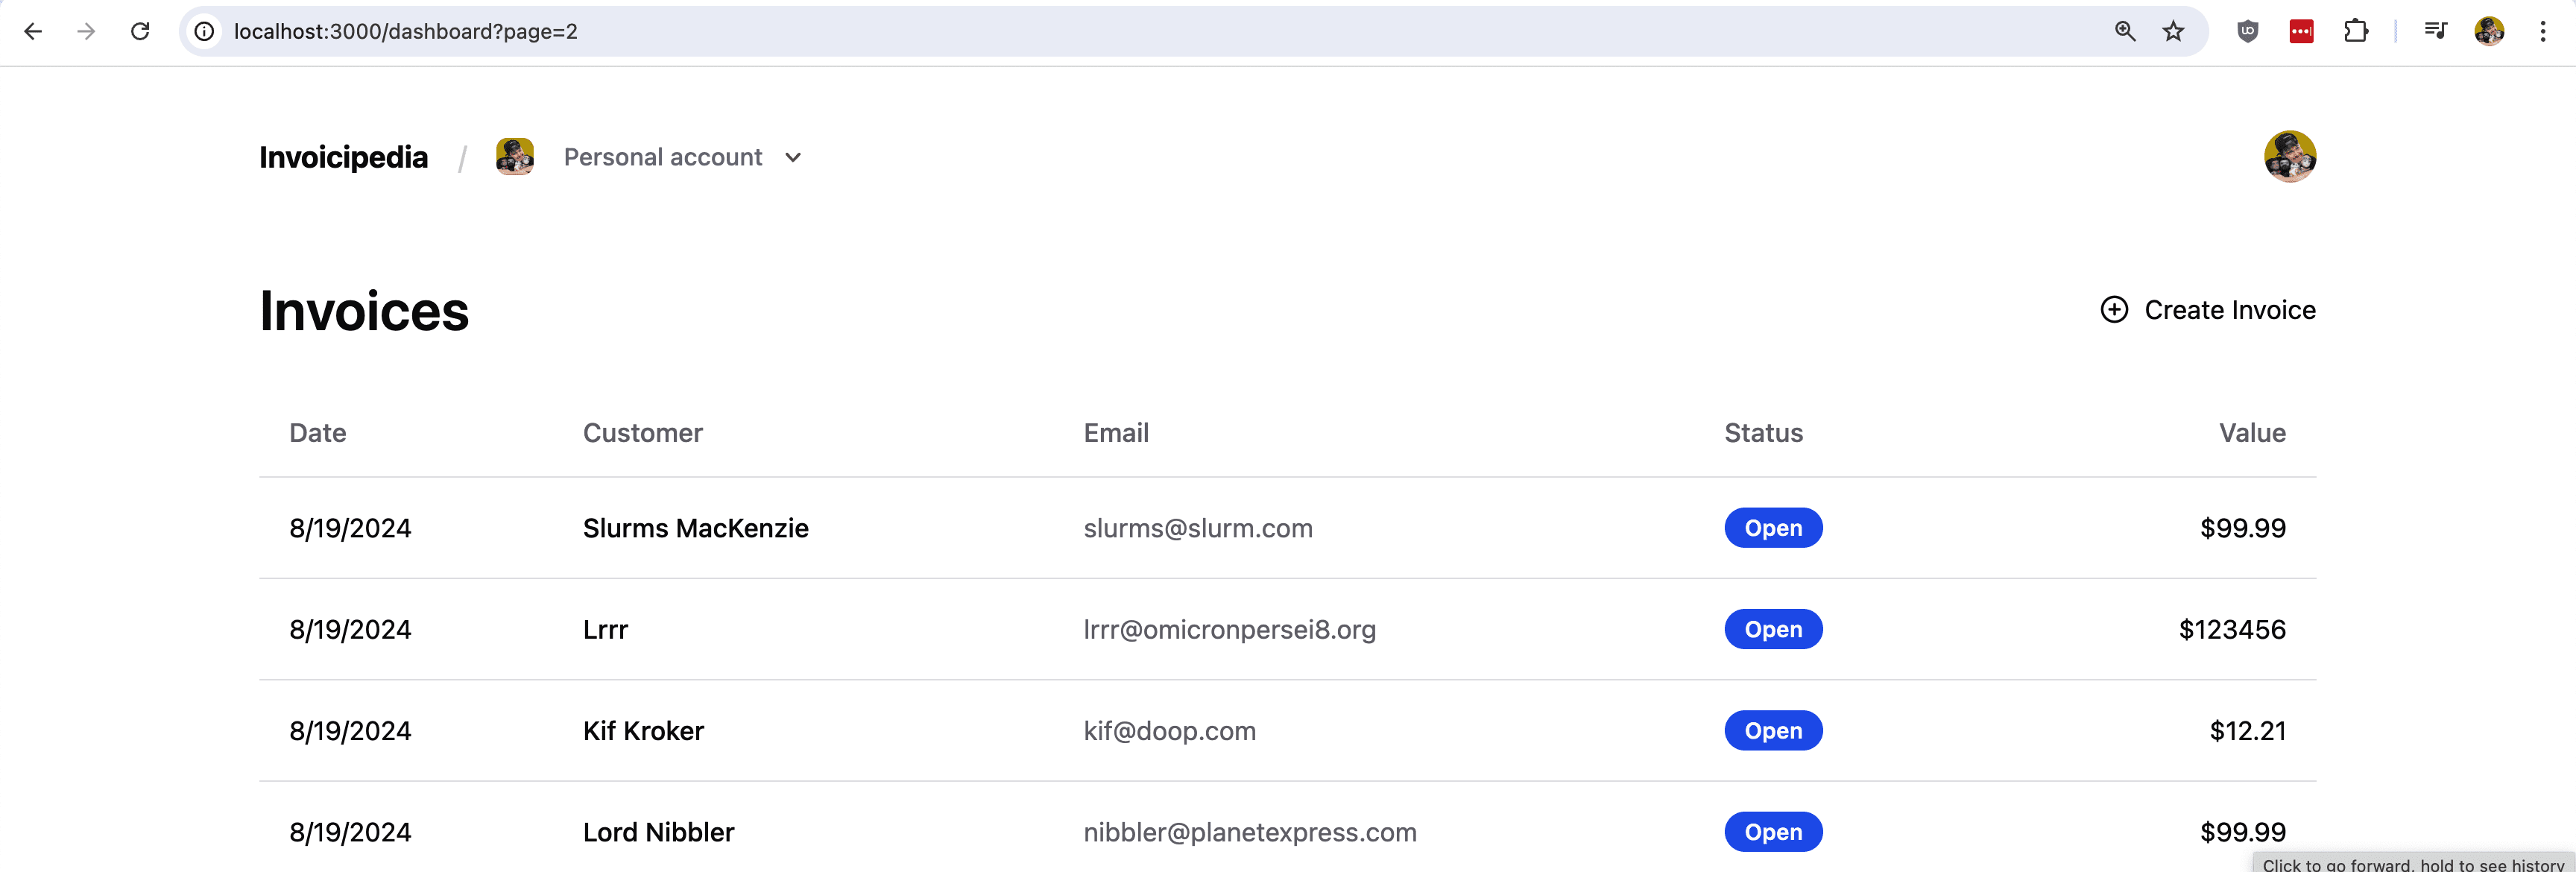
http://localhost:3000/dashboard?page=2I want to be able to grab the page number from the URL.
In Next.js, we can use the searchParams that are passed in through the Page component, allowing us to easily obtain the query param.
Inside the page that you want to add pagination (ex: page.tsx), update the function definition line to:
export default async function Dashboard({ searchParams }: { searchParams: { page: string | undefined }}) {Particularly important is destructuring the searchParams from the page props:
Dashboard({ searchParams }: { searchParams: { page: string | undefined }})And defining the types for the parameter we expect.
At this point, just like that, we now have access to our query param in a server component, where in the example above, searchParams?.page would now be "2" (a string).
Let’s now use this to dynamically set the currentPage constant:
const currentPage = searchParams?.page ? parseInt(searchParams.page) : 1;Here we’re checking if the page param exists and if it does, we turn it into a number which is needed for our query. If it doesn’t exist, we default to page 1.
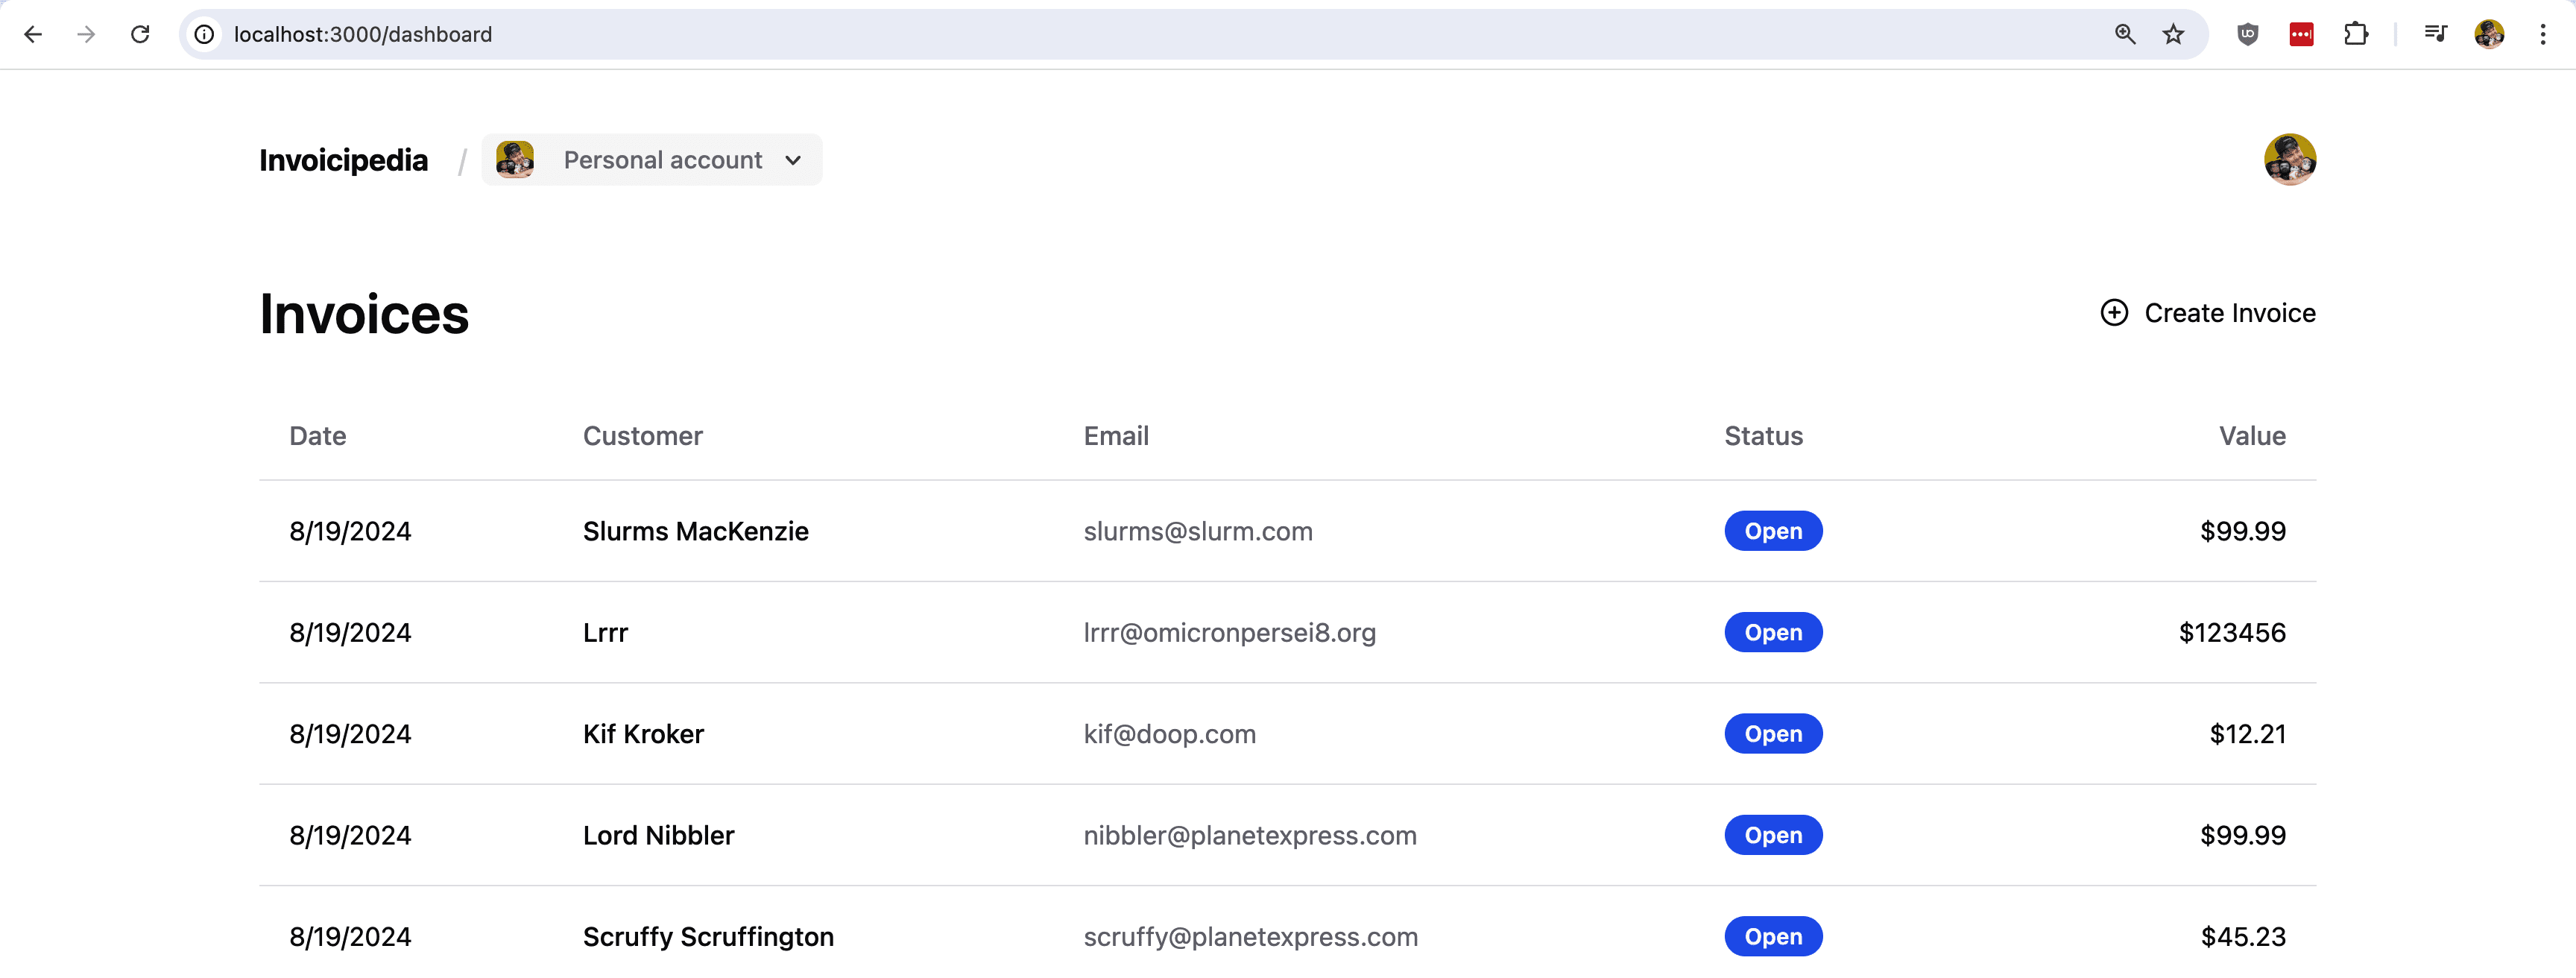
And now, depending on how many results you have in your database table, you should be able to jump around to different pages of results by simply changing the page number!
Step 3: Adding Pagination UI in React
Now that we’re able to navigate through the pages of results, we want some links or buttons in order to easily navigate from the UI.
Because we’re using the URL, we can simply add links to whatever page we want to navigate to.
For example, to add a Previous link, we can add a new Link element while dynamically specifying which page we want to navigate to based on the currentPage value.
<Link href={{
  pathname: '/dashboard',
  query: {
    page: currentPage - 1
  }
}}>
  <span>Previous</span>
</Link>
Here we’re saying we want to go to 1 page less than the current page, so if we’re on page 2, we want to go back to page 1.

The tricky thing though is if we’re on page 1, we don’t want to go to page 0, otherwise we’ll get an error, because that’s not a valid page, so we need to check what page we’re on and either hide the link or display it in some way that indicates its inactive.
{ currentPage > 1 && (
  <Link href={{
    pathname: '/dashboard',
    query: {
      page: currentPage - 1
    }
  }}>
    <span>Previous</span>
  </Link>
)}
{ currentPage <= 1 && (
  <span className="text-zinc-400">Previous</span>
)}
Here we’re saying if we’re on any page greater than 1, show the link, otherwise display it as inactive.

As far as going to the next page, we can do a similar thing, however we have an issue in that we don’t know how many total results we have.
There are multiple ways we can handle this, where some may add a Next button and allow people to click through until they can’t, where on the last page, they try to query it, and if there are no results, they hide it.
But I think that’s not a great user experience and we can do better.
Instead we can make an additional query for the total number of results and use that to determine how we show the pagination.
Tip: While adding another query isn’t always ideal, later we’ll see how we can defer the request to avoid it impacting page load.
To do this, we’ll make a query very similar to our original database query, only we’ll ask for the count:
First we need to newly import the count function from Drizzle:
import { count } from 'drizzle-orm'Then we can use it to grab the number of rows:
const [{ count: itemsCount }] = await db.select({
  count: count()
}).from(MyTable);
And now with that value, we can set up our Next link, where the only difference to the Previous link is we want to go 1 page ahead, and our logic to conditionally display it as active for inactive will vary slightly.
{ currentPage < Math.ceil(itemsCount / ITEMS_PER_PAGE) && (
  <Link href={{
    pathname: '/dashboard',
    query: {
      page: currentPage + 1
    }
  }}>
    <span>Next</span>
  </Link>
)}
{ currentPage >= Math.ceil(itemsCount / ITEMS_PER_PAGE) && (
  <span className="text-zinc-400">Next</span>
)}
And now we should have a Next link that takes us to the next page, but deactivates when we have no more results!

Finally, we want to also give people the ability to navigate directly to a page by number.
To do this, we can calculate the number of pages we have and add a button for each page.
Tip: If you have a lot of pages, you can use UI patterns such as hiding some numbers and revealing them when hovered or only show a few numbers, such as the first one, last one, and a few in the middle around the current page.
{ typeof itemsCount === 'number' && (
  <ul className="flex items-center gap-3">
    {[...new Array(Math.ceil(itemsCount / ITEMS_PER_PAGE))].map((_, index) => {
      const page = index + 1;
      return (
        <li key={page}>
          <Link href={{
            pathname: '/dashboard',
            query: {
              page
            }
          }}>
            { page }
          </Link>
        </li>
      )
    })}
  </ul>
)}
Here we’re using an unordered list to display the items with a little bit of Tailwind. I’m also doing a check to see if itemsCount is a number just to make sure we have that value.
Once inside, we’re creating a new array that equates to the number of pages or the number rounded up if it’s a decimal. With that, we create a new list item for each page and link to that page directly using our existing URL state by query parameter.

And now we have an easy way of navigating directly to a specific page!
Step 4: Using Suspense to Defer Pagination Query
Part of the problem with our solution is we just added an additional query to our app. While that might not matter for small apps with not a lot of data or requests, it runs into problems as we scale and generally speaking, we should try to identify where we can prioritize resource loading and defer what’s not needed.
To fix this, we can use React’s Suspense feature, which allows us essentially defer any queries loading inside of a child component wrapped inside Suspense. It’ll allow us to show some fallback UI and once the query finishes, it’ll display everything we need.
Now the tricky thing with this, is our query must be made inside of the Suspense boundary, where right now, it’s being made at the same level of the rest of our queries. To fix this, we can add all of our pagination UI and logic into a new component along with the query.
First, let’s set up a new component. Rather than walking through everything step by step, here’s the entirety of the component.
import Link from 'next/link';
import { count } from 'drizzle-orm'
import { db } from '@/db'; // Update based on your configuration
import { MyTable } from '@/db/schema'; // Update based on your configuration

interface PaginationProps {
  currentPage: number;
  perPage: number;
}

export default async function Pagination({ currentPage, perPage }: PaginationProps) {
  const [{ count: itemsCount }] = await db.select({
    count: count()
  }).from(MyTable);
  return (
    <ul className="flex justify-between items-center text-sm mt-8">
      <li>
        { currentPage > 1 && (
          <Link href={{
            pathname: '/dashboard',
            query: {
              page: currentPage - 1
            }
          }}>
            <span>Previous</span>
          </Link>
        )}
        { currentPage <= 1 && (
          <span className="text-zinc-400">Previous</span>
        )}
      </li>

      { typeof itemsCount === 'number' && (
        <ul className="flex items-center gap-3">
          {[...new Array(Math.ceil(itemsCount / perPage))].map((_, index) => {
            const page = index + 1;
            return (
              <li key={page}>
                <Link href={{
                  pathname: '/dashboard',
                  query: {
                    page
                  }
                }}>
                  { page }
                </Link>
              </li>
            )
          })}
        </ul>
      )}

      <li>
        { currentPage < Math.ceil(itemsCount / perPage) && (
          <Link href={{
            pathname: '/dashboard',
            query: {
              page: currentPage + 1
            }
          }}>
            <span>Next</span>
          </Link>
        )}
        { currentPage >= Math.ceil(itemsCount / perPage) && (
          <span className="text-zinc-400">Next</span>
        )}
      </li>
    </ul>
  )
}
Quickly reviewing the component, this contains the different pieces that we put together in the previous step, including Next, Previous, navigation by page number, and the query to get the number of items. This also adds props for currentPage and perPage which we’ll pass in from the parent page.
So now let’s set up our new component in our parent page.
<Pagination
  currentPage={currentPage}
  perPage={ITEMS_PER_PAGE}
/>
And at this point, nothing should look or work differently from the previous step.
But here’s the interesting part, now we’re going to use Suspense to defer the loading of our component.
Let’s simply wrap our component in Suspense.
<Suspense fallback={<>Loading...</>}>
  <Pagination
    currentPage={currentPage}
    perPage={INVOICES_PER_PAGE}
  />
</Suspense>
Here I used a really basic fallback of text “Loading…”, but this is the opportunity to add some sort of loading indicator, such as skeletons or animations.
And if you reload the page, oops, you might not have noticed anything at all.
If your query is resolving very quickly, the page will likely load just like it did before. That’s not necessarily a bad thing, because that means your app is loading fast, but this solution is for instances where the query is loading slowly preventing the rest of your UI from loading.
But we can fake a slow query so that we can see this work in practice!
At the top of your Pagination component, add:
await new Promise((resolve) => {
  setTimeout(() => {
    resolve(undefined);
  }, 5000)
})
What this will do is essentially wait for 5 seconds before rendering the component.
And now if you try to reload the page, you should see your Loading indicator for at least 5 seconds!

The interesting thing that’s happening here though isn’t necessarily the loading indicator, but the fact that the rest of the table loaded and is interactive.
Suspense allows us to load our initial data, render the UI, and then defer the loading of our pagination query which isn’t as critical for first load, so that we can load the initial results faster.
Tip: Remember to remove the timeout so your app isn’t accidentally slower!!
But now, we have a reliable pagination UI improves UX without sacrificing performance!