Getting Started
To start up this project, I created a skeleton that includes a search form and a grid to display the images using Tailwind Elements. You can take a look at the page.tsx file in the app directory to see the project structure. Make sure you have some images uploaded to your Cloudinary account, which we’ll fetch and display in our gallery.
Installing and Configuring Cloudinary Node SDK
To start working with Cloudinary in a Node environment, first, we need to install the SDK:
npm install cloudinaryAfter installing the SDK, import it and configure it with your Cloudinary account credentials. We’ll be using environment variables to store our API key and secret:
import { v2 as cloudinary } from "cloudinary";

cloudinary.config({
  cloud_name: process.env.NEXT_PUBLIC_CLOUDINARY_CLOUD_NAME,
  api_key: process.env.CLOUDINARY_API_KEY,
  api_secret: process.env.CLOUDINARY_API_SECRET,
});
Create a .env.local file in the root of your project, and add your Cloudinary credentials:
NEXT_PUBLIC_CLOUDINARY_CLOUD_NAME=your_cloud_name
CLOUDINARY_API_KEY=your_api_key
CLOUDINARY_API_SECRET=your_api_secret
You can get these credentials from your Cloudinary Programmable Media Dashboard.
Fetching Images with Cloudinary Node SDK
With React Server Components, we can now run server code in React where we couldn’t before, meaning we can use the Cloudinary Node.js SDK to fetch our assets.
To fetch images from Cloudinary, we can use the search method:
const resources = await cloudinary.search.expression().execute();However, we still need to make our home component asynchronous to use the async/await syntax.
export default async function Home() {After fetching the image resources, let’s display them in our gallery. We’ll map over the resources and create a div for each one containing the image:
{resources.map((resource) => (
  <div key={resource.public_id}>
    <img
      src={resource.secure_url}
      alt=""
      width={resource.width}
      height={resource.height}
    />
  </div>
))}
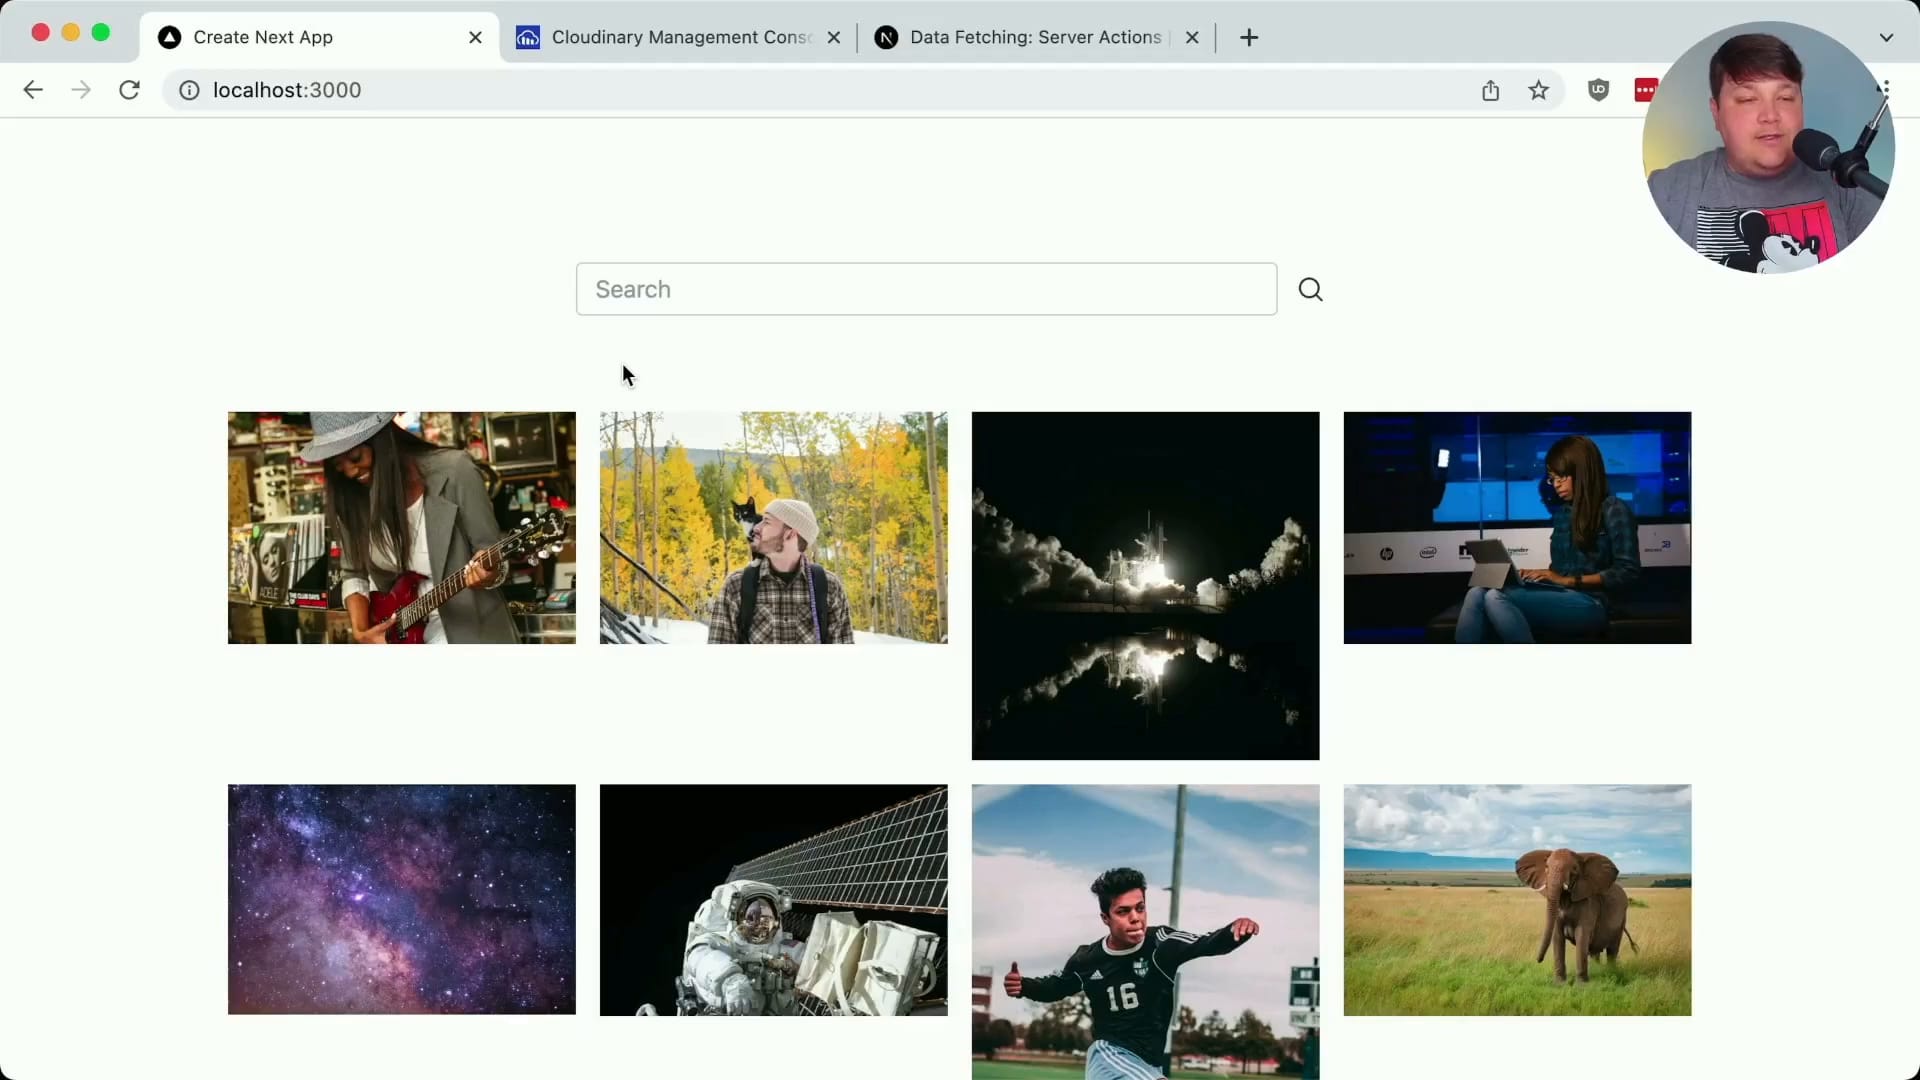
Now, when you refresh the page, you should see all your images fetched from Cloudinary and displayed in the gallery, all using the Node.js SDK!

Dynamically Transforming Images with Cloudinary
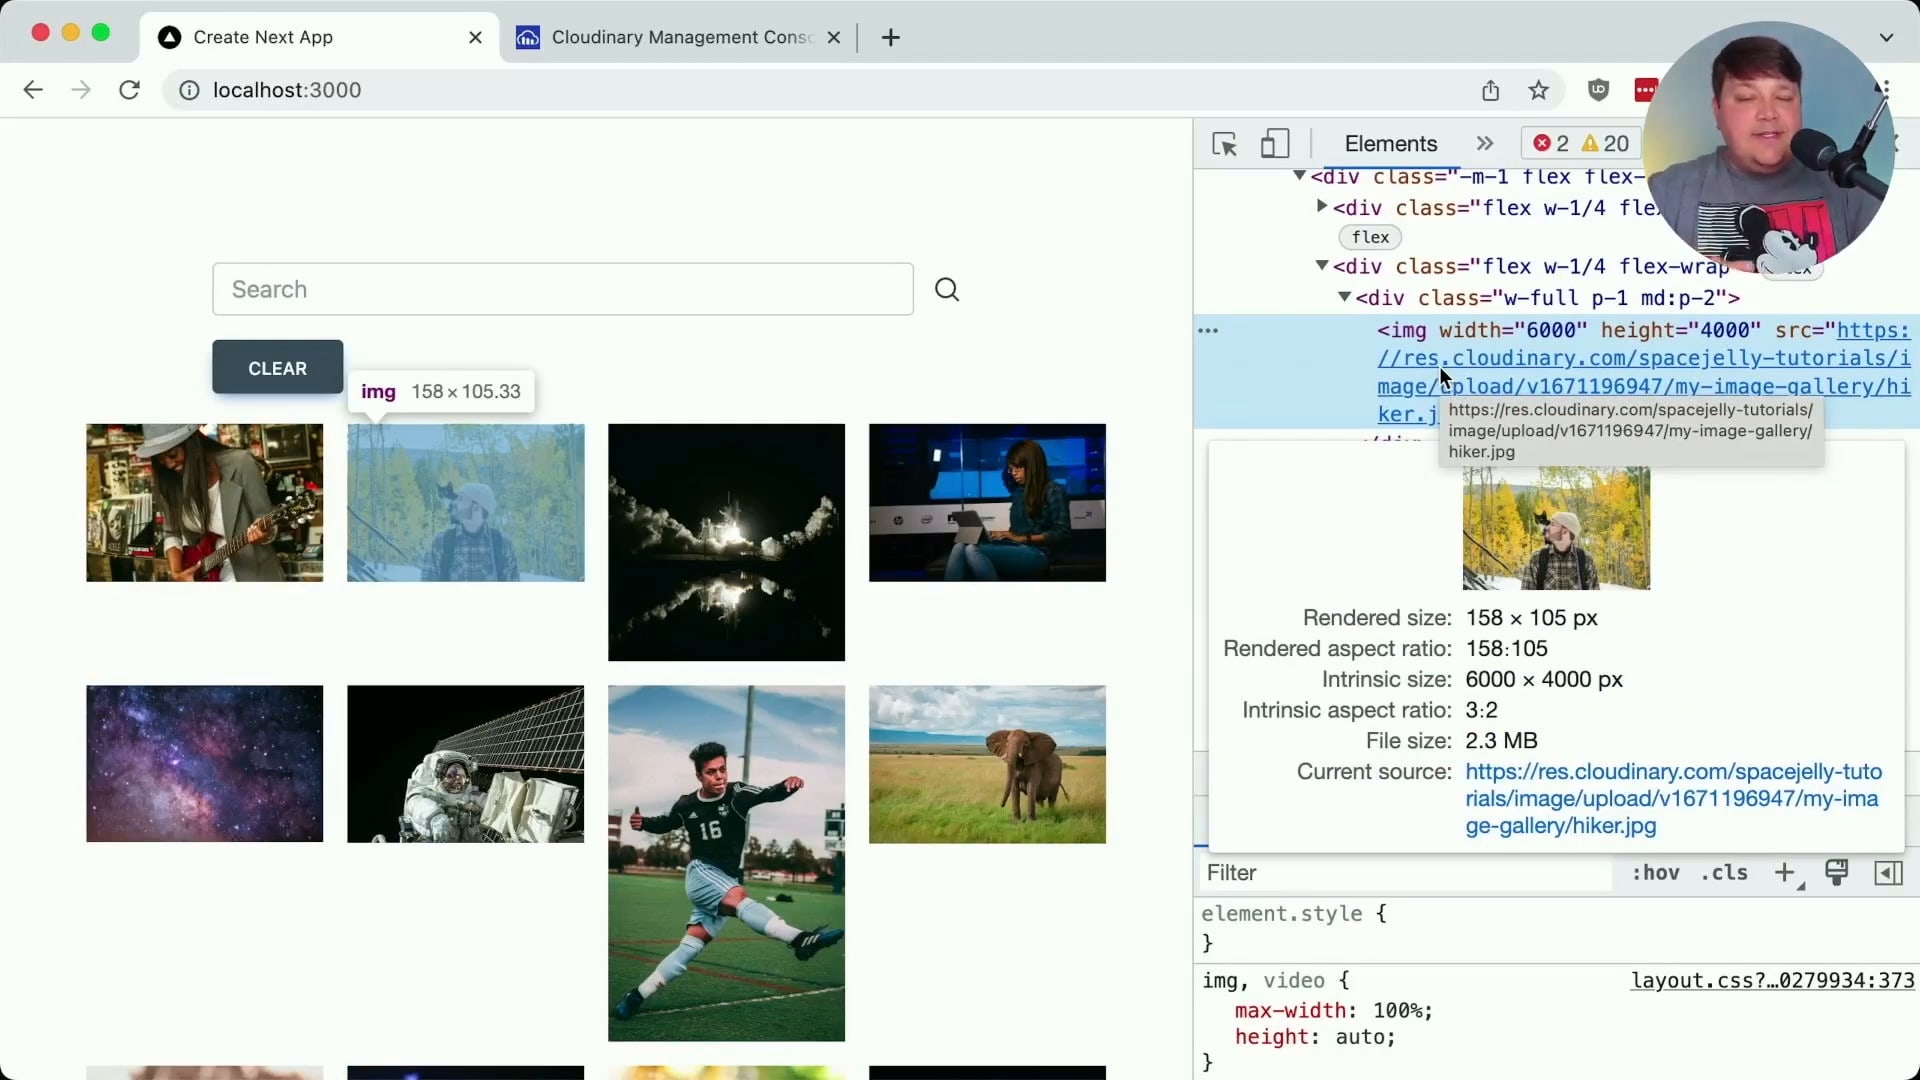
Since we’re currently fetching and displaying raw images from Cloudinary, which might be too large, we can use the power of Cloudinary to dynamically transform and optimize them. We’ll use Next Cloudinary for first-class support for Cloudinary features in our Next.js app:
npm install next-cloudinaryBecause we already set up our NEXT_PUBLIC_CLOUDINARY_CLOUD_NAME environment variable, we’re already ready to go!
Import and use the CldImage component from Next-Cloudinary:
import { CldImage } from "next-cloudinary";

{resources.map((resource) => (
  <div key={resource.public_id}>
    <CldImage
      src={resource.secure_url}
      alt=""
      width={resource.width}
      height={resource.height}
    />
  </div>
))}
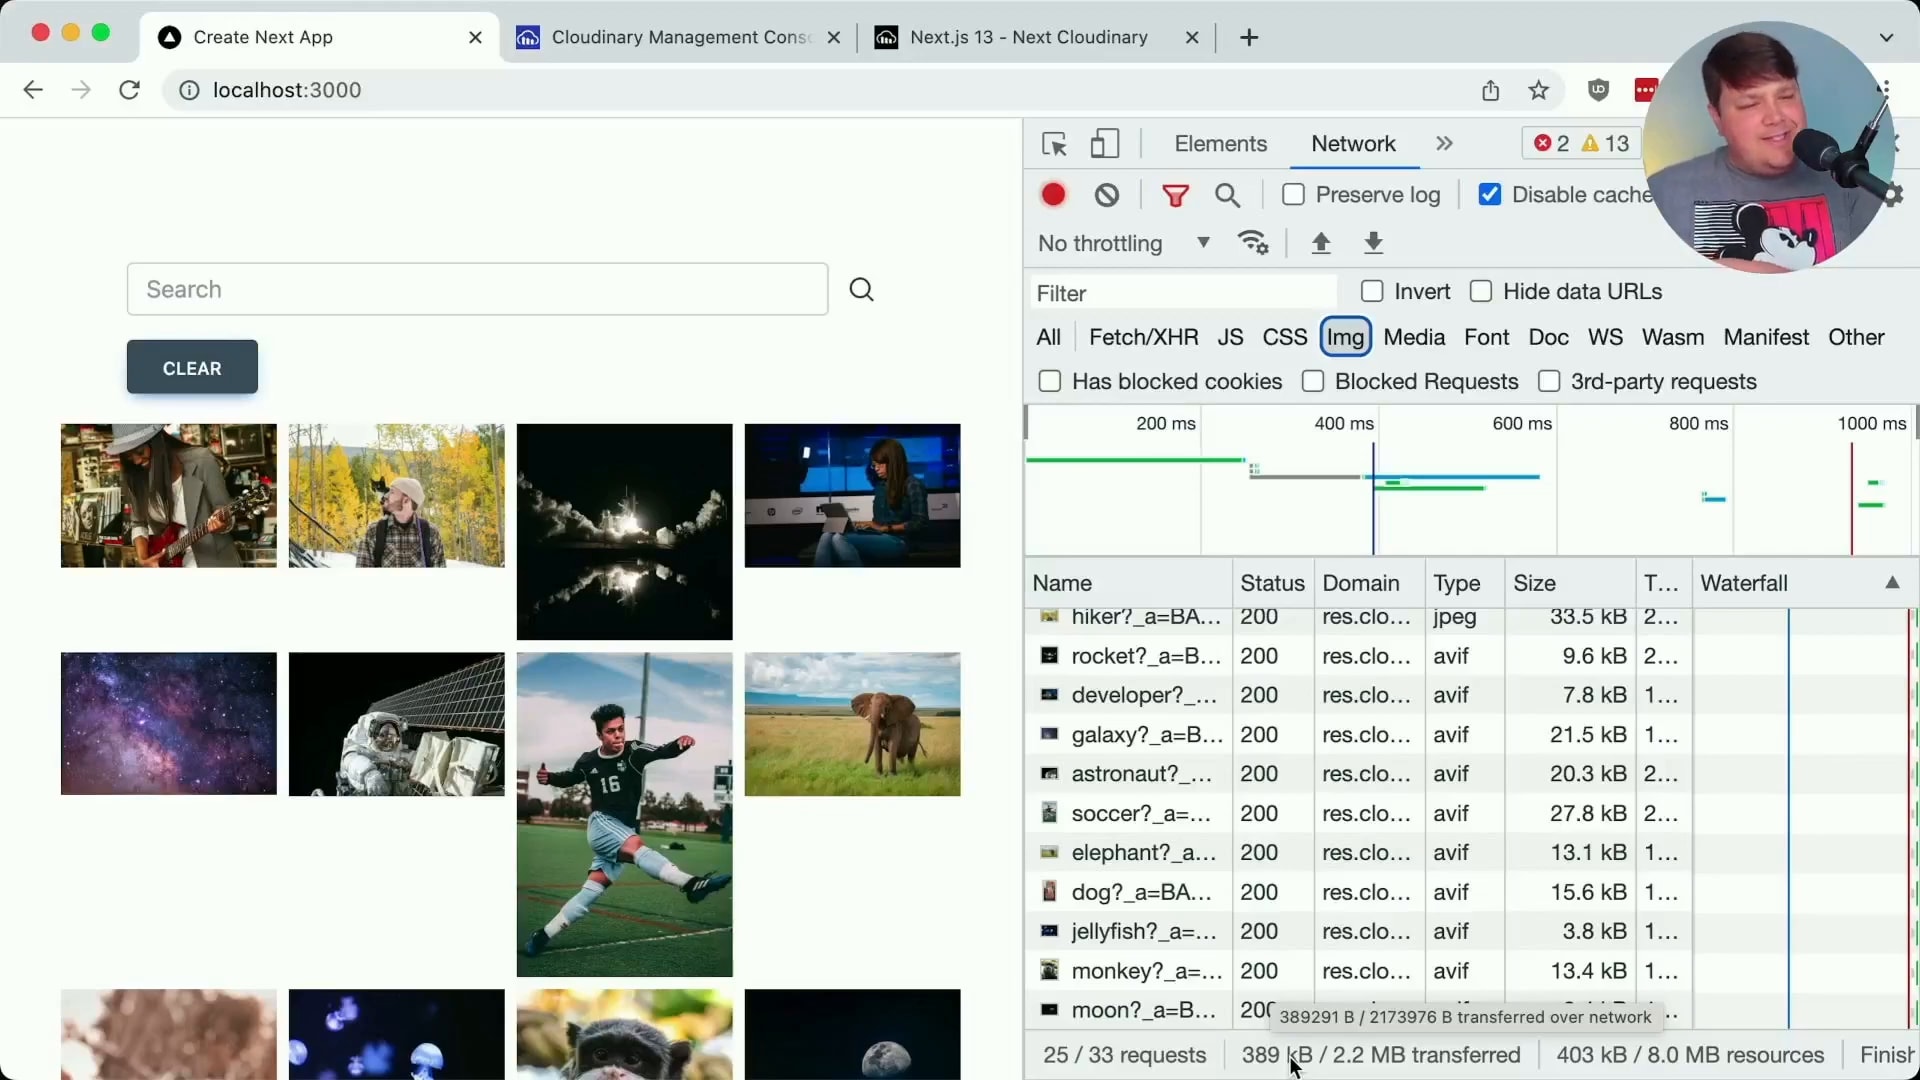
This will automatically optimize the images by delivering the most modern format for the browser.
We can even add responsive sizing by adding the sizes attribute:
<CldImage
  src={resource.secure_url}
  alt=""
  width={resource.width}
  height={resource.height}
/>
Which will build a srcset attribute so we only render the size we need for the viewport, giving us much better performance, and avoiding sending way bigger image files than we need.

Adding Search Functionality with Server Actions
Next, we’ll add search functionality to our image gallery using Next.js Server Actions (experimental feature).
First, add a search action to a form that includes a text or search input with the name of query:
<form action={search}>Create an async function called search to handle the search action:
async function search(data: FormData) {
  'use server';
  redirect(`/?query=${data.get('query')}`);
}
This function extracts the search query from the form data and simply appends it to the URL.
Now with our query parameter, we can grab it from the server request and add it to our expression:
export default async function Home({ searchParams }: { searchParams: any }) {

  const query = searchParams.query;

  let expression = 'folder=my-image-gallery';

  if ( query ) {
    expression = `${expression} AND ${query}`;
  }

  const { resources } = await cloudinary.search.expression(expression).execute();
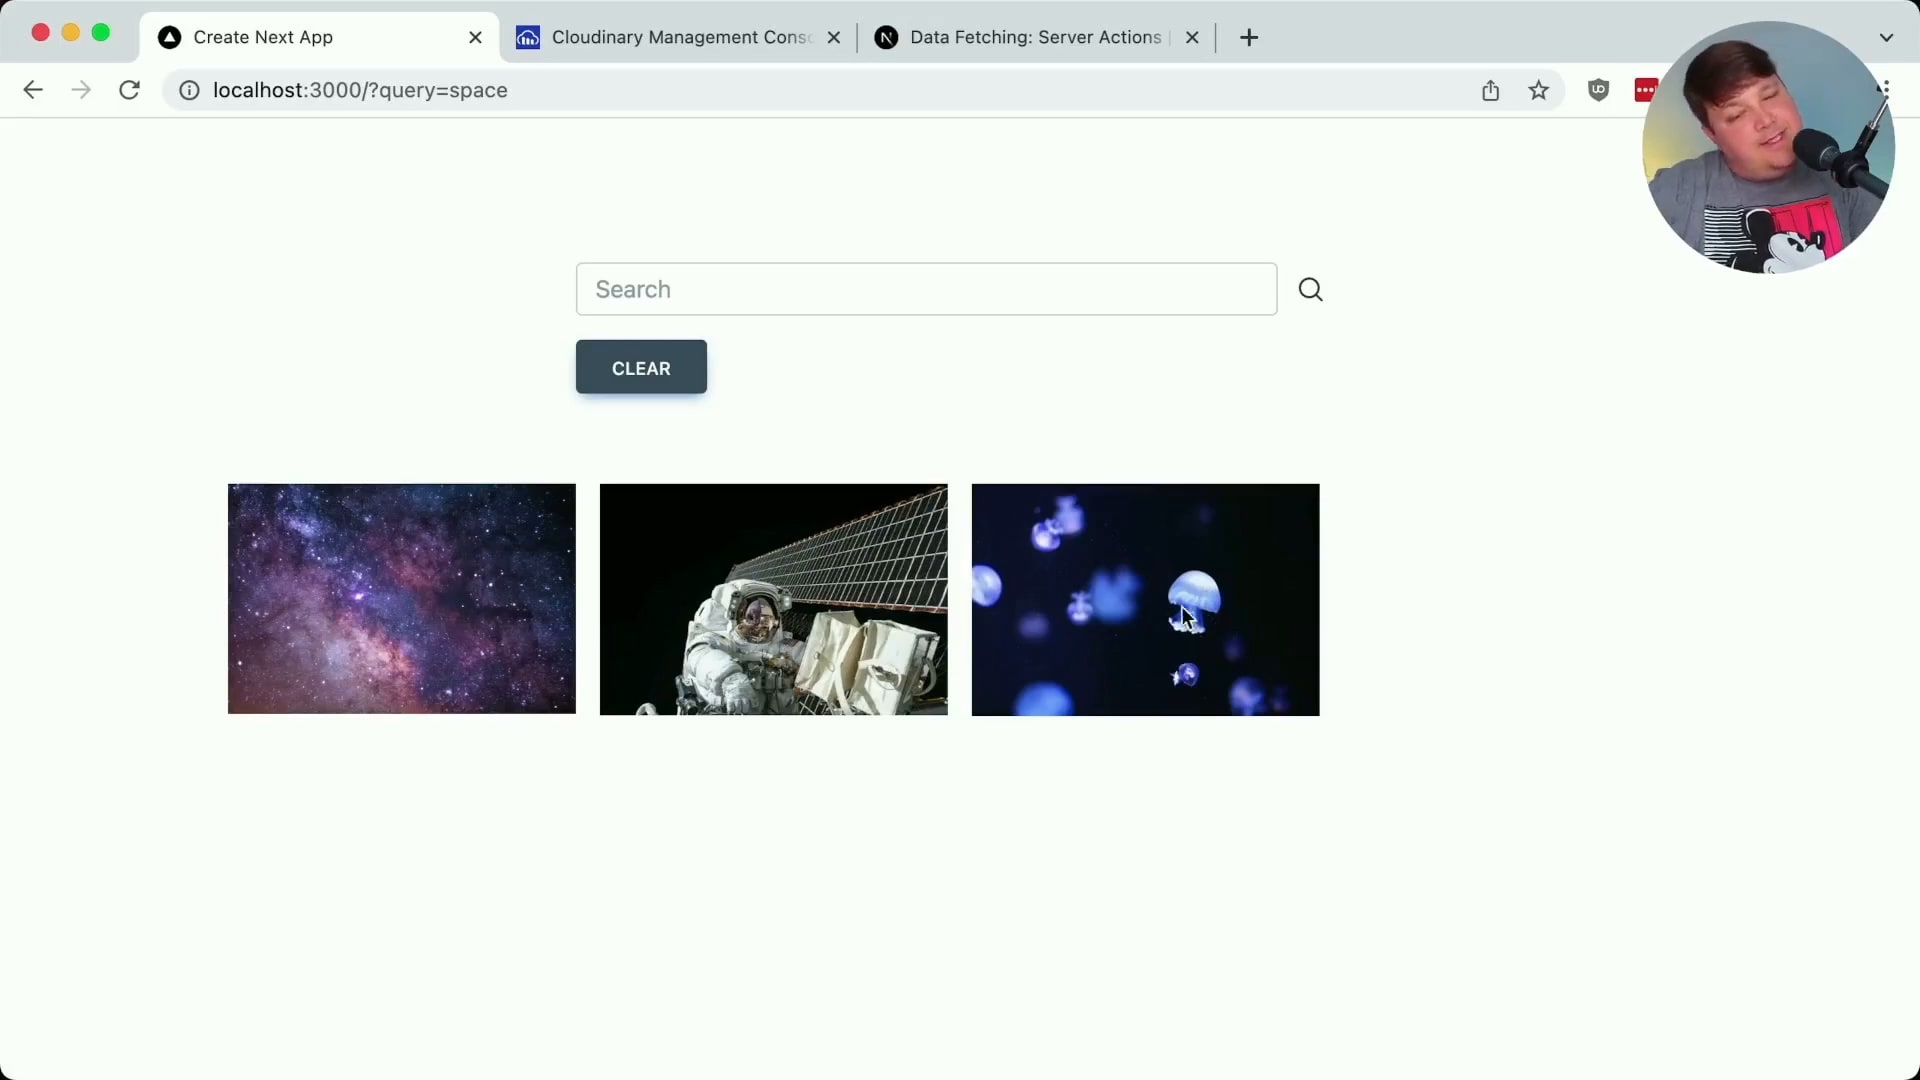
We can now try our search form where we’ll see the query parameter appended to the URL and then used to create a search.

Clearing the Search Query
Finally, we’ll implement the functionality to clear the search query and return to the initial gallery.
Add a clear action to a form and that includes a button to submit that form:
<form action={clear}>async function clear() {
'use server';
redirect(`/`);
}When clicked, the submitted form should trigger the server action redirecting to the original page and clearing the search!

Wrapping Up
Now you have a simple image gallery with search functionality that fetches and displays images from Cloudinary using the Node SDK in a Next.js React app with server components.
This is just a basic example and might not even be the best use case for server actions or server components, but it shows the potential of using these new features in combination with third-party SDKs like Cloudinary.
Remember that server actions are still an experimental feature, so it’s always good to keep an eye on the Next.js documentation for updates.
