What is the GitHub GraphQL API?
In order to actually request data from GitHub we’re going to take advantage of it’s GraphQL API.
If you’re more familiar with the REST side of things, you likely could make requests to get similar data, but using GraphQL as our request mechanism gives us a lot more flexibility and options for how we’re able to request data based on complicated relationships.
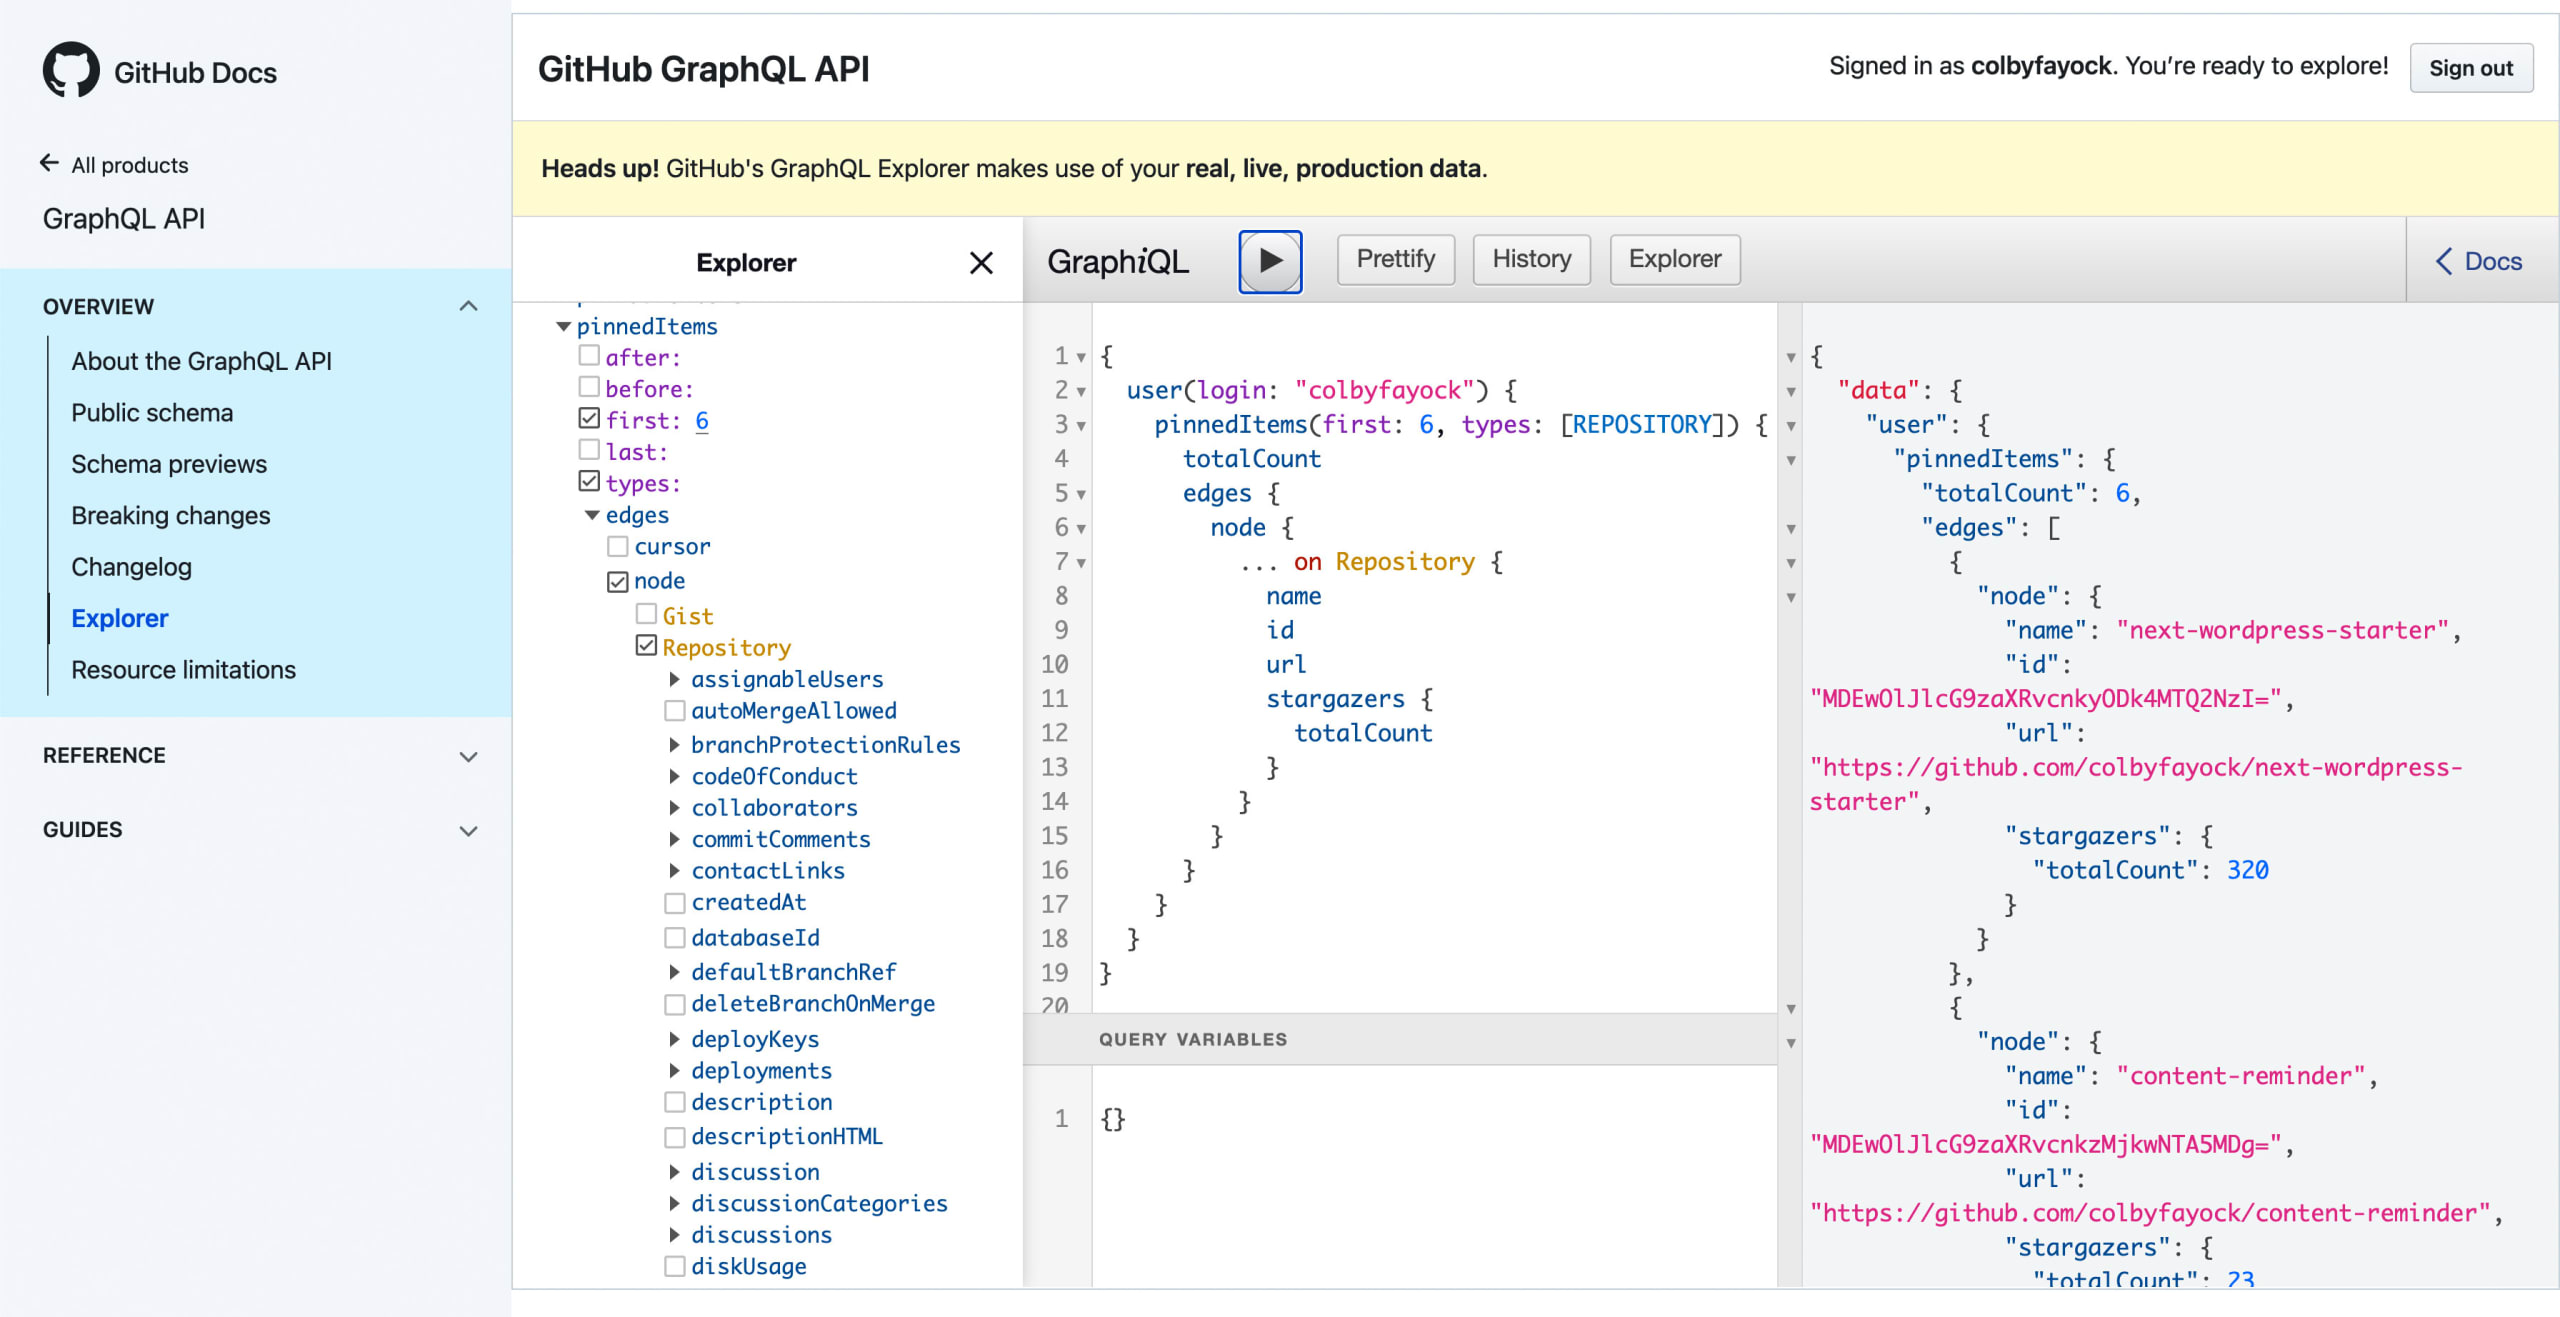
The GitHub GraphQL API Explorer is a great way to see this in action. If you head over there and log in, you’re able to dynamically look through all of the data GitHub makes available through its API.
What are Pinned Repositories?
Pinned Repositories are GitHub’s way to allow you to feature a few of your favorite projects easily on your profile.

You’re allowed to pin a maximum of 6 repositories and rearrange them to your liking.
We can take advantage of this same mechanism to make a request for these repositories so that we can show them off on our own custom website!
What are we going to build?
We’re going to use the GitHub GraphQL API to fetch the list of Pinned Repositories on our GitHub profile page and render out that list in a Next.js React app.
Note: don’t have any pinned? Feel free to just use my username like in the examples!
We’ll use Create Next App to spin up a brand new Next.js app, learn how to authenticate GraphQL requests to GitHub, and use Apollo GraphQL client to make the request in the app.
Step 0: Creating a new Next.js app with Create Next App
We’re going to start off with a new Next.js app using Create Next App.
Inside of your terminal, run:
yarn create next-app my-pinned-repos
# or
npx create-next-app my-pinned-repos
Note: feel free to use a different value than
my-pinned-reposas your project name!
Once installation has finished, you can navigate to that directory and start up your development server:
cd my-pinned-repos

yarn dev
# or
npm run dev
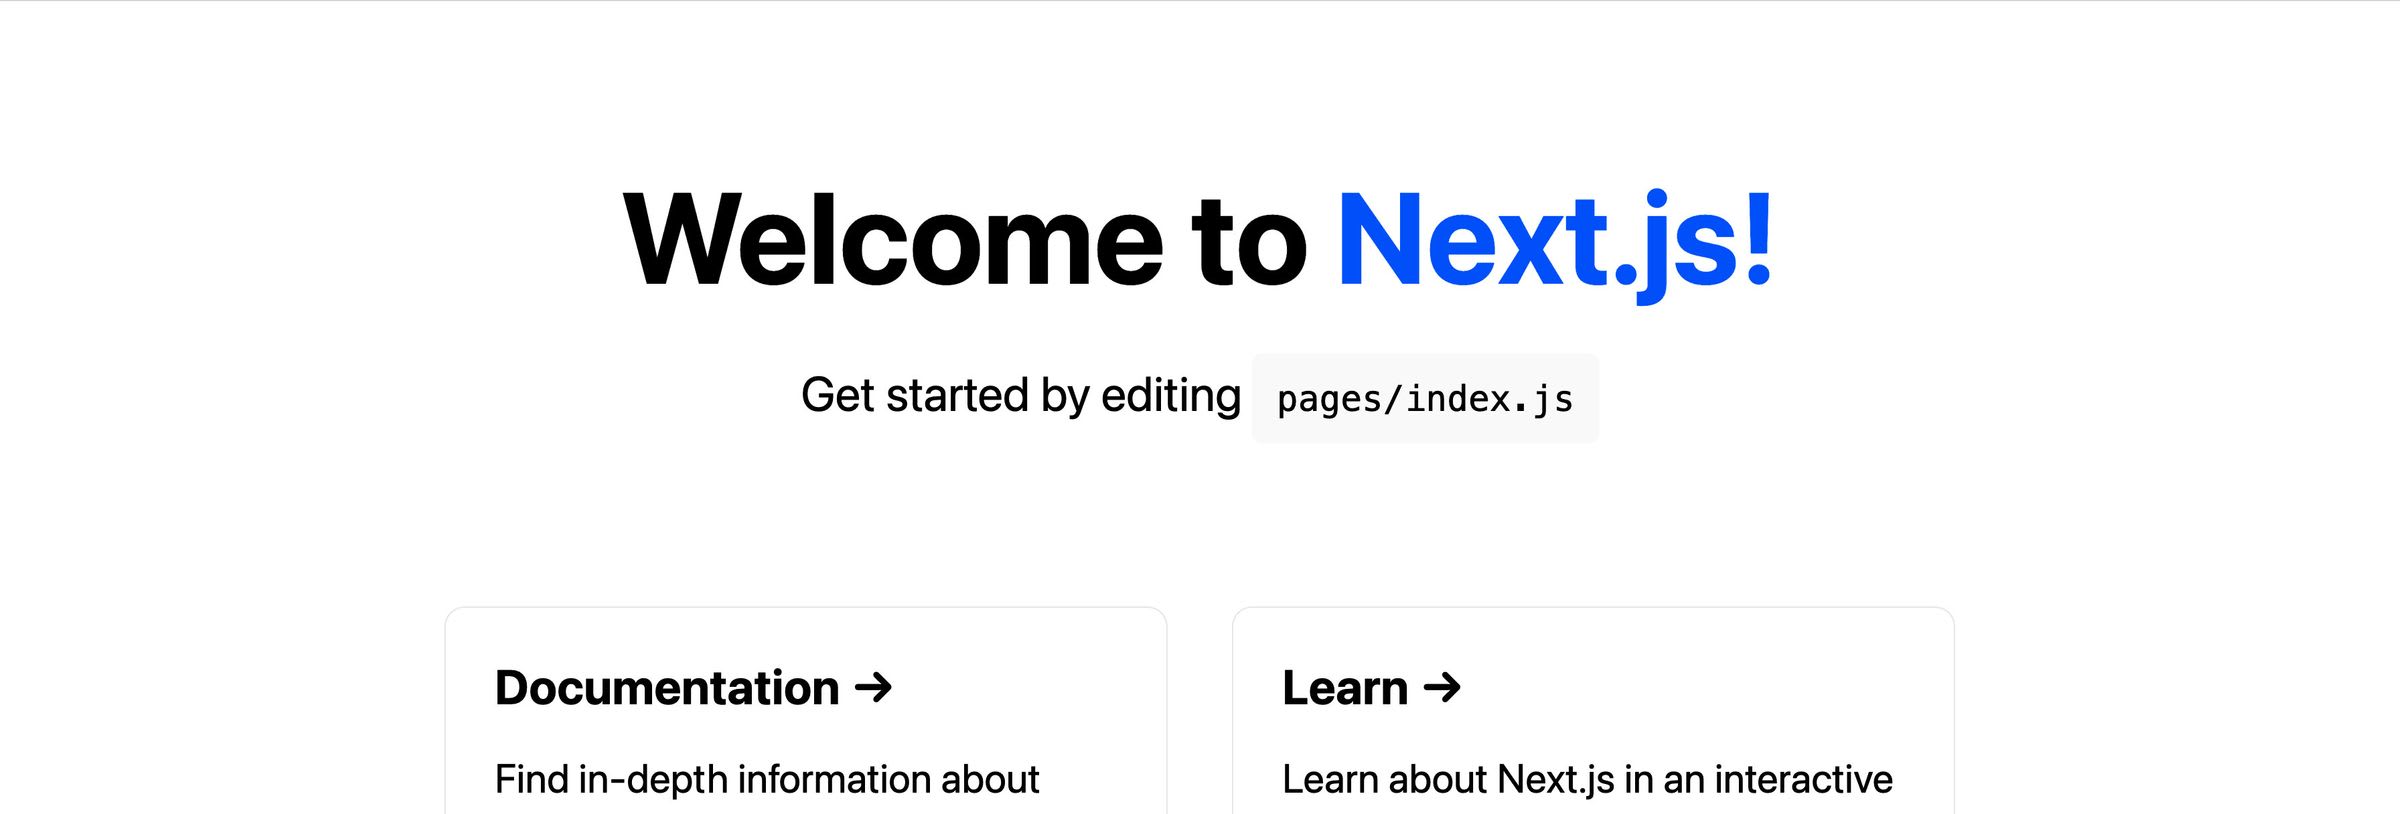
And once loaded, you should now be able to open up your new app at http://localhost:3000!

Step 1: Generating a new Personal Access Token and creating an environment variable
Now before we do anything code-related, in order to actually make requests to the GitHub API, we need to generate an access token.
Once we have that token, we’re going to create an environment variable so that we’re not storing it in the code, as that value is sensitive and should not be public.
Tip: Accidentally committed it to a repository? You can delete that token and easily generate a new one in the GitHub admin!
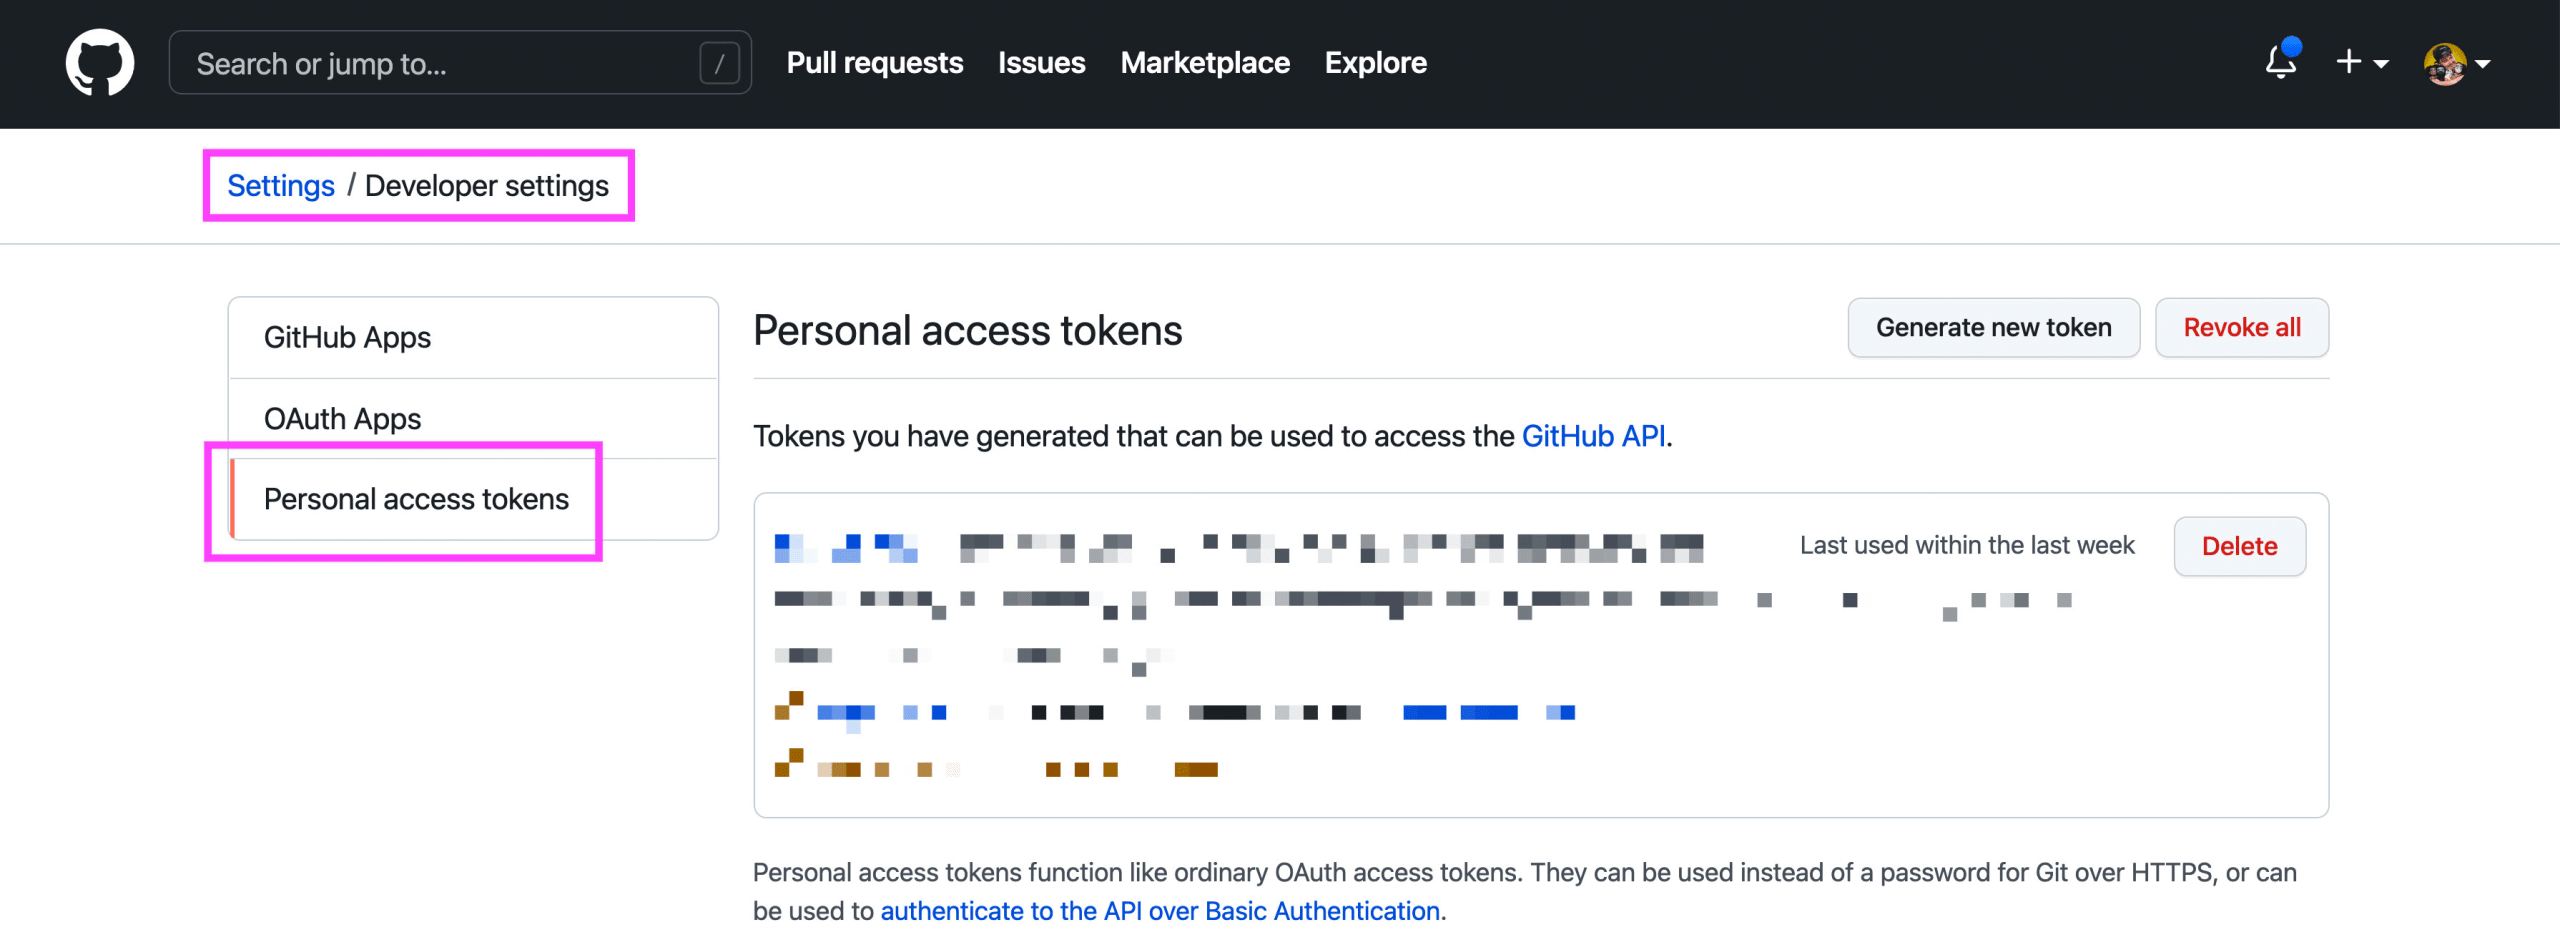
To start, let’s head over to GitHub where we want to head over to the Settings page available under our profile picture on the top right, then on the left navigation bar, scroll all the way down until you find Developer settings.
Here we have a few options but we’re specifically looking for Personal access tokens.

Once there, we want to create a new Access Token, so click Generate new token, where after asking for your password again, will give you some configuration options.
- Note: this should be used to describe the token. If you’re just testing this out, maybe put Spacejelly.dev Test or something along those lines
- Expiration: how long should this token last for? If you’re never going to share this token and are ultra safe, you might not need it to expire, but best practice is to set an expiration date and to rotate your API key every so often to avoid it being compromised
- Scopes: for this tutorial, we really only need two—
public_repoandread:user. While you could just select everything, similar to expiration, best practice security wise is to limit access to only what you need
But once you make your selections, click Generate token and GitHub will show you your new key that you can now copy!

Now as they mention, you need to copy this and paste it somewhere before moving on, as you won’t be able to access it again unless you generate a new one.
So let’s use it to create a new environment variable.
Inside our code, we let’s create a new file at the root of the project called .env.local.
Inside .env.local add:
GITHUB_ACCESS_TOKEN="[Your Access Token]"What this will do is whenever Next.js starts, it will look for this file and find our variable. It will then load that into the node process so that we have it available inside of our app!
Note: typically you want to add files like
.env.localor.envto your.gitignoreto prevent them from being committed to your repository, but the good news is it already comes like that with Create Next App!
Now at this point you shouldn’t notice any differences with the app but next we’ll learn how to use that token to make our first GraphQL request.
Step 2: Setting up and configuring Apollo GraphQL Client
Now that we have our access token, we’re ready to actually make our request.
To do this, we’re going to use the Apollo GraphQL Client to fetch the data at compile time meaning we don’t need to make this request inside of the browser.
So to start, we need to install the dependencies:
yarn add @apollo/client graphql
# or
npm install @apollo/client graphql
This will add our Apollo Client as well as the GraphQL library itself which is needed as a dependency for Apollo.
Next, we want to import those dependencies and the specific functions we’ll need.
At the top of pages/index.js add:
import { ApolloClient, createHttpLink, InMemoryCache, gql } from "@apollo/client";
import { setContext } from '@apollo/client/link/context';
Here’s a breakdown of what we’re importing:
- ApolloClient: the main piece that coordinates everything for our query
- createHttpLink: because we’re using authentication, we need to specifically create a Link which allows us to further configure the endpoint we’ll be using for our query
- InMemoryCache: while we really are only making one query here, using InMemoryCache allows Apollo to intelligently cache our requests
- gql: helper template literal tag to form GraphQL queries
- setContext: related to our HTTP Link, we need to use setContext to specify the authentication header for our request
Then, we want to set up the data fetching function that we’ll use to make the request. We’ll be using getStaticProps.
At the bottom of pages/index.js add:
export async function getStaticProps() {
  return {
    props: {
    }
  }
}
Now we can now start to create our request! We’ll do the main client configuration in one big snippet so we can walk through it and make sense of it.
Inside of getStaticProps above the return statement add:
const httpLink = createHttpLink({
  uri: 'https://api.github.com/graphql',
});

const authLink = setContext((_, { headers }) => {
  return {
    headers: {
      ...headers,
      authorization: `Bearer ${process.env.GITHUB_ACCESS_TOKEN}`,
    }
  }
});

const client = new ApolloClient({
  link: authLink.concat(httpLink),
  cache: new InMemoryCache()
});
Starting at the bottom, we’re creating a new ApolloClient instance. For that instance, we are specifying two properties: our link and our caching mechanism.
The Link is the more complicated part here, where we need to first create an HTTP Link (at the top) where we pass in our GitHub GraphQL endpoint, then create our context for the authentication of that Link, where we can add our authentication header including our Access Token which is coming from our environment variable of Step 1.
So with our client ready to go, we can start to make a query.
Step 3: Using the Apollo Client to query the GitHub GraphQL API
If we head over to the GitHub GraphQL API Explorer, we can build this query in realtime, adding exactly what we want for our repository.

In the screenshot above, I’m using my username to look up the Pinned Repositories for my profile, which then additionally, I can query the relationship of the details of that Repository so that I can grab the name, star count, and other details.
Now, I can create a new query with my Apollo client that makes that exact query. Under our Apollo Client add:
const { data } = await client.query({
  query: gql`
    {
      user(login: "colbyfayock") {
        pinnedItems(first: 6) {
          totalCount
          edges {
            node {
              ... on Repository {
                name
                id
                url
                stargazers {
                  totalCount
                }
              }
            }
          }
        }
      }
    }
  `
});

const { user } = data;
const pinnedItems = user.pinnedItems.edges.map(edge => edge.node);
Note: you can substitute my username for yours!
First, we’re using our Client to make our query, which is the exact query we saw above built using the GraphQL Explorer, where we’re grabbing all of the pinnedItems from our user.
Once that query is finished, we’re grabbing the data from that query and creating an array that contains all of the data that we’ll need to get started.
To test this out and see what it looks like, we can add a console.log statement:
console.log('pinnedItems', pinnedItems);If we refresh our app, we won’t see this inside of the browser, but if we look at our terminal, we should see all of our repositories!

Now finally we want to make this data available to our application before we move on.
Let’s update our return statement to include our new data as a prop:
return {
  props: {
    pinnedItems
  }
}
Then we need to make that prop available to our component.
Let’s update our Home component to:
export default function Home({ pinnedItems }) {And like before, we can test that this is working by adding another console.log inside of the React page component this time.
export default function Home({ pinnedItems }) {
  console.log('pinnedItems', pinnedItems);
The nice thing is this time, we should actually be able to see all of that data inside of the browser!

And next, we’ll learn how to use that data to render them on the page!
Step 4: Adding GitHub Pinned Repositories to a React app
Finally, we have our data available in our app, now we need to add it to our UI!
To do this, we’re going to take advantage of the “cards” that Create Next App already makes available to use.
So we’re going to replace the entire grid div with:
<div className={styles.grid}>
  {pinnedItems.map(item => {
    return (
      <a key={item.id} href={item.url} className={styles.card}>
        <h2>{ item.name }</h2>
        <p>⭐ {item.stargazers.totalCount }</p>
      </a>
    )
  })}
</div>
Here, we’re taking our pinnedItems prop and using it to map through each of our repositories.
For each one, we’re creating a new “card” in our UI, that includes a link to that repository, the name of it, and the number of stars it has.
Once we refresh our app, we can see all of our repositories on our page!

What else can we do?
Explore the GitHub graph!
If you’re already familiar with GitHub, you should know there is a ton of different sets of data available to explore.
Take some time to wander around the GitHub GraphQL API Explorer to find out what else could be interesting for your app.
Use GitHub data for automation
Maybe you work on a team or maybe you’re an open source maintainer, but being able to have context about the work on a project is important for trying to keep up with it.
Use the GraphQL API to automate reports or general information about the project like open Issues and pull requests that you can then post to communities like Slack or Discord.

