

What is Astro?
Astro is a new JavaScrip-based static site builder that promises incredibly lean apps.
It ships 0 bytes of JavaScript by default, only loading it on demand if even needed, all while being able to choose your own UI framework including React, Preact, Svelte, and Vue.
While it’s still early in development, there’s already a lot of promising things that make Astro a cool tool to start thinking about.
Why do I want to build static sites?
If you’ve been around the web, you might have heard the term Jamstack. The idea is, we can ship static pages to the browser instead of rendering them on the server, requiring less time and resources from the visitor, ultimately providing a better experience.
Astro takes this a step further where by default, not only is everything that’s built is static, it also tries to ship as little JavaScript as it can.
Most static generators also include JavaScript to adding features and interactions in the browser, which are helpful and provide great experiences, but come at the cost of downloading extra stuff to provide those features.
By shipping as much of our project as we can as static and on top of that with little to no JavaScript, we’re putting less work on our visitors allowing them to more quickly load our app and hopefully enjoy our work.
What to expect from this tutorial?
Astro is still in Beta so it might still have some rough edges, but practically speaking, the creator of the framework pretty much says if the production build works, you should be good to go.
If you’re not using any features that require hydration from React, you’re not really using JavaScript in the client anyways, so the HTML and CSS should work as expected.
But either way, make sure you’re doing your homework and test as much as you can if you’re planning on trying to use this in production.
What will we build?
We’re going to build a basic static site that gets compiled from a React-based application.
We’ll fetch a little bit of data at the root of the project to show how the data flow works from Astro to React, but ultimately our main goal will be getting spun up with an app that can use React, where you can go off and play around with more of Astro’s features.
One big thing to keep in mind before diving in, we’ll need node 14.15.1 or higher in order to run this project, as Astro uses ESM to run.
Step 0: Creating a new Astro project
To get started with a new Astro project, we’ll need to create the location where we want to install, initialize the project, and install dependencies.
If you’re used to tools like Next.js or Gatsby that handle a lot of the initialization of a project, this will feel a little bit more manual, but it will ultimately get is to a similar starting point.
Let’s start off by creating our directory and navigating to it:
mkdir my-astro-app
cd my-astro-app
Tip: feel free to use whatever you’d like as the directory name!
Then we want to initialize our new project with Astro:
npm init astroNote: as a reminder, we’ll need node v14.15.1+ to run this project. While you’ll be able to initialize the project, it won’t build. If you don’t already have it installed, now might be a good time to get nvm running locally and create an .nvmrc file for the project.
When Astro first runs, it might ask you to install create-astro which you can confirm with “y”.
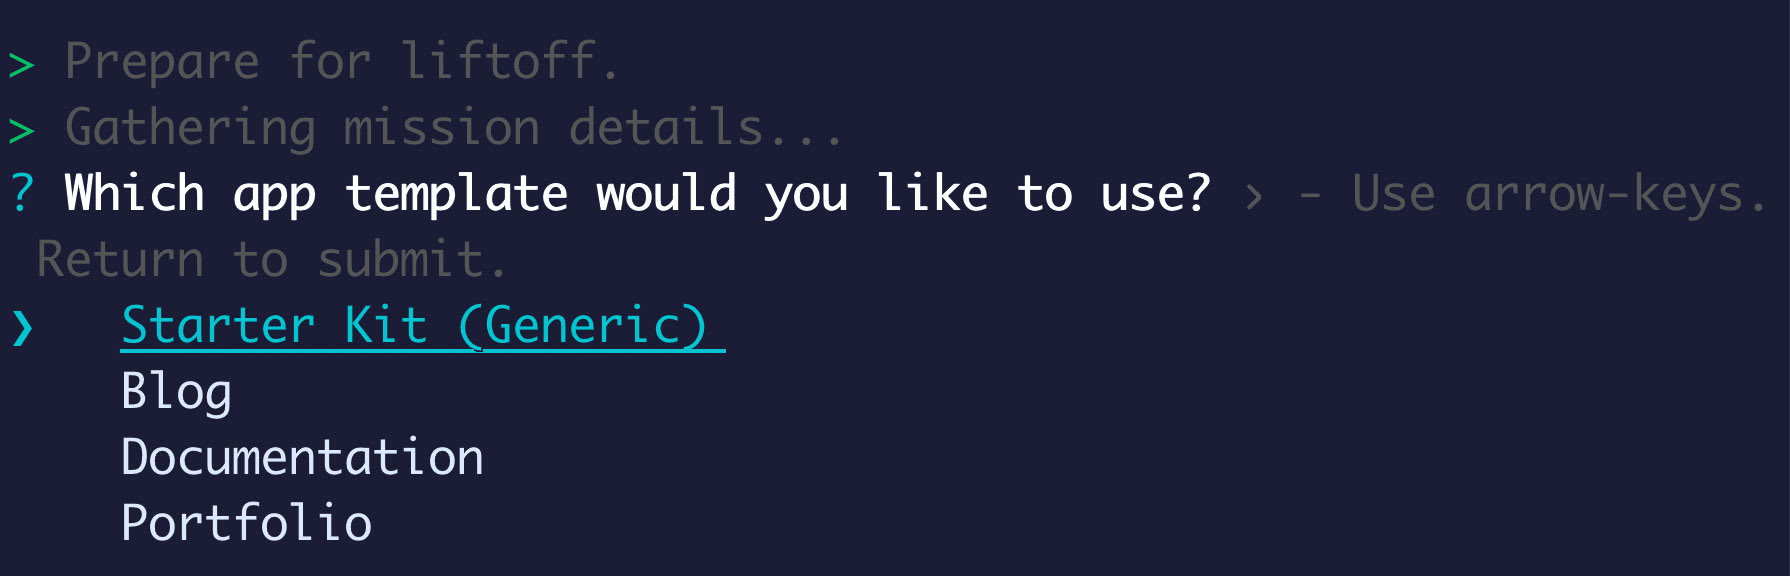
It will also ask you to choose a template to start with, which for this tutorial, let’s use Starter Kit (Generic).
Astro will then copy a bunch of starter files to your new project which we’ll use to start up our new project.
Before we get there though, we need to install our dependencies.
npm installAstro also gives you the commands to initialize a new Git repository, feel free to do that if you’re planning on saving this project, or similarly feel free to skip it if you’re just playing around.
Then we can finally start our development server:
npm startTip: again make sure you’re running node 14.15.1+.
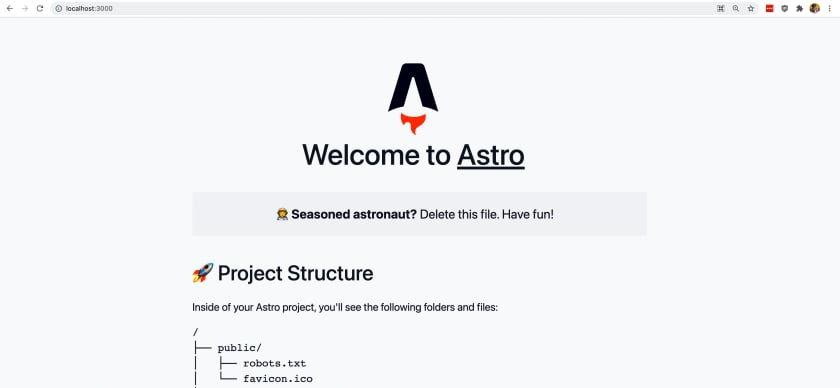
Astro, along with Snowpack, will do some prep work for the first time you started the project. It will then start a development server which defaults to http://localhost:3000/.
If you open that up in your browser, you should now see a welcome message along with some helpful info about the project!
Step 1: Installing and configuring React to render with Astro
Astro supports a variety of different UI frameworks out-of-the-box including the popular ones like React, Preact, Svelte, and Vue without any additional configuration.
The way it’s able to do that is by supporting plug-in-able “renderers”, which at their simplest are package of code who’s responsibility is to both transform related code to an HTML string and as well as take HTML and rehydrate it once it hits the client (like the browser).
With that idea, Astro can actually support completely custom renderers, but we’re going to see how this works with the ever popular React (my personal favorite).
Tip: you actually don’t need to even install a renderer manually if you plan on using one of the already including options like React! Astro supports those without any additional configuration. That means, feel free to skip this step unless you want to learn how to add and configure one.
To get started, we first need to install the React renderer along with React itself:
npm install @astrojs/renderer-react react react-dom -DIf you notice in the above, we’re specifying the -D flag, which means it’s a dev dependency. Because we’re not shipping React to the browser, we don’t need it in production.
Note: this doesn’t matter as much when working with apps where the output gets deployed instead of the package itself, but it’s good to get in the habit of organizing your dependencies that way.
Then, we want to open up the astro.config.mjs file at the root of our project, where somewhere in the configuration object, we want to add the following:
export default {
  renderers: ['@astrojs/renderer-react'],
And now, we can get started with React!
Step 2: Creating a new React component in Astro
We’re going to start off simple, so create a new file Button.jsx inside of the components folder.
Inside src/components/Button.jsx add:
import React from 'react';

const Button = ({ children }) => {
  return (
    <button>{ children }</button>
  )
}

export default Button;
Here we’re simply wrapping a button HTML element in React.
Now let’s try to use our button. Inside src/pages/index.astro, at the top of the file you should see an import statement for Tour. Right underneath that before the three dashes, add:
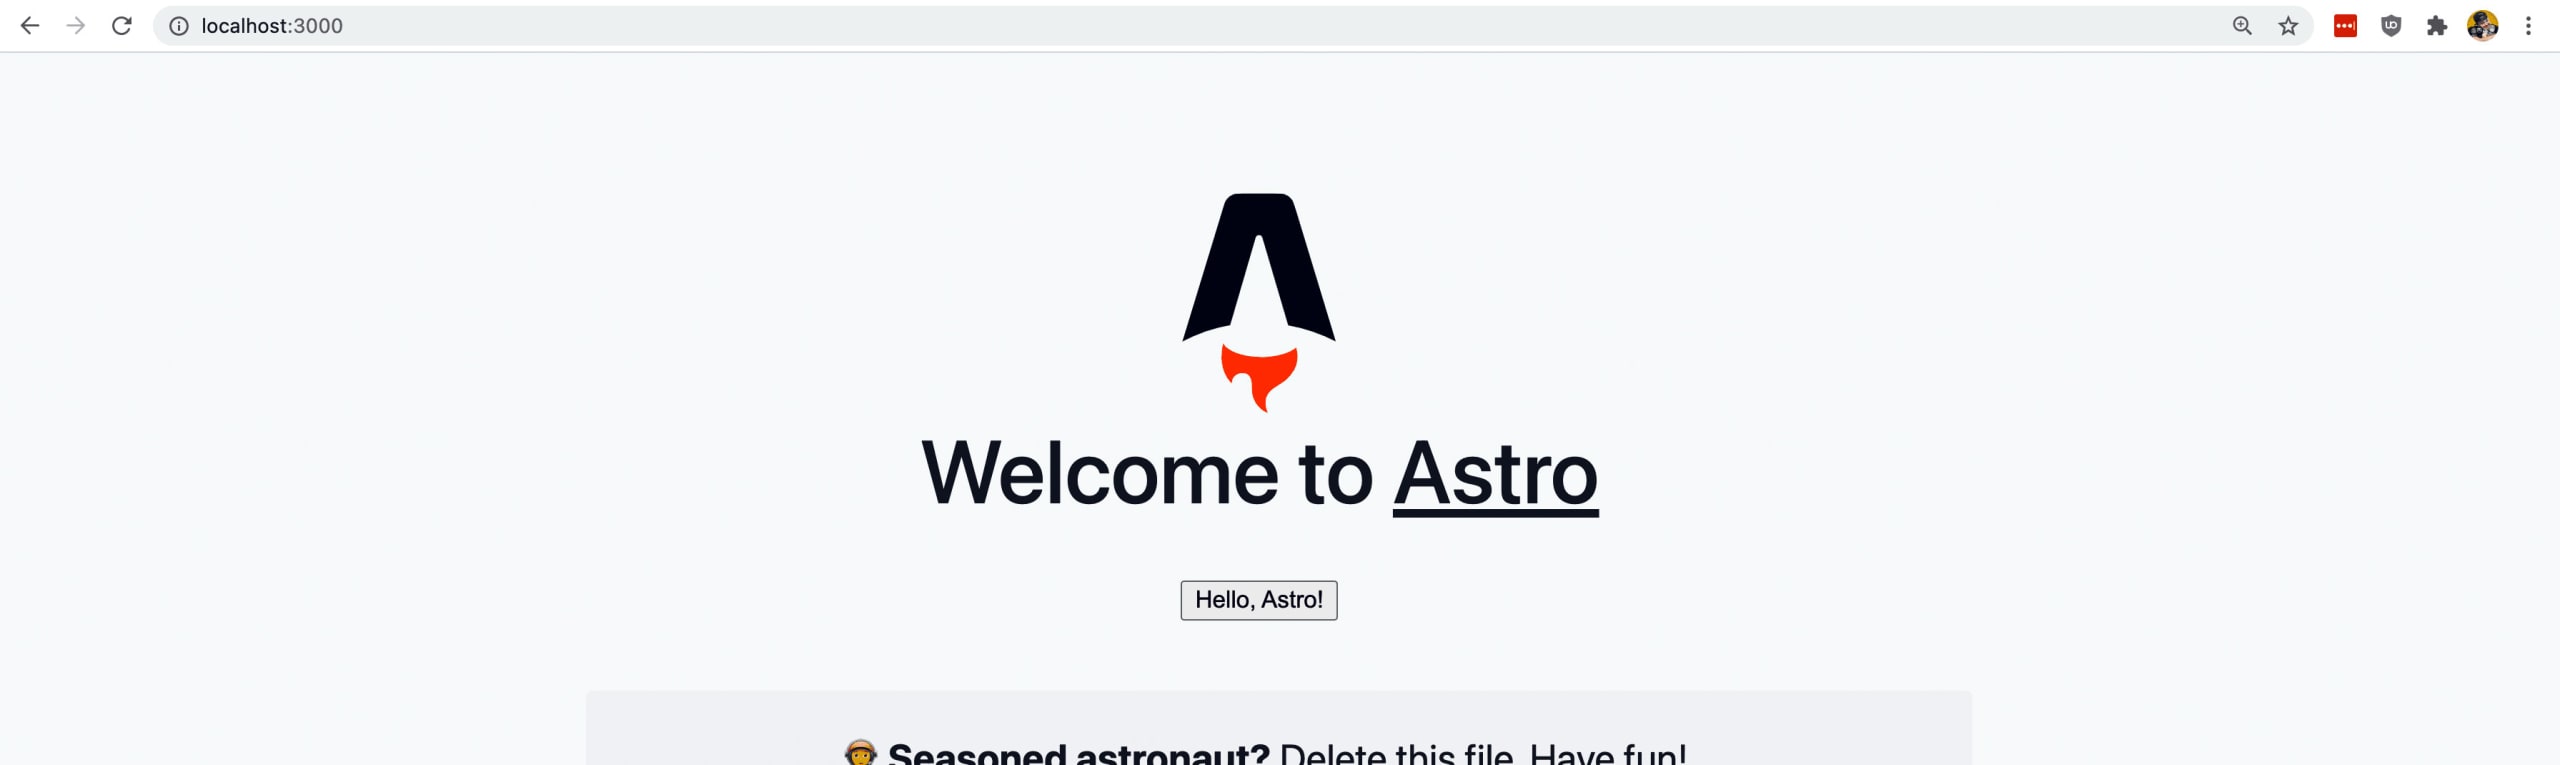
import Button from '../components/Button.jsx';Then, under the <h1> let’s add:
<Button>Hello, Astro!</Button>And now if you open up your browser, you should see a new button!
Now this might look like a pretty plain HTML button, and well it is, but the cool thing is if you open up your developer tools and look at the network requests, you’ll see that there is literally no JavaScript loaded.
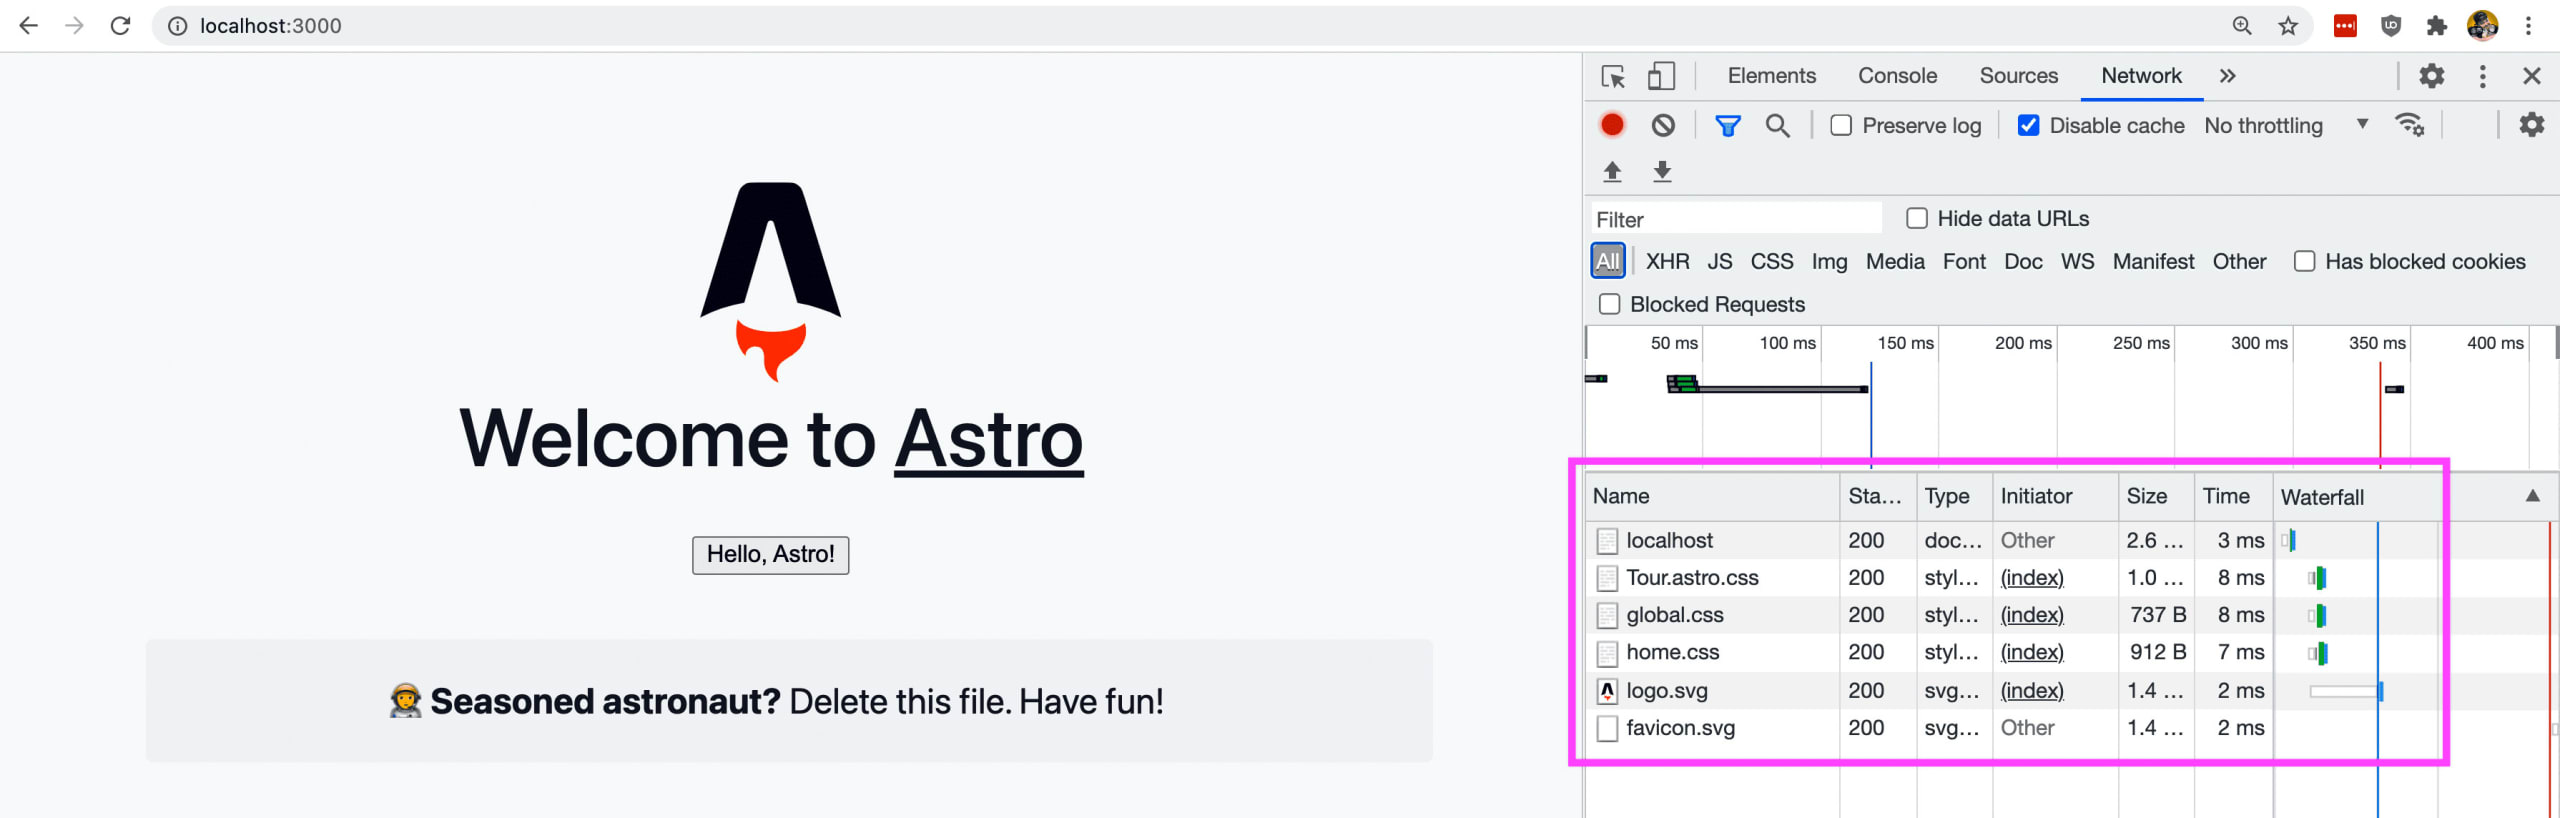
Like we mentioned earlier, Astro’s goal is to ship as little JavaScript as possible, which is 0 bytes by default. While we’re using React, Astro is rendering that React to a string and adding it to the resulting HTML, which gets sent to the browser.
Now as you might start wondering, how can we get all the beautiful features of React like dynamic interactions in the browser without any JavaScript? We’ll find out in Step 4!
Step 3: Using Astro to fetch and pass data to React components
Most real-world applications ultimately rely on data to provide some kind of dynamic experience.
While we certainly could take advantage of client-side React to make a request and update the DOM, we can instead take advantage of Astro’s built-in ability to run JavaScript right inside of the page, where we can then pass that data as a prop to our React component, keeping it nice and static and pure HTML.
Back inside of src/pages/index.astro at the top of the page, we have two sets of three dashes ---. This area designates where we can run JavaScript, such as the two import statements.
We can additionally fetch some data right inside of our designated JavaScript area, so right below our import statements, add:
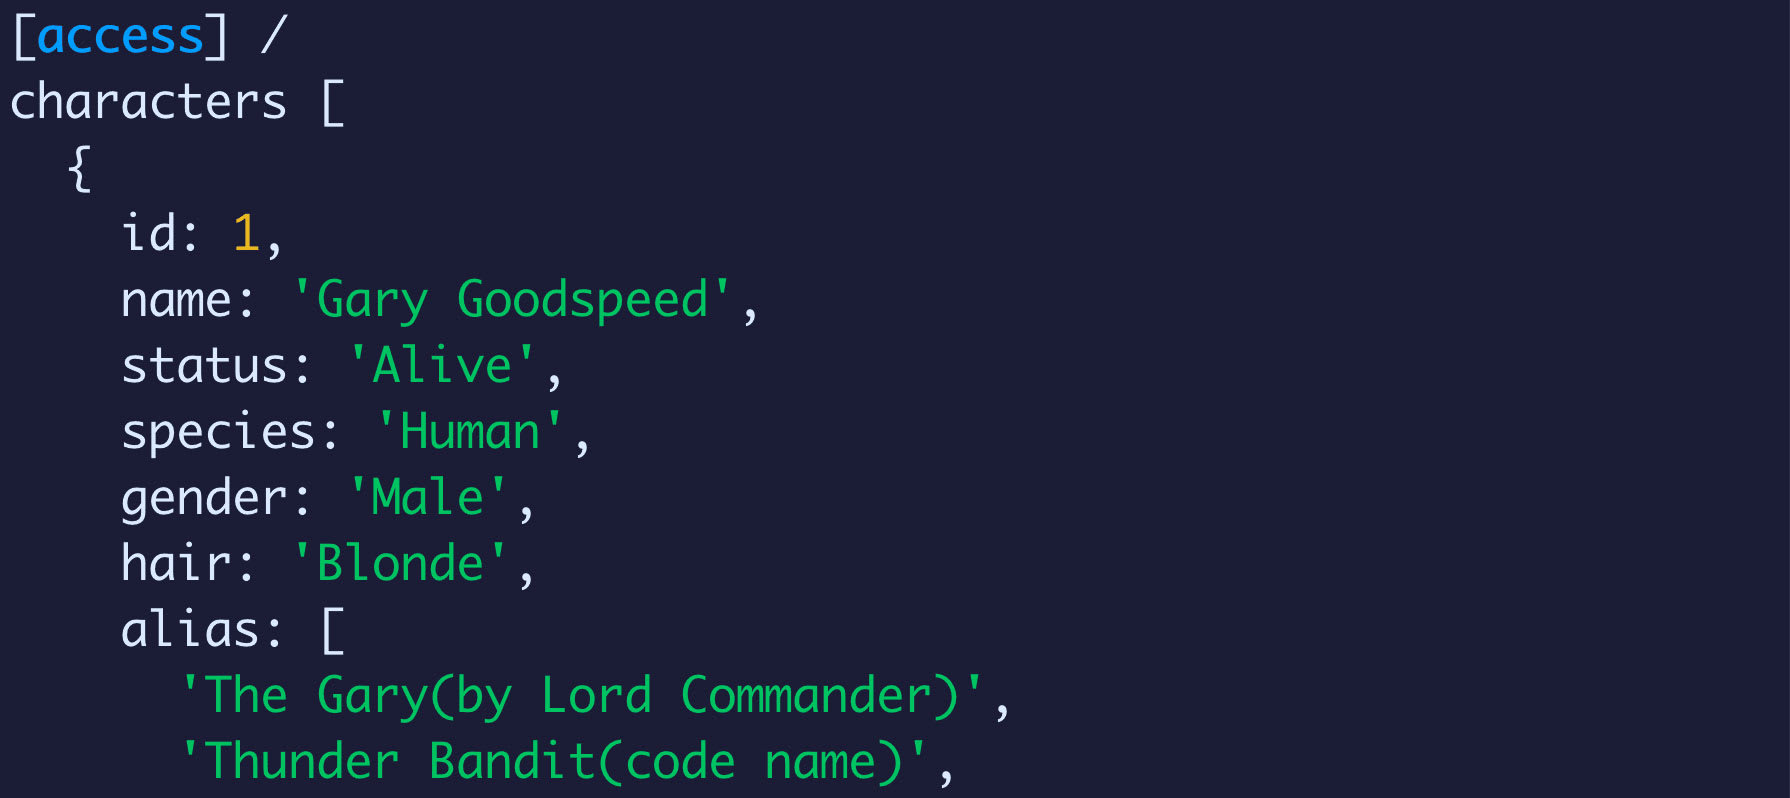
const characters = await fetch('https://finalspaceapi.com/api/v0/character?limit=5').then((res) => res.json());In this little snippet, we’re using the fetch API which is baked into Astro to fetch some character data from the Final Space API. Because Astro automatically wraps this code with async, we can run await, meaning we’re waiting for that fetch promise to fulfill, as well as the chained then which is transforming that response to json.
What we end up with is an array stored in the constant characters which we can even test out by adding a console log statement right below it:
console.log('characters', characters);As you might suspect, we’re not going to be able to see this in the browser, because we’re not shipping any JavaScript, but instead, we can look in our terminal, and we can see the beautiful output with all of our character data:
Now let’s use this data with some React!
Let’s first create a new component with a file called Characters.jsx inside of components and add:
import React from 'react';

const Characters = ({ characters }) => {
  return (
    <ul>
      {characters.map(character => {
        return (
          <li key={character.id}>
            <h3>{ character.name }</h3>
            <img width={150} src={character.img_url} alt={`Image of ${character.name}`} />
          </li>
        )
      })}
    </ul>
  )
}

export default Characters;
Back inside of src/pages/index.astro we can first import that new component:
import Characters from '../components/Characters.jsx';Then we can add it somewhere on the page, where I’m going to add it right above the <Tour /> component:
<Characters characters={characters} />As we can see, we’re passing in our characters constant as a prop into our Characters component.
Now if we refresh our browser, we can now see a list of our characters.

And still, if you look in the developer tools Network tab, you’ll see absolutely no JavaScript!
Step 4: Hydrating React in the client with Astro
We can do a lot of powerful things by taking advantage of React as basically a templating language, where we’re putting together static HTML pages dynamically, but sometimes we need that little extra bit of client-side interactivity to really create a great user experience.
The cool thing about Astro, is we have a few options for how we can opt different components in to being hydrated in the client, meaning, we don’t need to ship JavaScript for every single component, only the ones we want to make interactive.
Note: because we need React to make React happen, we’ll still be shipping the React bundle no matter if we include 1 or multiple components, so keep that in mind as you opt-in.
Astro has 4 different hydration states:
- Default: renders only HTML (ex:
<Component>) - Load: renders component on page load (ex:
<Component:load />) - Idle: uses requestIdleCallback to determine when to render (ex:
<Component:idle />) - Visible: uses IntersectionObserver to determine when to render (ex:
<Component:visible />)
Between these 4 different methods, we can strategically make sure we’re only loading the JavaScript we need to, when we need to, to give our customers and visitors the best experience we can.
We’ve already seen how the default works, shipping only HTML, but let’s see how the Load method works.
First, let’s see exactly what happens when we try to use React features without it.
Inside of src/components/Button.jsx let’s add a simple click handler:
function handleOnClick() {
  alert('Hello, Astro!');
}
return (
  <button onClick={handleOnClick}>{ children }</button>
)
What we want to happen, is whenever someone clicks on the Button component, we want the browser to send an alert that says “Hello, Astro!”.
If we open up the browser and try to click the button, nothing happens.
This is expected, as when Astro builds our page, it’s rendering only the HTML and not shipping any JavaScript along with it, meaning no click handler and no alert.
Now with this same code, we can take advantage of our hydration methods to tell Astro we want to be able to run JavaScript for that component.
Inside of src/pages/index.astro, find the <Button> component that we added in Step 2, and update it to:
<Button:load>Hello, Astro!</Button:load>If we refresh the page and click the button, we can now see our alert!

If we look back inside of our Network tab, we can also now see that we’re loading JavaScript, particularly React along with the Button component bundle, along with some Astro files for development.
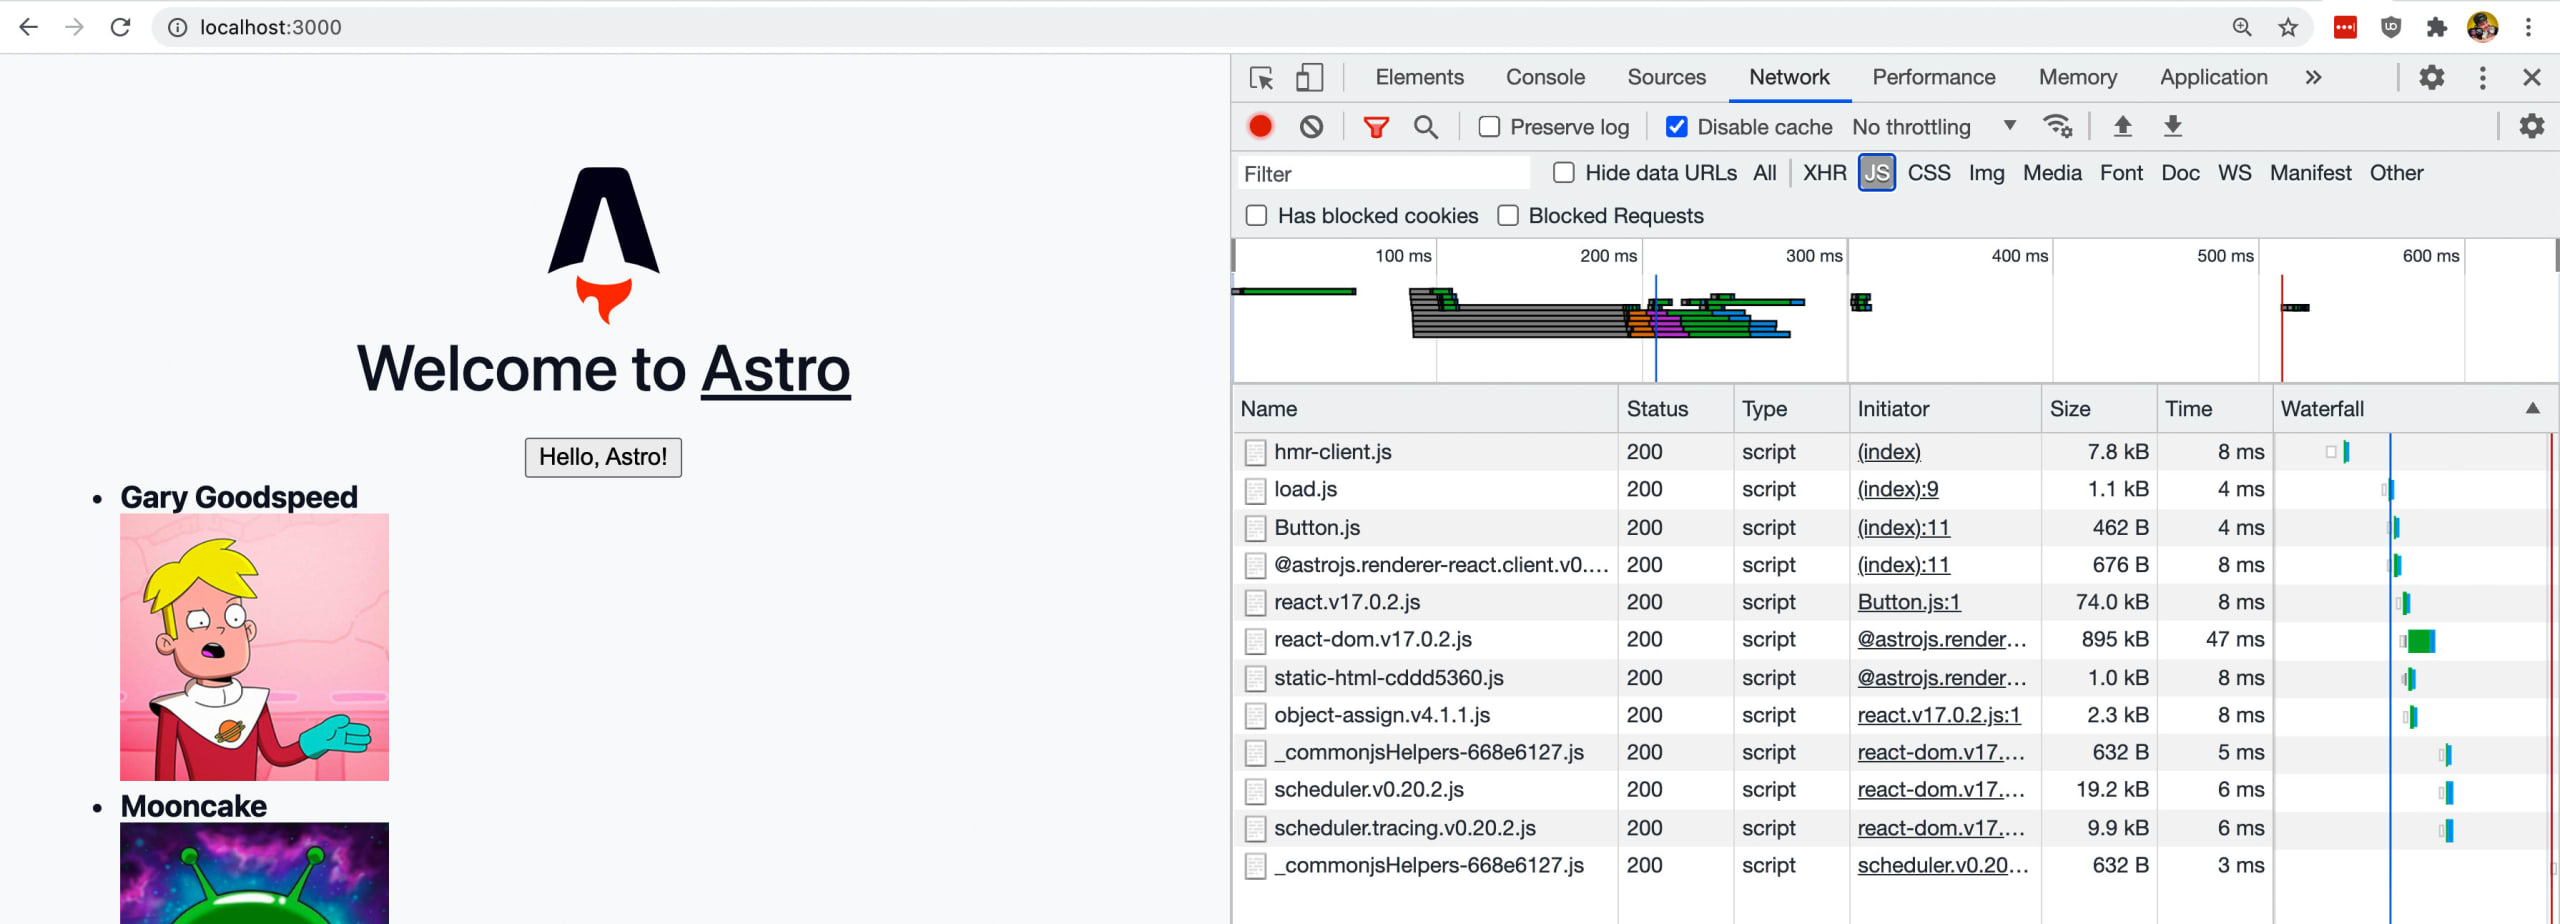
Beyond us now having the ability to run JavaScript, we can also notice that those JavaScript files don’t load until the page itself has finished loading.

This similar concept applies with Idle and Visible, where with Idle, those files will only load once the browser is Idle and with Visible, the files will only load once that component is visible in the browser.
How can this be helpful? Consider a static blog, where all of the articles can be rendered ahead of time, but you want some nice client-side comments for people to chat about the article. Traditionally, you would need to load that JavaScript along with the rest the page as soon as the page loads in the browser.
If we use tools like <Component:visible /> we can instead wait until the visitor scrolls down to that section, avoiding any JavaScript downloading until they actually reach that part of the page!
Overall, a big performance win when using these APIs strategically.
My first thoughts on Astro
Most of my dev work and educational content lately has been revolving around Next.js, which is probably considered premium when it comes to JavaScript framework developer experience.
Astro is still a bit rough in that part, where getting up and running isn’t quite as smooth as it is with Next.js, but again, it’s still in Beta, and what it offers instead is a lot of flexibility, so that you can get the same benefits no matter what UI framework you’d like to use.
It’s great to see the performance wins though. I really enjoy writing with React so being able to do that and not ship JS with an easy-to-use framework is cool. I’ve done this manually with a custom webpack config before and while it worked, it was a pain to manage.
It’ll be fun to see how things progress in the Astro world, both from the creators and what the community makes of it.
What can we do next?
Deploy your new Astro app!
Running npm run build will output your Astro app into the dist folder by default, giving you static files that you can deploy anywhere you would normally deploy static apps like Netlify or Cloudflare Pages.
Get Astro VS Code syntax highlighting
Install the Astro package in VS Code to get proper syntax highlighting for your .astro files.
Make sure when searching and installing you use the package from the Astro author.
Play with other component loading methods
While we looked at how to load component JavaScript on page load, try using the Idle method if you don’t need the interactions immediately or try using Visible for components further on down the page.
Dig into the docs!
It’s still in Beta, so that means things might still be changing as well as new features being added from time to time.
Play around with the Docs and find new things you can do to learn everything about Astro including using SCSS for styling and loading local files.