

Disclaimer: I’m a Developer Advocate for Applitools
What is Visual Regression Testing?
Similar to most tests, Visual Regression Testing is a type of test that will run periodically and at various stages of a project’s lifecycle like on pull request or production deployment to make sure everything in the app is functioning properly.
What Visual Regression Testing does differently though, is it directly compares visual snapshots of your project, detecting any changes in content, layout, or any other detail you’d like either by statically visiting a page or interacting with it to preview the result of that interaction.
What is Cypress?
Cypress is a JavaScript-based testing framework that we’ll use to run our test suite. It runs tests in the browser, allowing us to directly check the state of our project where people will actually use it.
The great thing about Cypress, is it also provides the ability to interact with the page. For instance, if we want to test that someone using our app is able to log in, we can enter credentials and submit the login form, then check that the authentication process properly worked.
What is Applitools?
Applitools is a test automation platform that lets us visually compare our app at different points in time, giving us the ability to check if something changed or isn’t functioning properly.
While Applitools has a few different features we can take advantage of, we’re going to focus on using the Eyes tool, which we’ll use to capture our snapshot and send it up to the Applitools dashboard.
What are we going to build?
While we can really run Cypress and Applitools on a variety of project types, we’re going to use Next.js to quickly spin up a new React application. This will allow us to focus on the testing tools rather than the app itself.
Once we have our app set up, we’ll install Cypress and Applitools so we can use them to run our visual regression testing.
Note: you’ll need to have an Applitools account in order to set up visual regression testing.
Step 0: Creating a new React application with Next.js
To get started, we’re going to use Create Next App to create a new Next.js app.
Once you’re in the directory that you want to create your new project in, inside of your terminal run:
npx create-next-app my-testing-appNote: you can change the project name from my-testing-app to whatever you would like.
This will clone the default Next.js example from Github, install the dependencies, and immediately allow us to get productive with our testing tools.
Once it’s finished, navigate into your new project:
cd my-testing-appStart your development server:
npm run devAnd now your site should be available at http://localhost:3000!
Step 1: Installing and configuring Cypress in a Next.js app
Now that we have our app set up, we want to install Cypress so that we can use it to run our tests.
Back inside of our terminal, we can install Cypress with:
npm install cypress --save-devHere, we’re including the —save-dev flag, as we don’t need Cypress to run in the production version of our application, so we install it as a dev dependency.
Once that’s complete, we need a way to run Cypress from the command line. While we can navigate to Cypress itself, we can instead add a new script command, which will make it easier to run Cypress.
Inside of package.json, under scripts, add the following:
"cy:open": "cypress open"Now, inside our terminal, we can run that script to open Cypress:
npm run cy:openIf this is the first time you’re running Cypress, it might take an extra second and install Cypress in your project.

Once finished, Cypress will open a new dialogue panel that will serve as your dashboard for running tests for your project.
You’ll also notice that Cypress lets you know they also added a new directory to your project at cypress that includes example files that let you see how Cypress works and immediately get started.
To try this out, on the right side of the Cypress panel, click Run 19 integration specs.

Cypress will then open up a new browser and run through all of the example tests.
Next, we’ll add some of our own tests!
Step 2: Creating your first Cypress test in with a Next.js app
Now that we can successfully run our tests, let’s try adding our own.
We don’t need really any of the tests that Cypress included in the examples, so let’s remove the entire integration/examples directory.
Then, create a new file under integration called home.spec.js and inside add the following:
/// <reference types="cypress" />
context('Home', () => {
beforeEach(() => {
cy.visit('http://localhost:3000');
});
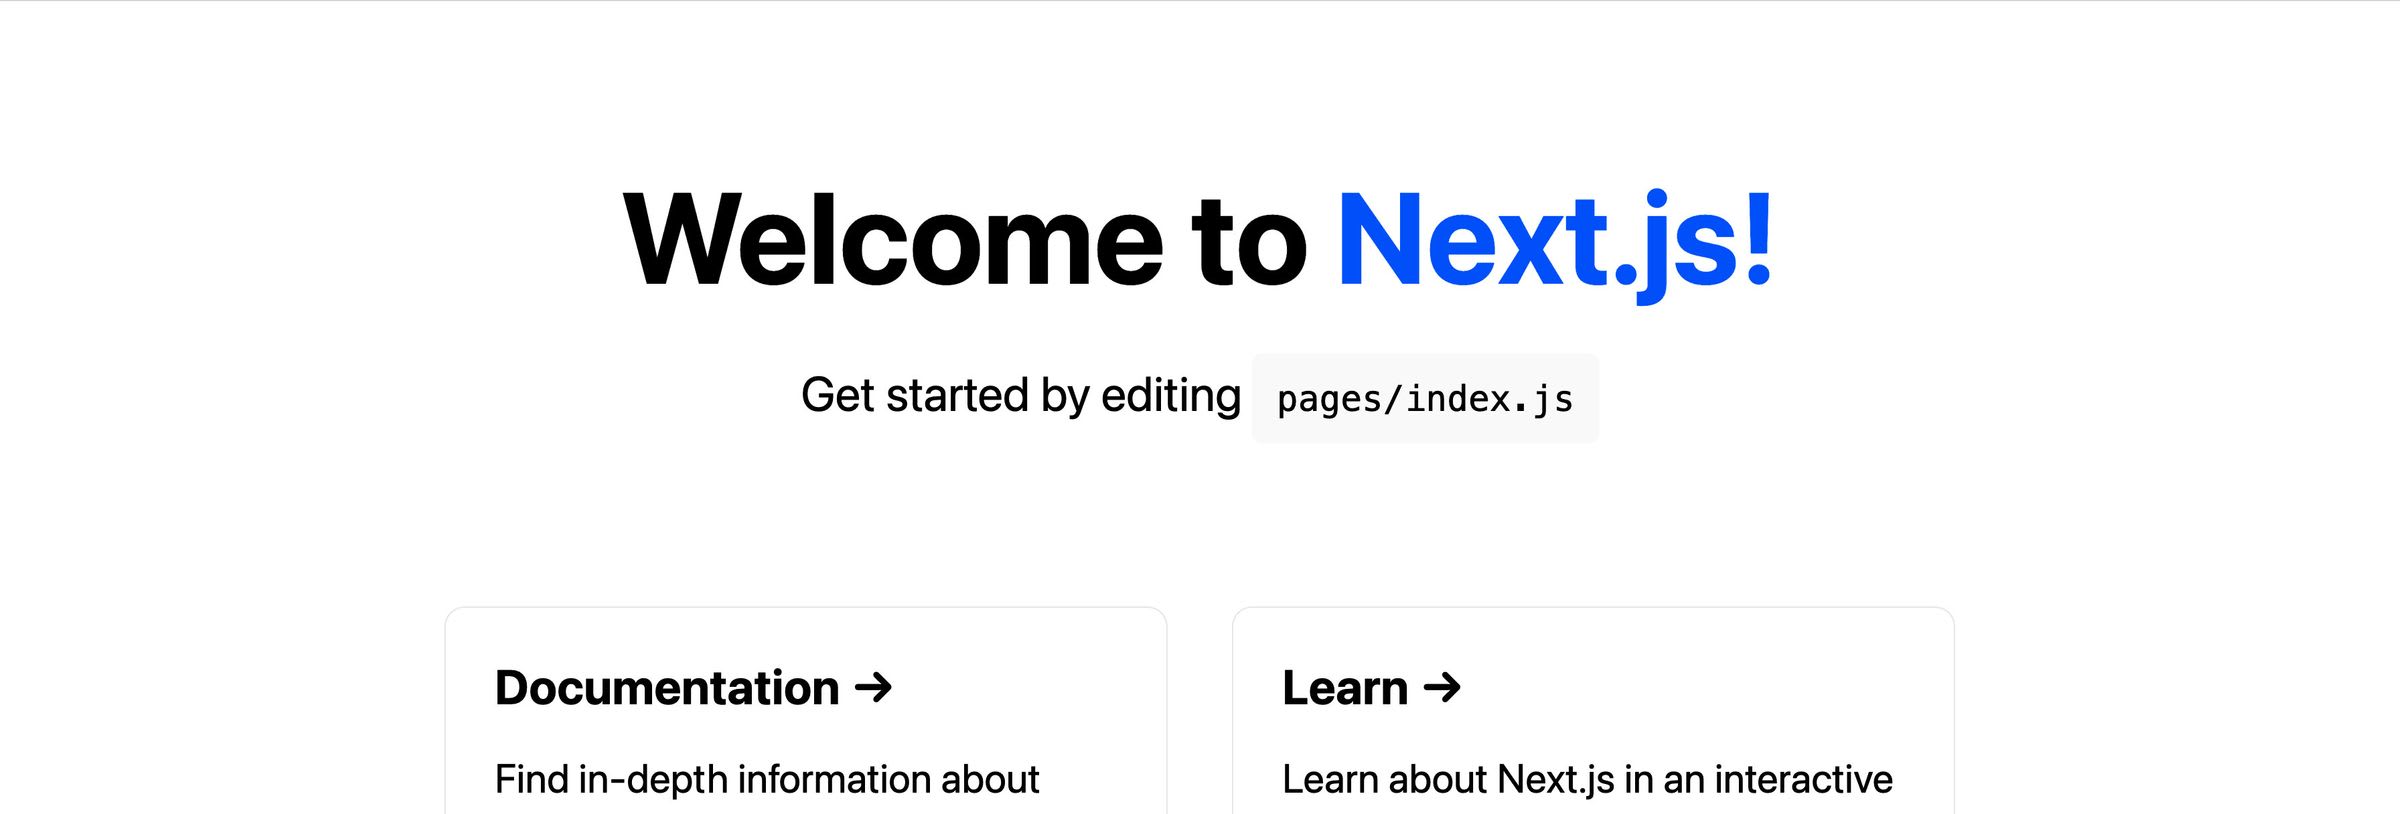
it('should find the title of the homepage', () => {
cy.get('h1').contains('Welcome');
});
});In the code above, we’re:
- First adding Cypress as a reference type, which allows Cypress to find the file and know that it should use it to run a test
- Creating a new context for our test and defining it as Home
- Telling Cypress that before each test, we want it to visit our homepage
- Defining a test that grabs the h1 and checks that it contains “Welcome”
If we now look back at Cypress, we’ll see that we only have that one Integration Test. If we click it and try to run the test, we’ll see that we actually get an error, as we never started up our development server, meaning it’s not available.
To fix this, we’re going to use a tool called start-server-and-test.
This package will do what the name implies, it will:
- Start our server based on the command we provide
- Run the tests that we provide
- Stop the server once complete
To add it, inside of our terminal let’s run:
npm install start-server-and-test --save-devThen, inside of our package.json file, we’re going to add another new command to the scripts object:
"test": "start-server-and-test dev 3000 cy:open"Here, we’re telling start-server-and-test that we want to run the dev command to start our server, that it will be available at port 3000, and that we want to run the cy:open command after to run our tests.
And if we go back to our terminal and run:
npm run testWe’ll see that Cypress opens up like before, but if we now run our test, we can see that it successfully opens up our Next.js app and it sees the word “Welcome” inside of our h1!

Step 3: Installing and configuring Applitools Eyes
With Cypress successfully running our tests, we can now hook into our tests and use Applitools to run visual regression testing on our project.
Before we dive in, make sure you have a free account set up over at Applitools, which we’ll need in order to set up an API key.
To get started, we’re going to need to install the Eyes library to our project.
In our terminal, we can run:
npm install @applitools/eyes-cypress --save-devWhich will install the Cypress-specific SDK for Applitools Eyes.
Once that’s finished installing, we can run the Eyes setup script.
npx eyes-setupThis will go through the project and add the necessary configurations to Cypress to make Eyes work properly.
Finally, we’ll need to make our Applitools API key available whenever we run our tests.
To start, we need to find our API key in our Applitools account.
Inside the Applitools dashboard, select My API Key under the Account dropdown.

It will open a dialogue where you can select and copy your API key.

You’ll want to save this API key for later when we run our tests.
Next, we’ll want to be able to set our API key. We can do this a few ways:
- Export the environment variable in our shell before running the tests
- Prepend the API key to the test command
- Add the API key to the applitools.config.js file
- Create an environment variable using dotenv and the cypres-dotenv package
For this demo, we’re going to run our test by prepending the API key to our command. This will allow us to quickly test this out.
To do this, any time we run a command like npm run test, we’re going to include our API key in front of it like:
APPLITOOLS_API_KEY="abcd1234" npm run testNote: remember to replace the API key with your unique ID.
And now, we should be ready to add our first test!
Step 4: Visual regression testing with Applitools Eyes
We have Cypress and Applitools both configured and ready to go, meaning we can now add Applitools Eyes to visually test our app!
Our app doesn’t have a lot of functionality yet., so we can start off with a basic check that makes sure our homepage looks the way it’s supposed to each time our tests run.
To start, inside of our cypres/integrations/home.spec.js file, let’s add the following right below our existing it statement:
it('should verify the homepage looks as expected', () => {
  cy.eyesOpen({
    appName: 'My App',
    testName: 'Homepage Check',
  });

  cy.eyesCheckWindow({
    tag: 'App Window',
    target: 'window',
    fully: true
  });

  cy.eyesClose();
});
Here’s what we’re doing here:
- First, we’re “opening the eyes” of Applitools, which will prepare the Eyes functionality to check our app
- Next, we’re running a check on the window of our application, essentially capturing a screenshot of our app and sending it to Applitools
- Finally, we “close the eyes” of Applitools, letting Eyes know that we’re doing running our checks
Now, if we run our test command and start our test:
APPLITOOLS_API_KEY="abcd1234" npm run testWe can see that Cypress runs our new test case which doesn’t appear that it’s doing anything inside of our browser, but shows a passing indicator.

But now, if we go back to our Applitools dashboard:

We can see that we have a new “run” titled Homepage Check (which we specified in the code) which shows that it passed with a snapshot of our app!
Now, having this screenshot alone isn’t what makes this powerful. From now on, any time we run this test, Applitools will compare our app against this original snapshot and let us know if anything changed.
To test this out, we’re going to change the background color of our page. This might seem like a simple change, but style changes can be more challenging for tools like Cypress alone to detect an issue, which is where Applitools Eyes will shine with its snapshot comparison.
Inside of styles/Home.module.css file, let’s add the following to the .title class:
color: #ddd;
While we may not have intentionally made a change like this in practice, this could have happened if we were changing styles that cascade to our title. Tis makes our title hard to read, but that makes this perfect for a test case.
Now, let’s run our tests again:
APPLITOOLS_API_KEY="abcd1234" npm run testBut this time, we can see that our test fails!

Our Applitools test fails because it states that “Eyes-Cypress detected diffs or errors during execution of visual tests”.
If we look inside of our Applitools dashboard:

We can see that we now have an “Unresolved” run where Applitools shows us the differences on the page, which in our case, is the entire page, because the background color has changed.
This is super useful when working on projects where it can be challenging to test every single page or type of page in an app. We can make sure that if anything changes or breaks, it will immediately get flagged in Applitools.
From here, if we’re happy with this change, we can accept the new version of our app.

Otherwise we can reject it and let our team know that it needs to be fixed.
What’s next?
Between Cypress and Applitools, we have a lot of things we can do to make sure that our app is behaving the way we want it to.
Most of the time when we’re building an app, we’re building that app so people can interact with it.
Using Cypress, we can click on different parts of the page, changing the state of the page, then run a check with Applitools Eyes to make sure it’s functioning the way we expect it to.
We can also have Cypress run on different browsers to make sure our app is working properly everywhere someone is trying to use it!