

What is linting?
Linting is the practice of checking code through automated static analysis for syntax errors and optionally code style issues.
It typically comes in the form of a script, where running it, along with the rules that you configure, will look through all of the code you target trying to find any issues that might prevent your code from running or code that may eventually throw an error.

From a stylistic point of view, a common expression for why linting helps is the goal of “trying to make all of the code look like it was written by one person.” That goal can help teams spend less time arguing over formatting issues and more time focusing on solving problems.
The most popular linting solution in the JavaScript world is ESLint, which gives you an easy-to-use command line tool for running static analysis on whatever files you’d like.
How does linting work with Next.js?
As of Next.js 11, Next.js comes with ESLint out-of-the-box.
By default, Next.js will run a predetermined set of linting rules at build time that includes some of the common and generally accepted best practices for React, accessibility, and more.
You can also run this manually by running the command via the Next.js CLI:
next lintOr using the npm script with:
yarn lint
# or
npm run lint
Linting when it comes to Next.js is based around implementing a new model called Conformance that has been crafted and spearheaded by the Web Platforms team at Google.
Conformance looks to better the web through solutions like linting along with Core Web Vitals, security, and accessibility. The more these types of tools are baked right into the tools developers use, the less time those developers have to spend worrying about them or having to implement them manually.
What are we going to build?
While ESLint is built into Next.js, it currently only runs at build time via next build.
That means if you don’t manually run the command, you run the risk of linting throwing an error during the build process.
While you could always re-run the build after fixing it, dealing with a failing CI / CD job wastes time and frankly can be frustrating while you’re stuck waiting for those builds to finish in the first place
Before we solve this, we’re first going to take a look at how the linter works, what kinds of things it will catch, and how we can even add our own rules.
Then we’re going to integrate Husky, a tool that helps us easily set up Git hooks, which we’ll configure to run before a commit.
The cool thing is we can even tell ESLint to try to automatically fix all of the issues, so if it can, we won’t even get any errors, we’ll get committed code that’s automatically fixed for us!
Step 0: Creating a new Next.js app with Create Next app
Starting off, we’ll need a Next.js app. To do this, we’ll use Create Next App which will scaffold a brand new project for us.
In your terminal, run:
yarn create next-app my-next-eslint
# or
npx create-next-app my-next-eslint
Note: feel free to change
my-next-eslintto whatever name you’d like for the project.
Once that finishes running, you can navigate into that directory and start your development server:
cd my-next-eslint
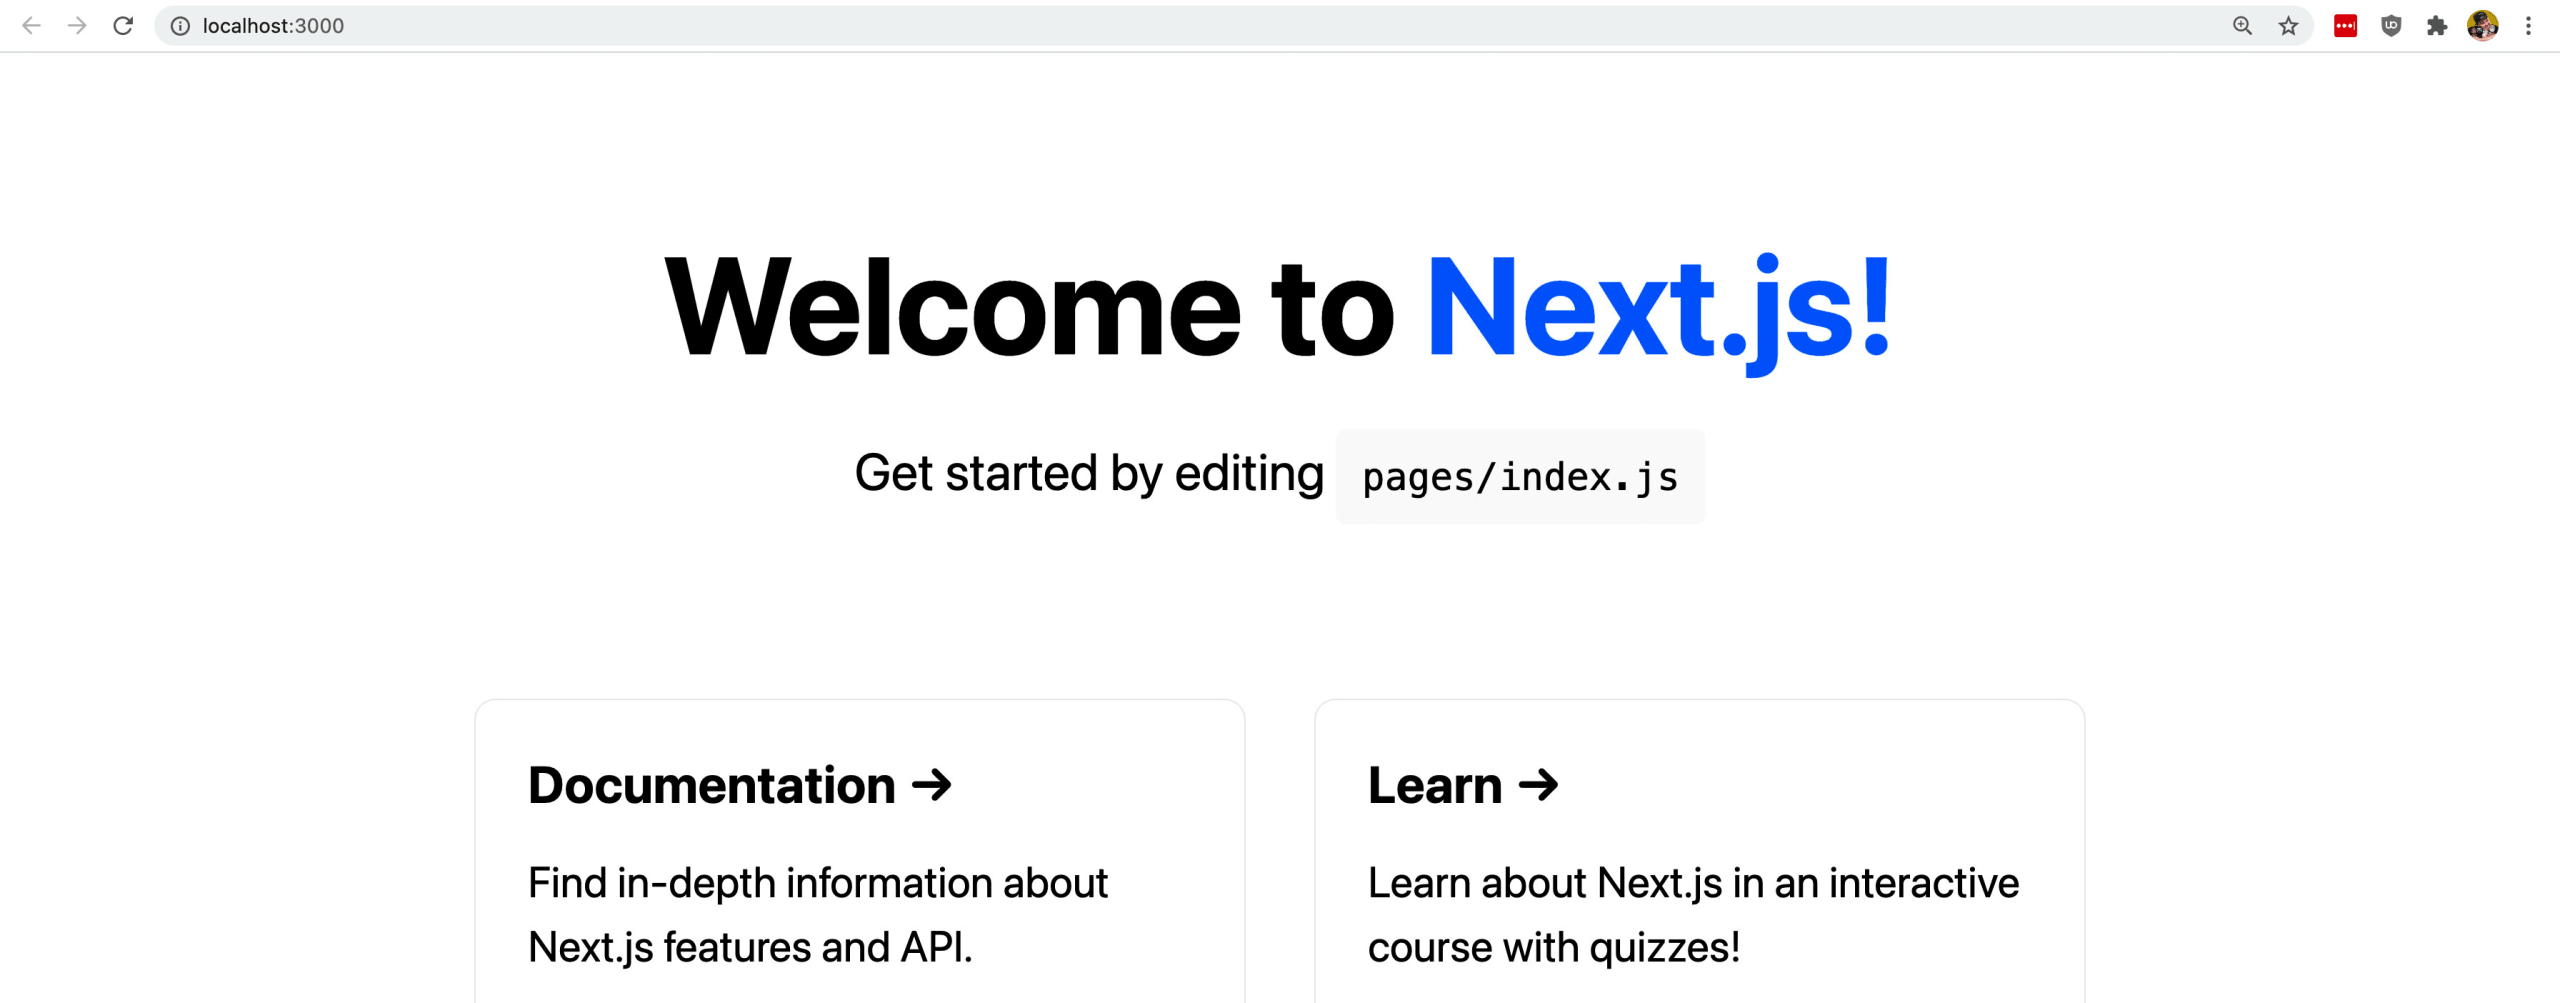
yarn dev # or npm run devAnd once loaded, you should now be able to open up your new app at http://localhost:3000!
Step 1: Running ESLint on a Next.js application
With Next.js, not only will linting run at build time, we additionally have the ability to run it manually.
If you have the Next.js CLI you can do this by simply running:
next lintBut when working with teams or publishing code publicly, it makes more sense to avoid requiring globally installed dependencies to generally make it easier for others to get started.
Luckily, if using the Next.js default starter, it comes out of the box with an npm script to handle this, allowing you to run:
yarn lint
# or
npm run lint
At this point, the project comes out-of-the-box lint free, so we shouldn’t get any errors.
Tip: If you’re going the manual route or are working with a starter that doesn’t have the npm script, you can add
"lint": "next lint"to your npm scripts inside of package.json!
To see how it would look if something failed, we can try to intentionally break something.
Some of the rules that Next.js comes with by default are meant to help with accessibility. One of those rules requires that all images have an alt attribute.
We can test this in action by finding the footer of inside of our homepage and remove the alt attribute from the Vercel logo.
Inside /pages/index.js update the Image component to:
<Image src="/vercel.svg" width={72} height={16} />While in practice, we wouldn’t want to actually remove this, let’s see what happens now if we run the lint command.
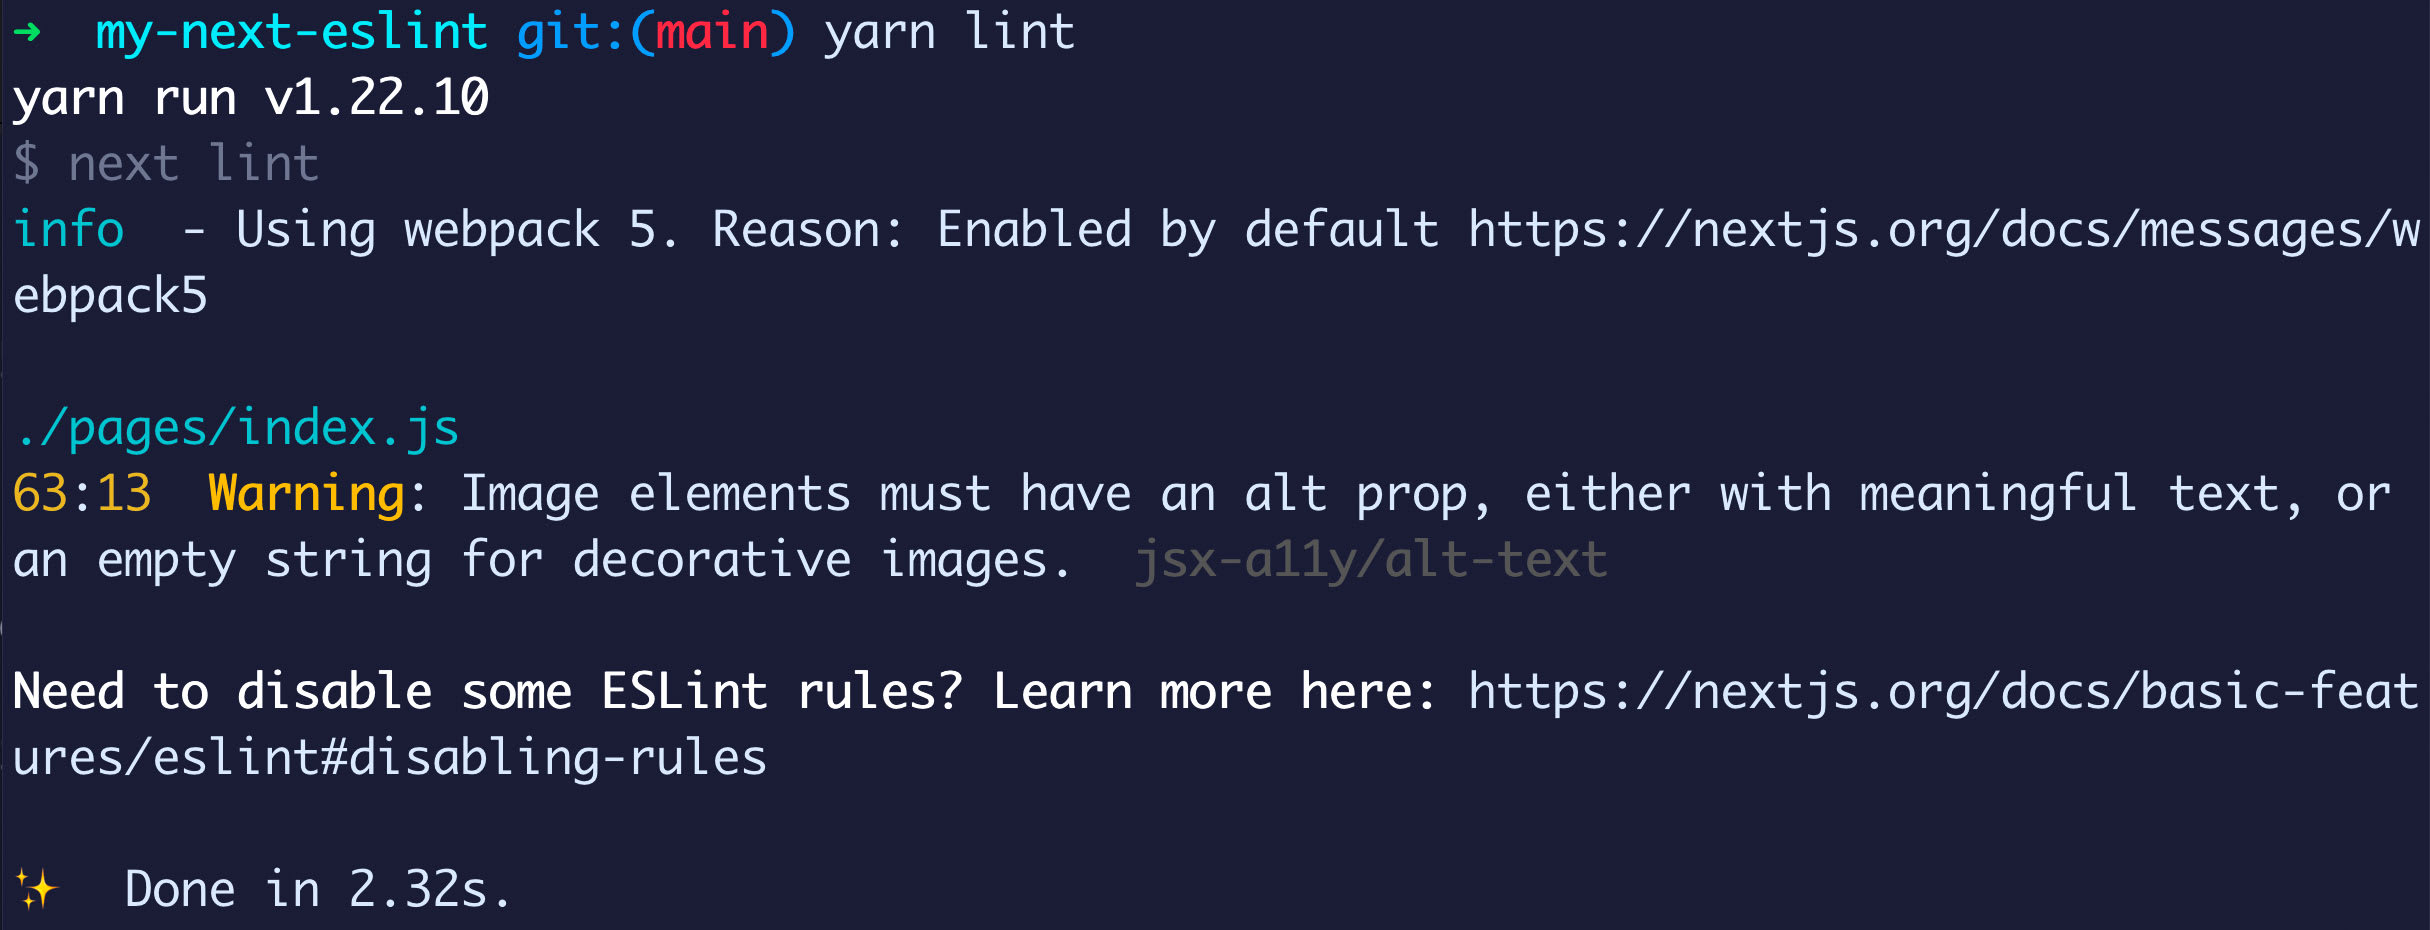
Our linter is now warning us that we should have that alt attribute on our image.
To get an idea of what rules are actually be enforce, we need to follow a bit of a trail.
If you look inside of .eslintrc, we see a really small amount of configuration:
{
  "extends": ["next", "next/core-web-vitals"]
}
Next.js is bundling all of its linting configurations inside of an npm package eslint-config-next. We can additionally see that its including next/core-web-vitals, which comes from the same package.
While this doesn’t explain much, we can get a list of all of the included rules right in the documentation.
Better yet, we can look right inside of the source code, where we can see the exact configuration that’s being used for both the Next.js ESLint plugin in addition to the Next.js Core Web Vitals.
Tip: these bundled configurations will look pretty similar to how we’ll add our own custom configurations in the next step!
Next, we’ll learn how to customize these rules to fit out own workflows.
Step 2: Customizing Next.js ESLint rules
The great thing about the way that Next.js has implemented ESLint is they made it straightforward to configure the rules, just like we would if we were manually implementing ESLint ourselves.
To try this out, let’s open up our .eslintrc file and update it to:
{
  "extends": ["next", "next/core-web-vitals"],
  "rules": {
    "no-unused-vars": "error"
  }
}
Then, at the top of the Home component inside of pages/index.js add:
const test = true;And finally in your terminal run the lint command.
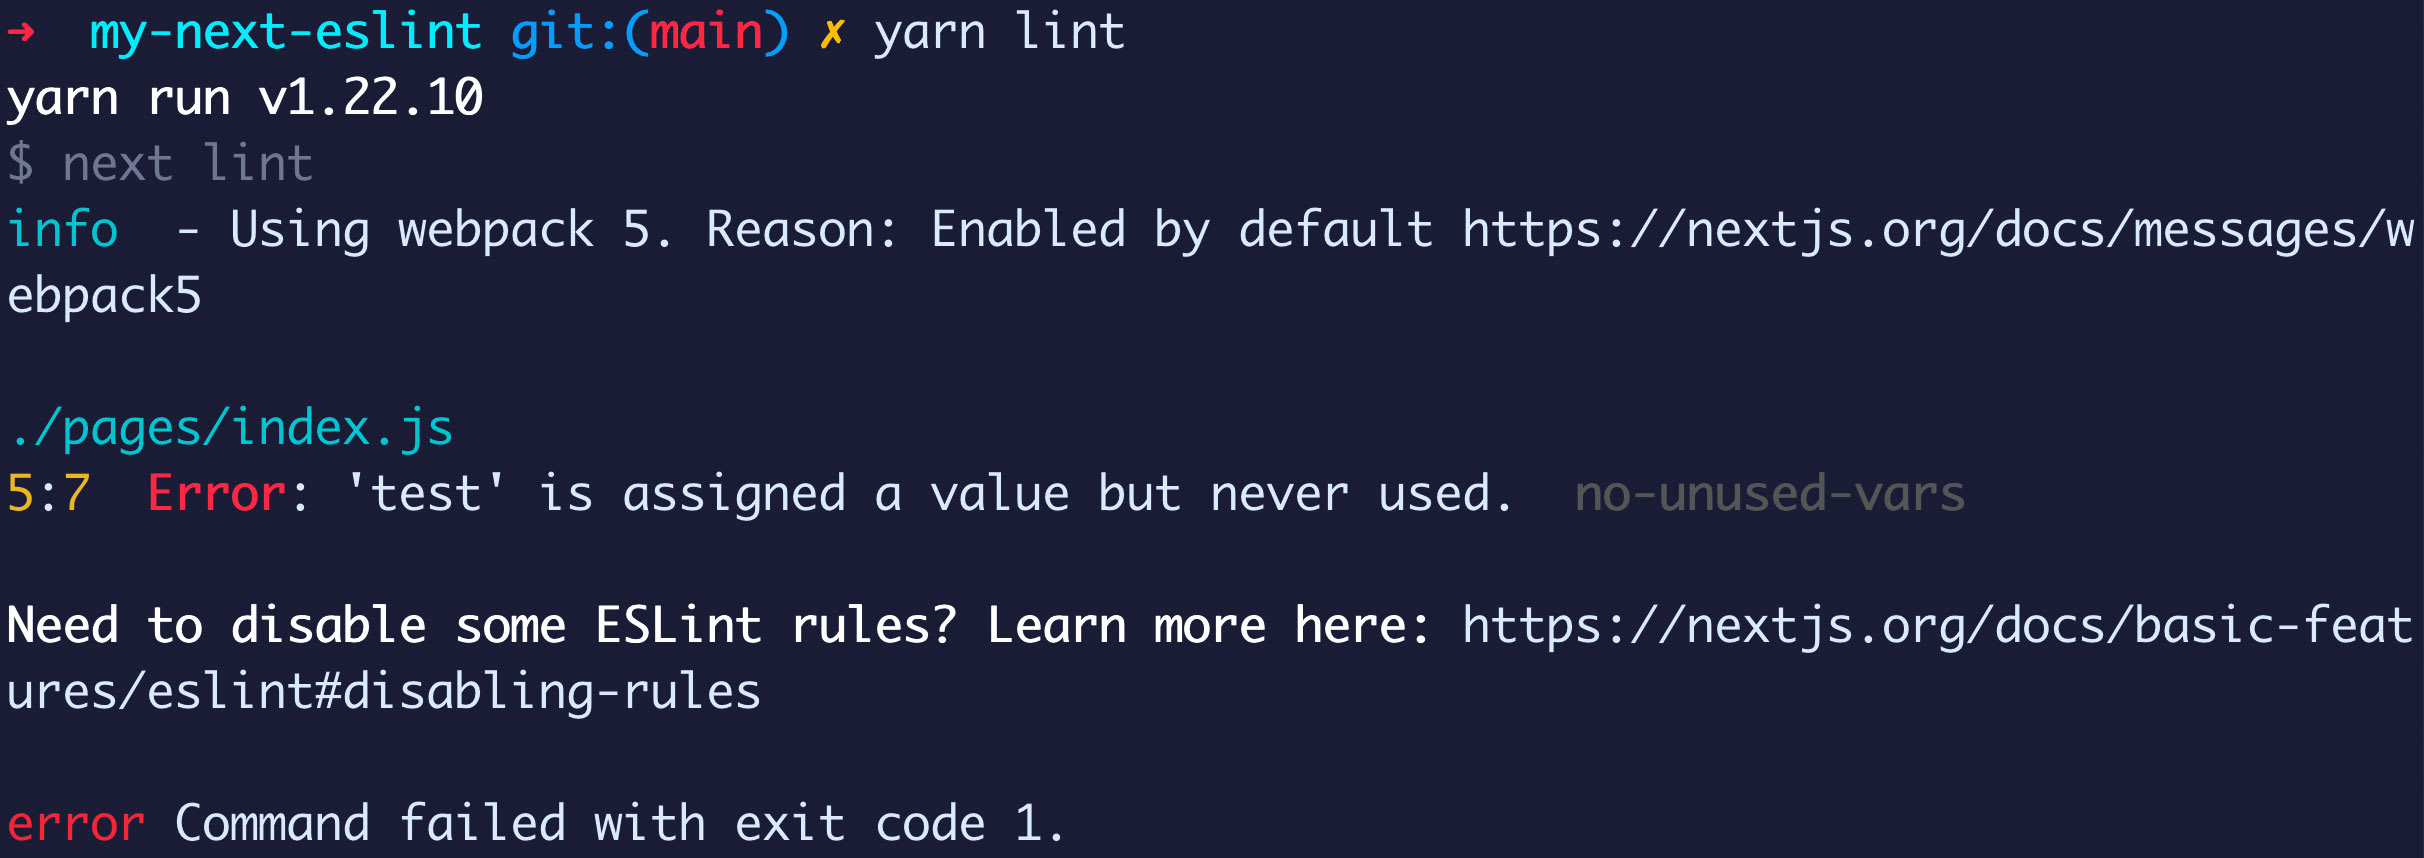
Here we implemented the no-unused-vars rule. It works exactly like it sounds, it will let us know if we have any variables that are currently being unused. This is helpful to make sure we keep our code clean!
Note: we added this rule as an error. You can decide which rules you’d like to warn developers about as opposed to throwing an error, which we’ll see later can help us enforce those rules.
Before moving to the next step, try to find a rule in the list of ESLint rules that sounds interesting to you, add it to the config, and test what happens when you break the rule. If you’re unsure of what to pick, try no-console.
One done, let’s find out how we can make our linter automatically run any time someone tries to commit.
Step 3: Automatically linting during development
Linting is a great way to make sure you keep your code tidy, but it’s only helpful if you and your team remember to run it.
Because Next.js automatically does so during build time, we know it will eventually run, but as we talked about earlier, during a build and potential deployment isn’t the ideal time to find out we have linting errors.
In order to run our linter more regularly, we can take advantage of Git hooks. In particular, we’ll use Husky, a JavaScript-based tool, which will help us set up our Git hooks and make sure they’re running regularly.
To start, let’s install Husky. In your terminal, run:
yarn add husky -D
# or
npm install husky --save-dev
Next, in order to make sure that anyone who checks out our code is properly set up to run the same git hooks, we’ll add a “prepare” script, which will run after someone runs npm install among other stages of the npm lifecycle.
npm set-script prepare "husky install"Note: you want to run this as npm, not yarn
Then we want to run this script once as we already installed our packages the first time:
yarn prepare
# or
npm run prepare
You’ll now notice that inside of the project, there’s a new directory called .husky.
By default, Git hooks are typically stored inside of .git/hooks, you can even see examples there, but Husky uses this separate directory to allow it to more easily maintain tracking and running the hooks on our behalf.
And now finally, we’re going to add a Git hook. We’re going to do this in two stages to make it a bit easier for us to manage in the future.
First, we’re going to set up a new npm script called “pre-commit” which will run our linting. That way, any time we want to change this, we can easily change it inside of our package.json.
In your terminal, run:
npm set-script pre-commit "next lint"Note: again, make sure to run this command as npm
Now we’ll actually set up the Git hook by running:
yarn husky add .husky/pre-commit "yarn pre-commit"
# or
npx husky add .husky/pre-commit "npm run pre-commit"
If we now look inside of the .husky directory, we can see a new file called pre-commit which includes our pre-commit script invocation.
Whenever the pre-comment event occurs (right before an actual commit), Husky will run that command via Git hook.
Let’s now test that this works!
We’ll want to use a linting rule that’s going to create an error. If you’ve been following along, we should now have a rule in .eslintrc that states that we want to throw an error if we have unused variables. We should also have an unused variable test at the top of pages/index.js.
If neither of the above are true, try to set up a rule that will throw an error when running the lint command.
But now once you do, try to commit the code.

We can see that our linter finds an error and ultimately fails with an exit code, meaning our commit stops in its tracks, and prevents it from getting applied.
You can even see that’s the case by running:
git log | catWhere we can see our latest commits, which doesn’t include the one that failed!
But now let’s run it again after removing the unused variable.
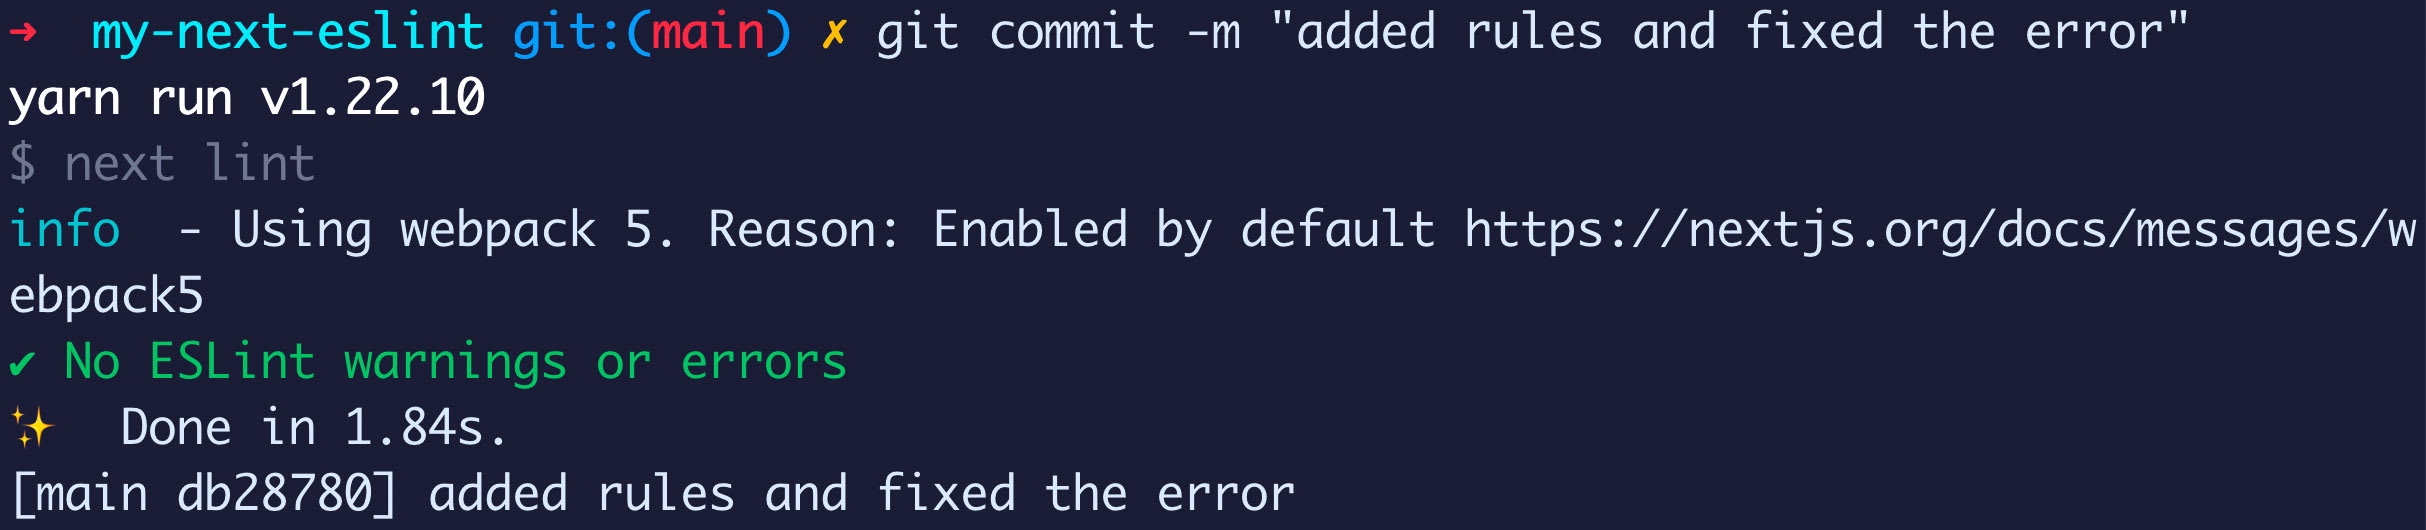
We can see that our linter still runs when we commit, but this time, we have no errors!
Step 4: Automatically fixing linting issues before commit
Finally, not only can we automate running the linter, we can also automate making the linter fix things for us!
Now before we dig in, ESLint doesn’t support fixing every single rule. If you head over to the ESLint Rules page, you can see all rules that support automated fixing (the ones with a wrench icon).
But to see how this works, we can configure the indent rule which supports automatically fixing.
Note: to test this out, I’m going to use 2 spaces as my indentation, which is what Next.js uses out-of-the-box. Feel free to configure this to whatever you prefer.
To automatically fix issues that are supported, all we need to do is include the --fix flag at the end of the linting command.
Warning: when running the automated fixing, the entire project or files you target may include a large amount of differences if you’re using linting rules that are different than the current state of the project. I recommend you try this on an example project before doing so on a real project, or at least save any existing changes before doing so.
Let’s test this out by first adding our indentation rule.
Inside of .eslintrc under rules add:
"indent": ["error", 2]Then, mess up the indentation a little bit inside of pages/index.js such as:
<Head>
        <title>Create Next App</title>
          <meta name="description" content="Generated by create next app" />
                    <link rel="icon" href="/favicon.ico" />
      </Head>
Now first run the lint command:

As expected, we get an error.
Now run that same lint command, except this time, add --fix at the end:
yarn lint --fix
# or
npm run lint --fix
We get no linting errors because ESLint fixed them automatically!
But let’s take this another step.
Similar to step 3, I don’t want to have to run this command manually any time I want to fix my linting issues, so let’s automate it.
Inside package.json, update the pre-commit script to:
"pre-commit": "next lint --fix && git add -A ."Then update some code in /pages/index.js to break the indentation rules again and try to commit those changes.
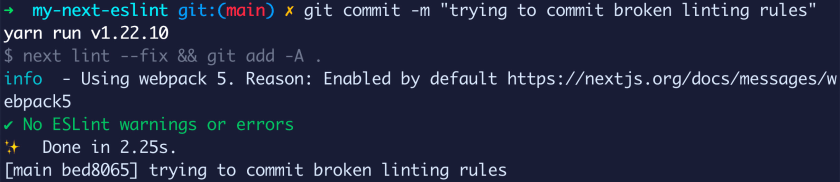
We can see that again, our linting issues were automatically fixed, the changes were added again, and we successfully committed!
Note: we’re using
git add -A .to add all of our files after fixing them with the linter. While this generally works, if you leave a bunch of files changed without planning on committing them, it may lead to accidental commits. I highly recommend you check out lint-staged as I note below.
What can we do next?
Only run linting on files that were changed
When we run our linter, it’s running on all files. While generally this is fine, as our project grows, it starts to take longer to complete.
Additionally, we may start to make changes to files that are out of scope of our current work, which makes code reviews difficult for the reviewer.
We can use lint-staged along with our Husky Git hook which will allow us to pass the files that changed as an argument into our linter, that way it only runs on those files.
It will additionally only save those files, avoiding accidentally adding new files to a commit that weren’t intended.
Customizing your ESLint config
There are a ton of rules and also a lot of other opinionated ESLint configs that you can use to extend your linting.
For example, AirBnB makes their ESLint rules available as a package you can install and add to your configuration. There’s also packages like semistandard (semicolons ftw ????) that provide highly opinionated, but easy to use configs.
Explore what’s out there and play around, but remember, these are always things you can change as you go along, they don’t have to be perfect the first time you set it up.
Using Prettier as a formatter
A lot of people like using Prettier for good reason for formatting code. The opinionated configuration is well-liked and it does a really great job at processing the formatting changes.
The good news is you can use the Prettier ESLint config to make them work together side-by-side!