

What is React Email?
React Email is an open source UI library that consists of components meant to render HTML for emails.
It allows you to work in a format you’re familiar with, JSX (like React), while ensuring that you’re going to build a consistent (and working) experiences for different email platforms.
This is great news, as building emails can be complicated, with restrictions on what HTML and CSS we can use, no JS, and coupling that with trying to make all of the different mail providers happy, which can different greatly.
React Email is built by the Resend team, an Email API that we’ll also use, which works nicely together with React Email for building and send emails with a great developer experience.
What are we going to build?
We’re going to set up React Email in a React project along with a new email template. We’ll see how we can customize it to our own branding along with some of the options available.
We’ll then use email provider Resend to actually send our new emails, making for an easy integration with React Email.
When getting to the part about sending emails with Resend, we’ll be using an API endpoint to perform the sending. I’ll specifically be using Next.js to accomplish this, but you can use any framework that allows you to build APIs or even a standalone API.
Step 1: Installing & Configuring React Email
To get started with React Email, you can either scaffold a new project with npx create-email or you can set it up manually.
For our purposes, we’re going to assume we’re already working in an existing project and we want to add email capabilities, so let’s walk through setting it up manually.
First, let’s install our dependencies:
npm install react-email @react-email/componentsNext, in order to start working with React email, we’ll need our first email template, so let’s also create our first, basic email template.
Inside of your src directly, or wherever you prefer, create a new emails directory with a new file called welcome.tsx.
Note: I’ll be working out of a Next.js project, so I’ll be using some of the patterns for that type of project.
Inside src/emails/welcome.tsx add:
import { Heading, Button, Html } from "@react-email/components";
import * as React from 'react';

export default function Email() {
  return (
    <Html>
      <Heading as="h1" style={{ fontFamily: 'sans-serif' }}>
        Hello, Universe!
      </Heading>
      <Button
        href="https://spacejelly.dev"
        style={{ fontFamily: 'sans-serif' , background: "blueviolet", color: "white", padding: "12px 20px" }}
      >
        Visit Space Jelly
      </Button>
    </Html>
  );
}
Here we’re importing a few basic components and rendering a pretty standard React component.
And finally, we’re going to add a new npm script that will allow us to easily spin up our development server.
Inside of your package.json file, add the following under “scripts”:
{
 ...
  "scripts": {
    ...
    "email": "email dev --dir src/emails"
  }
}
While the --dir flag is ultimately optional, because we’re configuring our emails to be in the src directory, we want to make sure we set up the dev command to recognize where our templates are at. Make sure to configure this to the location of your templates.
But now, let’s run our development server:
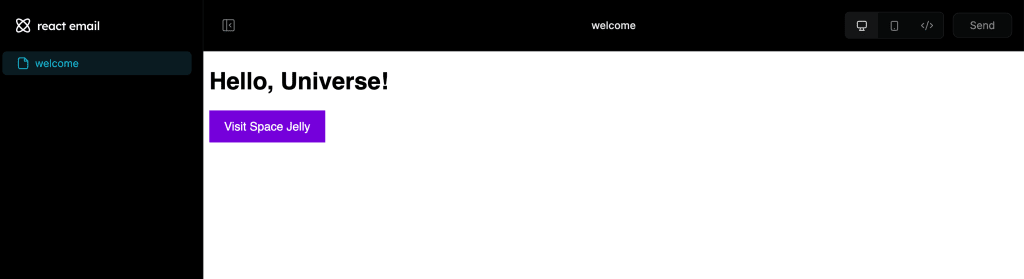
npm run emailAnd if you visit http://localhost:3000, you should see a welcome message from React Email, but if you then select your template in the left sidebar, you should see your new template!
Step 2: Creating & Customizing Email Templates with React
Now we started off with a pretty basic example, but now that we’re working inside of a React environment, we really have most of the same flexibility that we would typically have.
The main differentiator is going to be however that we’re still limited to working within the constraints of email, so that means that our email templates will be ultimately send in static form to our audience (after dynamically populated).
But that doesn’t mean that we need to work in the same development constraints we’re used to, React Email gives us a bunch of building blocks to not have to worry about the intricacies of email clients.
To see how this works, let’s pull in an example template that React Email provides out of the box. If we navigate to the Examples section of the React Email docs, we can see a bunch of options, including a Linear Login Code template:
https://demo.react.email/preview/magic-links/linear-login-code?view=desktop

If we take a peak inside of the code, we can see exactly how this is being put together.

Let’s copy this template into our project as a starting point.
Inside of your project, create a new template inside of your emails directory called login.tsx and inside paste in the entire Linear template.
Note: I’m not going to provide the code again in here due to the length, but you can easily copy the code from the React Email docs: https://demo.react.email/preview/magic-links/linear-login-code?view=source
If you now refresh your React Email development environment, you should now see the login template pop up into the left sidebar and if we select it, we should see that aside from a broken image, it’s working just as it did in the documentation!

So let’s customize this for our project.
Starting off, replace all instances of Linear and its links with your website (can be fake, or use Space Jelly for now!).
We can also remove the Linear logo and for now, let’s just add some text, as we would need our image deployed to remotely reference it, so remove the <Img tag and add something along the lines of:
<Text style={{
  ...heading,
  fontSize: '16px',
  fontWeight: '600'
}}>
  👾 Space Jelly
</Text>
Here I’m using the Text component that’s already imported into the template, which is just adding some basic text, but I’m borrowing the existing heading styles and changing the font size and weight.
I can also update the Button to more closely match my brand styles.
In this template, all the styles are at the bottom of the file, so if we look for the const of button and we can change the background color or whatever we’d like:
<Button style={button}

const button = {
  backgroundColor: "#ffdb00",
  color: "#001523",
}
But as we can see, we’re able to use React components just like we would in any other application as building blocks for our email template content.
We can either work off of the existing templates, making them our own, or create new templates from scratch!
Step 3: Sending emails with Resend
Once you’re happy with your template, we can start to think about how we’re going to actually send our emails to our customers or subscribers.
React Email provides a few different integrations with popular email providers like Nodemailer, SendGrid, and AWS SES, but we’re going to use Resend, an email service greared towards developers that focuses on building a good Developer Experience.
To get started, you’ll first want to sign up for a new account over on Resend.
It’s recommended for you to configure your domain to securely send emails, but if you want to just test it out, at the time of writing this, you can send emails to the email address you registered your Resend account with by using an @resend.dev address
Note: Resend makes it easy to test this out by using the @resend.dev account, but this is only used for testing sending emails to yourself, and you should really register your own domain. I recommend Porkbun at the time of writing this.
After you’re set up with your Resend account, we can get started by installing the Resend node package:
npm install resendWe’ll then want to set up a new API endpoint that we’ll use to trigger our email send.
I’m using Next.js for my application, so I’m going to create a new endpoint by creating an api directory inside of the app folder (or pages folder) and inside, creating a login folder, then finally a route.ts folder.
Inside app/api/login/route.ts add:
export async function POST(request: Request) {
  return Response.json({
    data: null
  });
}
This sets up a basic POST endpoint that will allow us to make requests to the route /api/login.
But it’s not currently doing anything, so let’s first import Resend:
import { Resend } from 'resend';Then we can create a new Resend instance and configure our account:
const resend = new Resend('<Your Resend API Key (Ex: re_1234)>');And now we can set up a new mail send inside of our API endpoint!
Since we’re integrating with React Email, let’s first import our template:
import { SpaceJellyLoginCodeEmail } from '@/emails/login';Note: Your import name will likely be different, which you can find next to the
exportinside of your email template. Be sure to also update the path to where your email template exists!
We’ll then use the emails.send method to send the email itself:
await resend.emails.send({
  from: '<Your From Email>',
  to: '<Your To Email>',
  subject: 'Your Space Jelly Login Code',
  react: SpaceJellyLoginCodeEmail({
    validationCode: 'abcd1234'
  })
});
Here we’re using the SpaceJellyLoginCodeEmail component as a function instead of the typical JSX syntax <SpaceJellyLoginCodeEmail /> because we’re rendering it inside of an API endpoint. It still allows us to easily pass in our dynamic properties, which is why we see the validationCode property which is required for the Linear login template we used.
The From email address should be your verified email domain, or you can use onboarding@resend.dev to test it out, but you can only send it to your registered Resend account’s email address.
And finally, we need to we need to trigger our new email endpoint!
To test this out, I created a simply button that triggers a fetch to the endpoint:
<button
  onClick={async function handleOnClick() {
    const results = await fetch('/api/login', {
      method: 'POST',
    });
    console.log('results', results)
  }}
>
  Send Email
</button>
Note: If inside of Next.js App Router, be sure that wherever this button is, you have
"use client";at the top to allow for the clientside interaction.
And if we load up our button and hit submit, we should see our email land in our inbox!
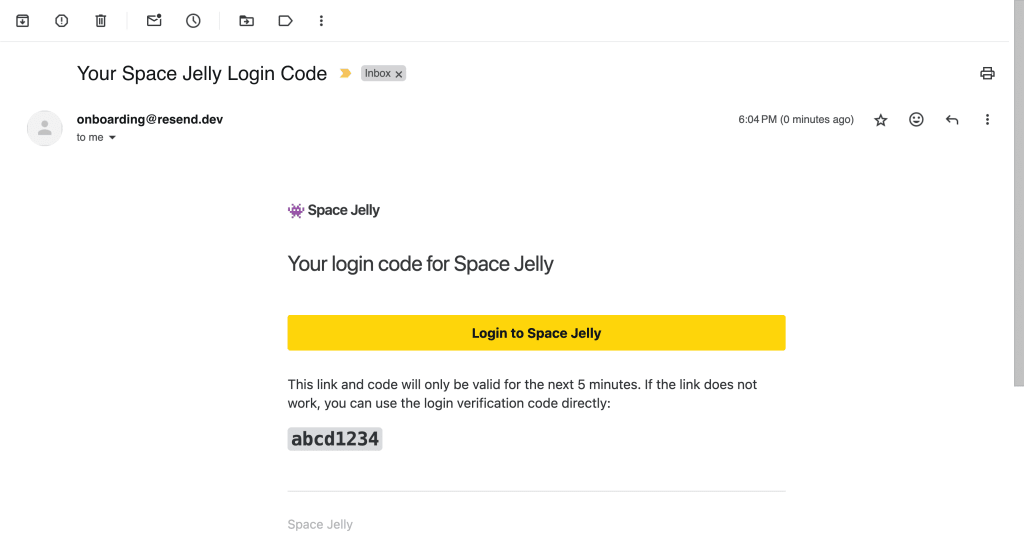
Now if you noticed earlier, we’re passing in a static value to our React template:
react: SpaceJellyLoginCodeEmail({
  validationCode: 'abcd1234'
})
The great thing is we can now make this dynamic just like we would in a real application.
For instance, if I updated my POST code to:
<button
  onClick={async function handleOnClick() {
    const results = await fetch('/api/login', {
      method: 'POST',
      body: JSON.stringify({
        validationCode: `efgh5678`
      })
    });
    console.log('results', results)
  }}
>
  Send Email
</button>
We can now look for that value in the body of our API endpoint request:
const { validationCode } = await request.json();And pass that directly into our email function:
react: SpaceJellyLoginCodeEmail({
validationCode
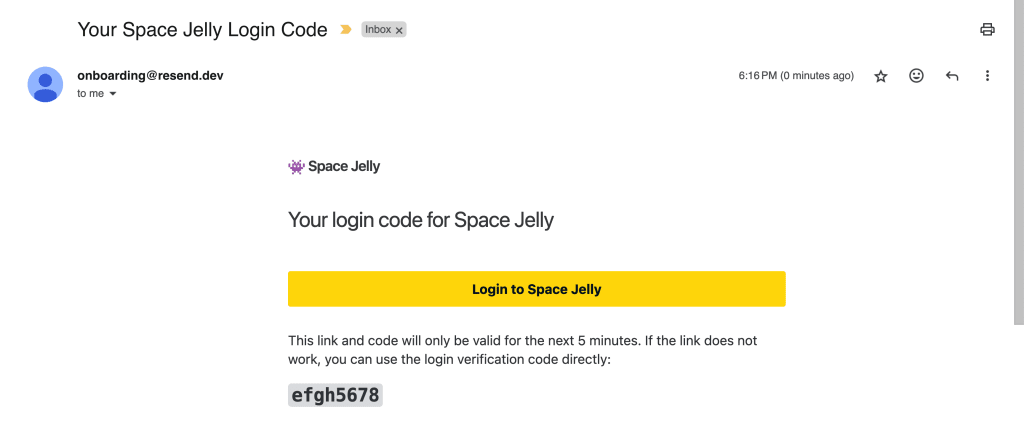
})And now if we try to send our email again, we should now see a new email with the dynamic code.
What else can we do?
Style email templates with Tailwind
React Email has support for using Tailwind to style the templates, which if you’re a Tailwind fan, is pretty amazing.
You can find how to set that up over in the React Email docs:
https://react.email/docs/components/tailwind
Build your own custom template
We started from a Linear template, but now’s your time to build your own!
React Email comes with a lot of components out-of-the-box, making it easy to get started.
But that doesn’t mean you can’t use the templates for inspiration!